


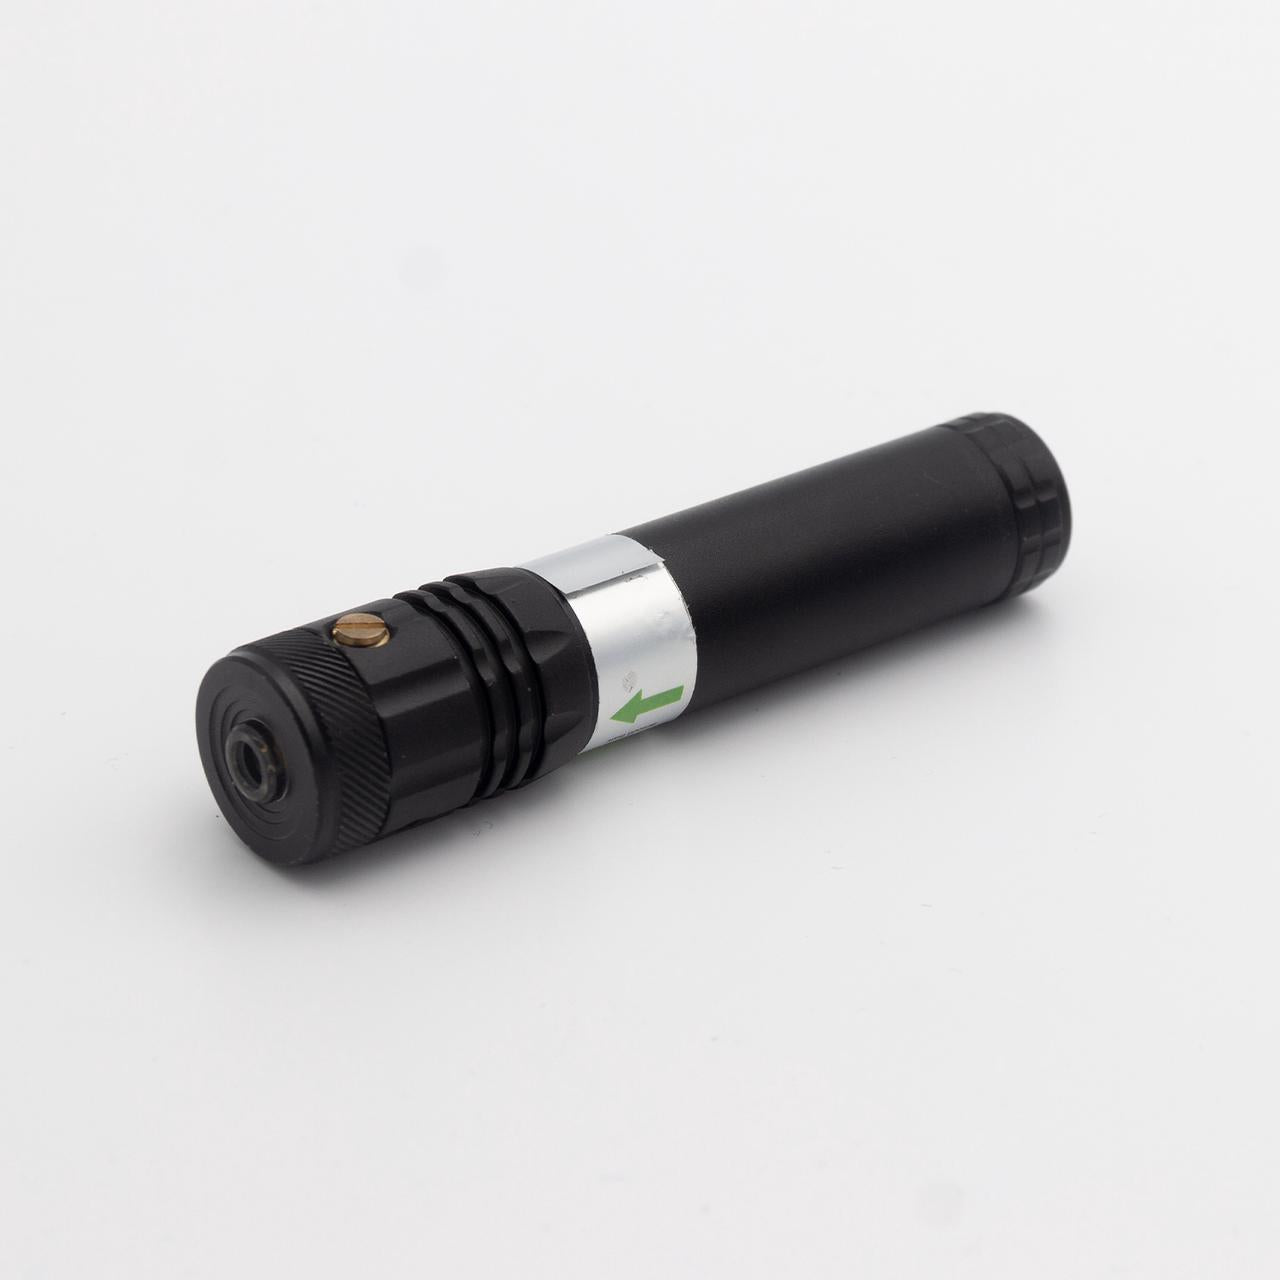


Puntero para Alineación Polar
- Envío mundial gratuito en compras superiores a $99
TIEMPO DE PROCESAMIENTO
Todos los pedidos se programarán para envío en 1 a 3 días hábiles, excluyendo días festivos.
PAÍSES
Enviamos a todo el mundo.
ALMACENES
Actualmente, contamos con 5 almacenes.
🇺🇸 Almacén en EE. UU., para nuestros usuarios en EE. UU., los paquetes suelen llegar en 4-7 días.
🇨🇦 Almacén en Canadá, para nuestros usuarios canadienses, los paquetes suelen llegar en 4-8 días.
🇪🇺 Almacén en la UE, para la mayoría de los países de la UE, los paquetes suelen llegar en 4-7 días. (Sin impuestos)
🇦🇺 Almacén en AU, para nuestros usuarios en Australia y Nueva Zelanda, los paquetes suelen llegar en aproximadamente 4-7 días.
🇨🇳 Almacén en CN, para todos los países, los paquetes llegan en 4-7 o 8-20 días. Por favor, consulte los detalles a continuación.
Para más información, haga clic aquí.
Especificaciones:
Longitud: 97 mmAviso de seguridad: Por favor, use el láser de manera responsable y evite apuntarlo hacia aeronaves, vehículos, personas o ojos. Encienda el láser solo cuando sea necesario durante la alineación polar.
Cómo montar el puntero láser en el NOMAD:
-
Desenrosque el tapón rojo en la parte trasera del NOMAD.
-
Retire el papel aislante dentro del láser y la tapa protectora en la cabeza del láser.
-
Enrosque el adaptador de láser en el láser.
-
Monte el láser en la parte trasera del NOMAD.

Cómo montar el puntero láser en Sky-Watcher o iOptron:
-
Retire el papel aislante dentro del láser y la tapa protectora en la cabeza del láser.
-
Enrosque el láser en el Adaptador de Láser SW o en el Adaptador de Láser IO (dependiendo de si está usando una montura Sky-Watcher o iOptron).
-
Coloque el conjunto de láser y adaptador en el visor polar de su montura Sky-Watcher o iOptron.
Para iOptron SkyGuider Pro (parte roscada interna), querrá comprar el Kit de Láser IO en esta página: Kit de Láser IO
📌El Kit de Adaptador de Láser SW también es compatible con el Visor Polar MSM
¿Cómo usarlo?
- Desenrosque primero la tapa del láser

- Coloque el láser en el Adaptador de Láser SW

- Coloque este conjunto de láser y adaptador en el visor polar y apriételo
- Configuración completada
