Kickstart Your Astrophotography with a Star Tracker

Introduction

“Twinkle twinkle little star, how I wonder what you are”-  everyone has heard of Jane Taylor’s ‘The Star’ poem from the 18th century and wondered what they are and what they will find once they go there. Sure, no one has ever gone there so far, but the mysteries of the dull white dots in the sky have surely dazzled all generations.


Even if we can’t go there, at the very least, we can store pictures of them. From Galileo’s discovery of the telescope to the latest James Webb Telescope, humans have been keeping pictures of these heavenly bodies. But we do not live in the middle ages or have the equipment of NASA, so how can you photograph the sky in the dark today without noise or with most details? This is where star tracker comes in.


There are plenty of variables in play while doing astrophotography. Star trackers are a very common tool for professionals to capture noise-free, colorful, and high-definition images up in the sky. Here, we will talk about star trackers and how you can Kickstart your astrophotography with a star tracker.

What is a star tracker in astrophotography?

As mentioned earlier, a star tracker camera mount is a common tool professional astrophotographers use to capture clean, colorful, and detailed images up in the sky. So, what is a star tracker?


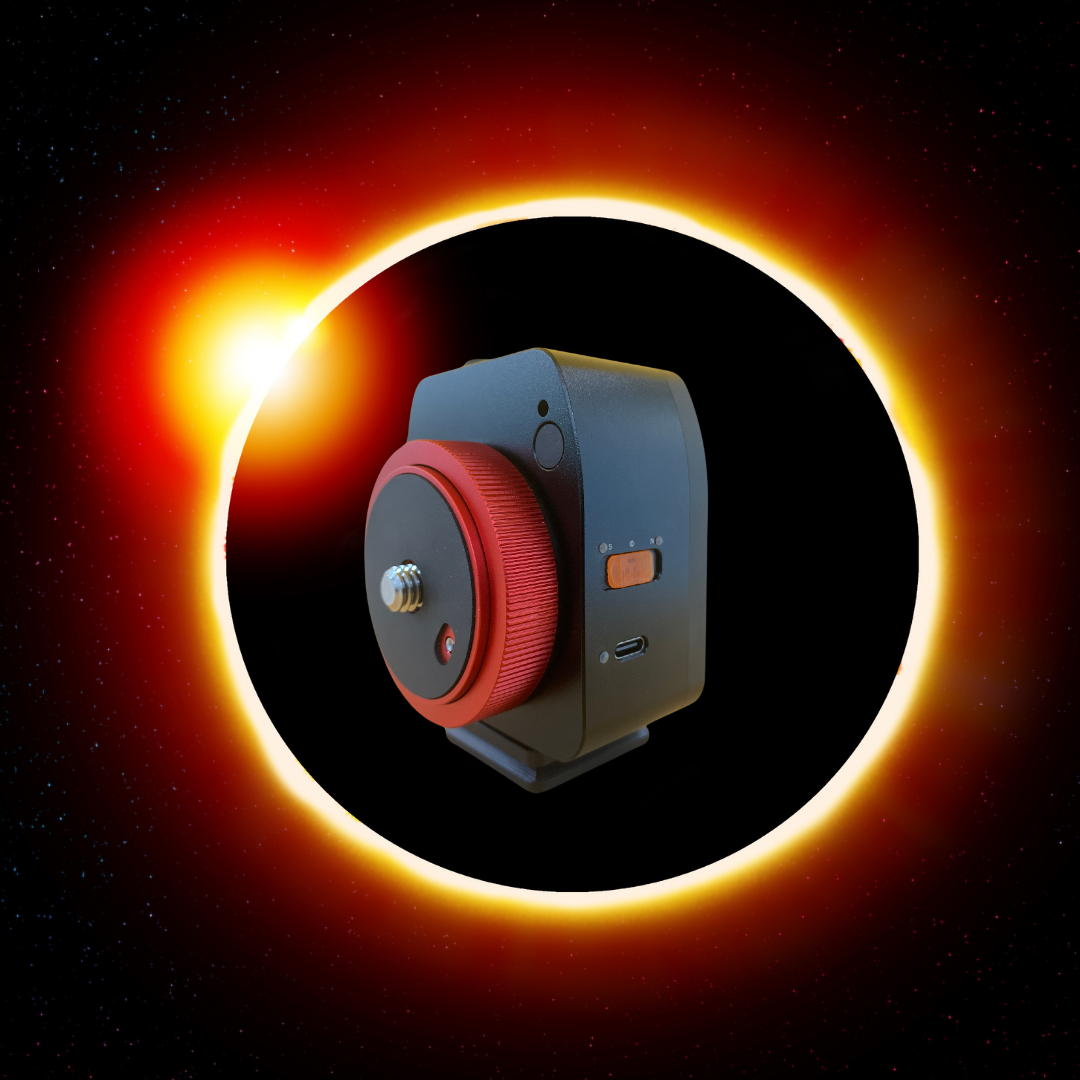
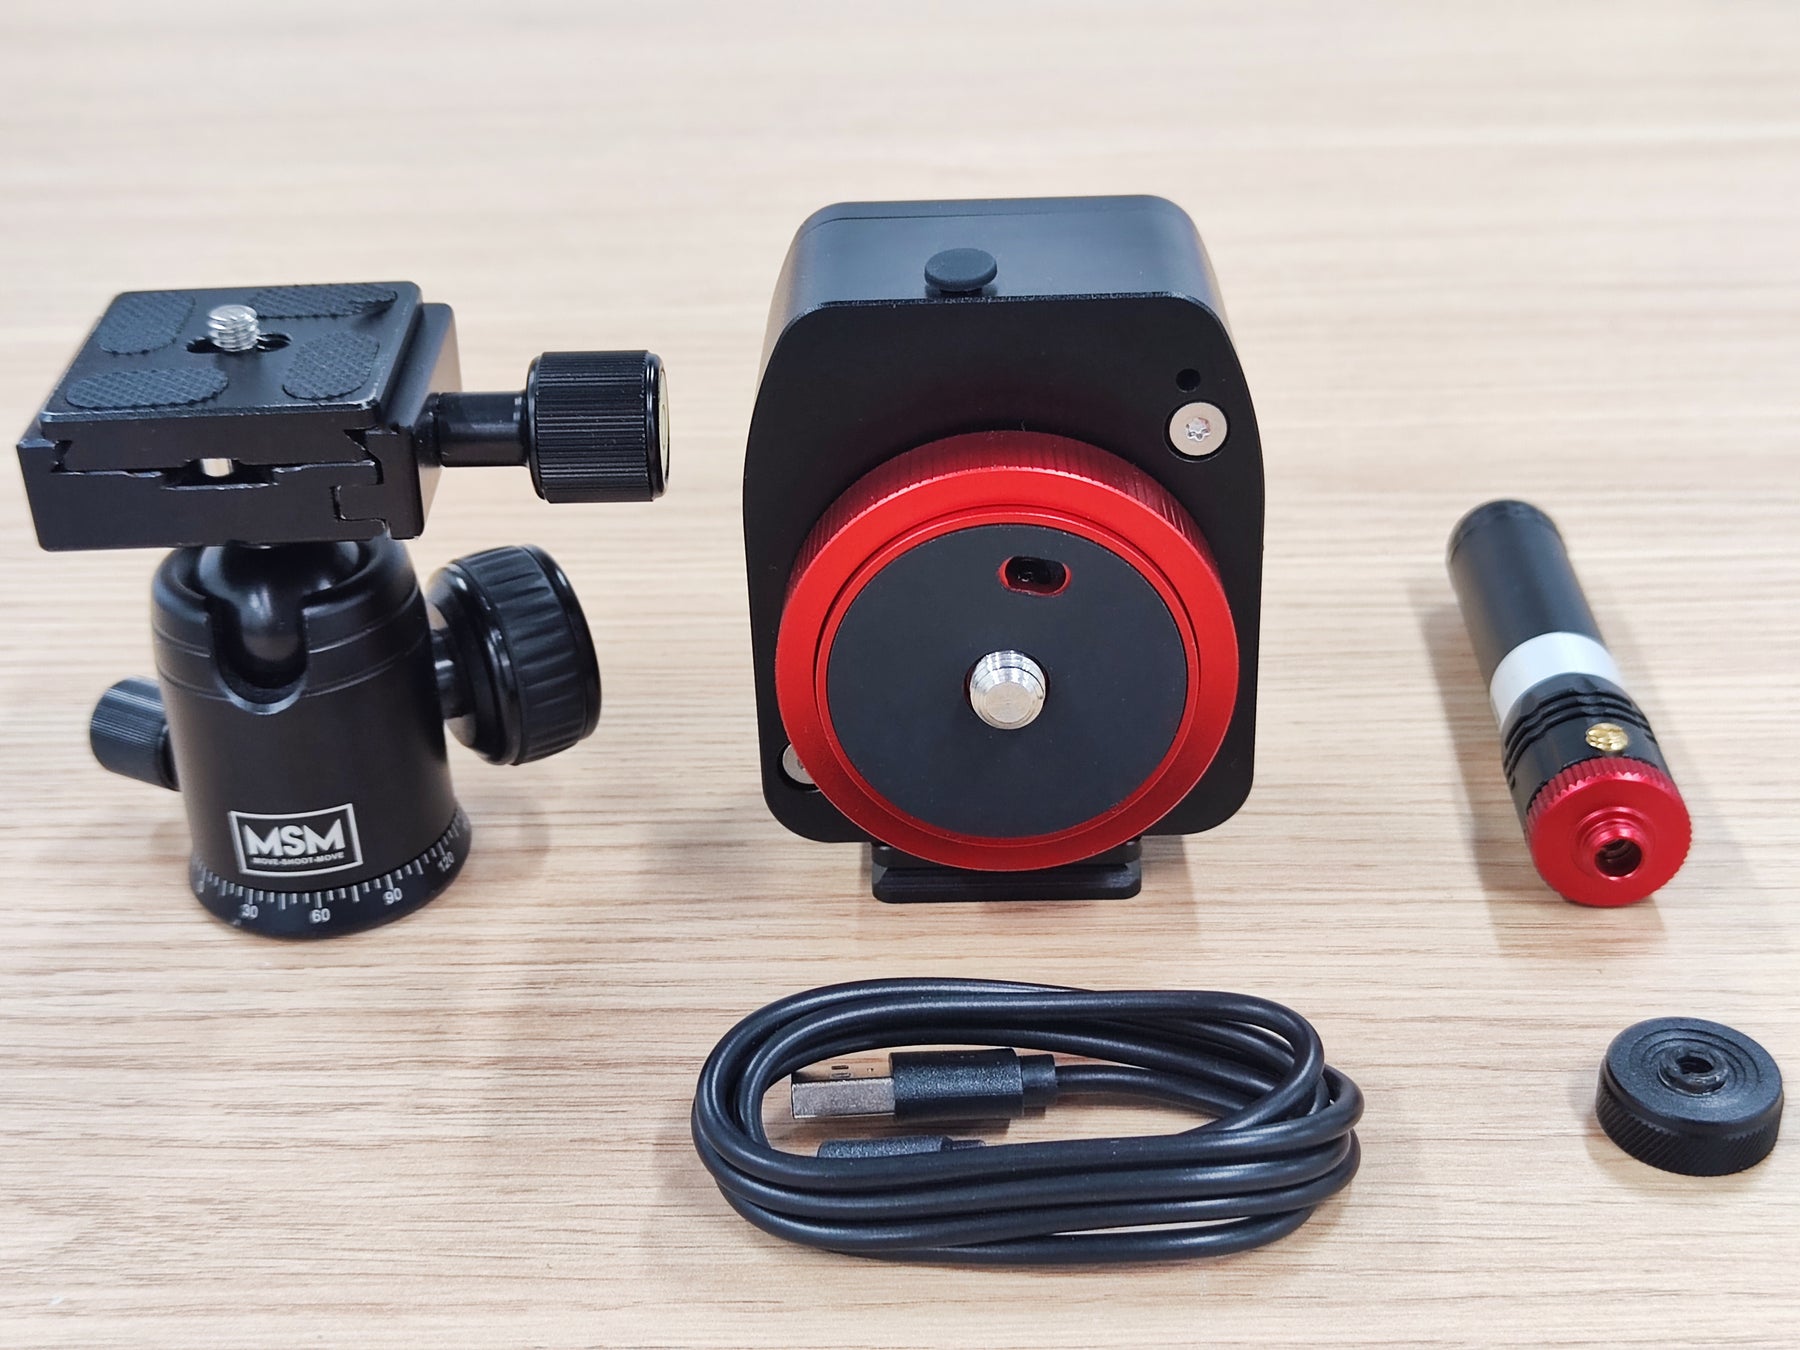
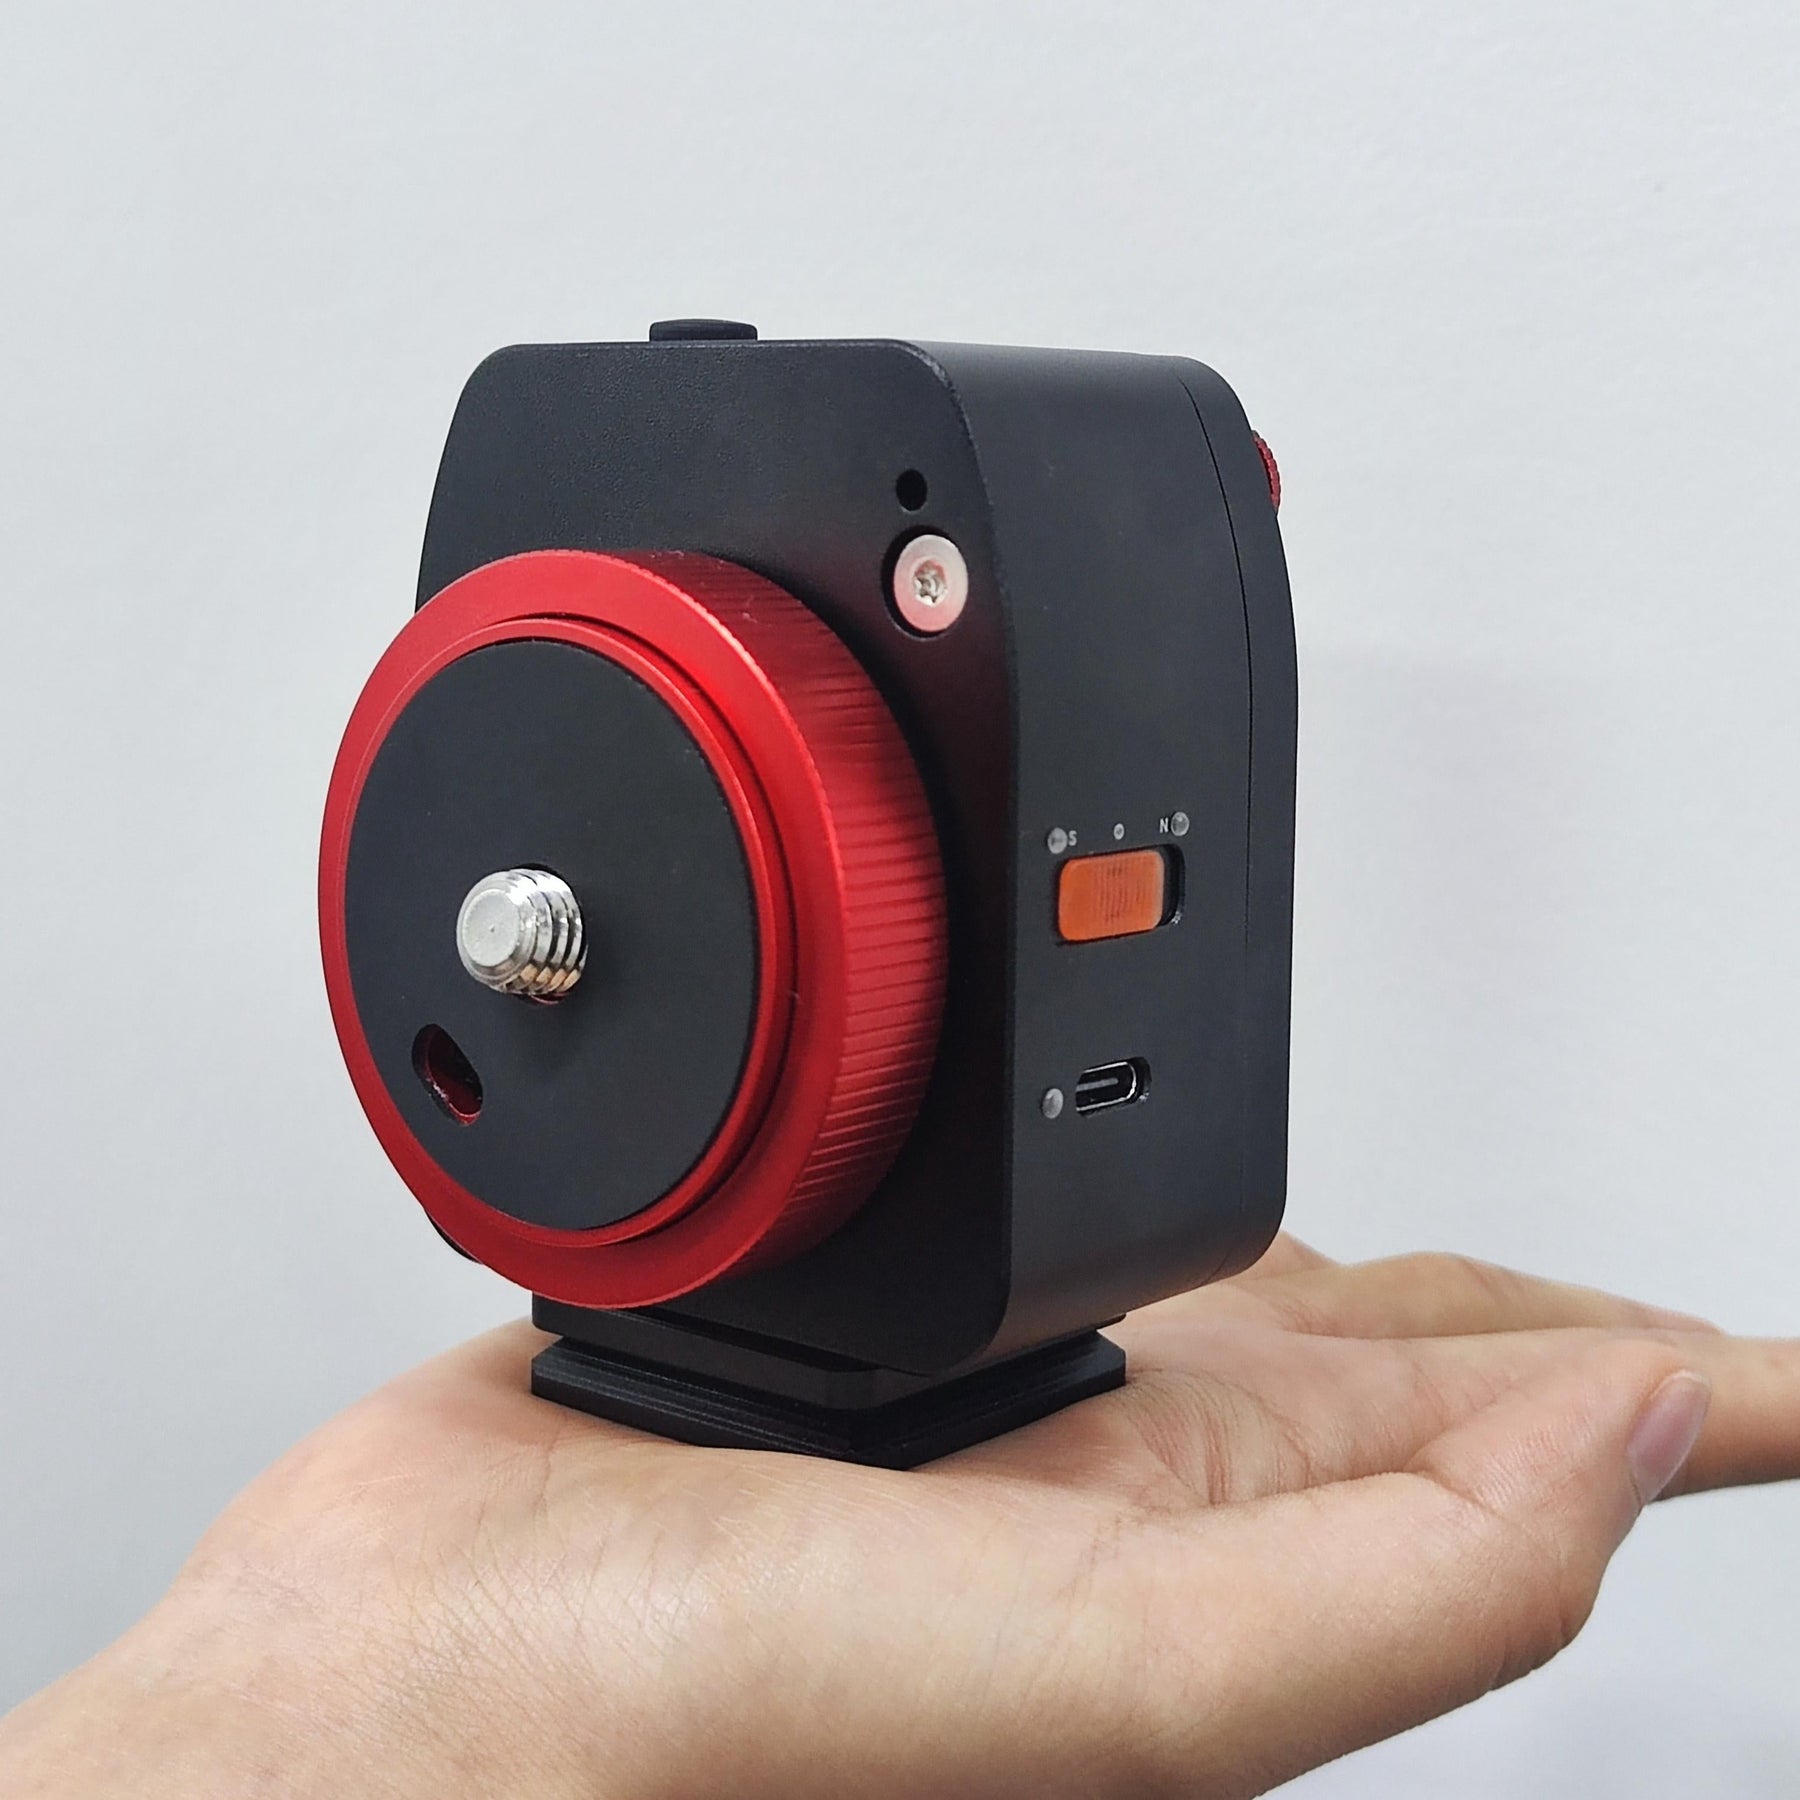
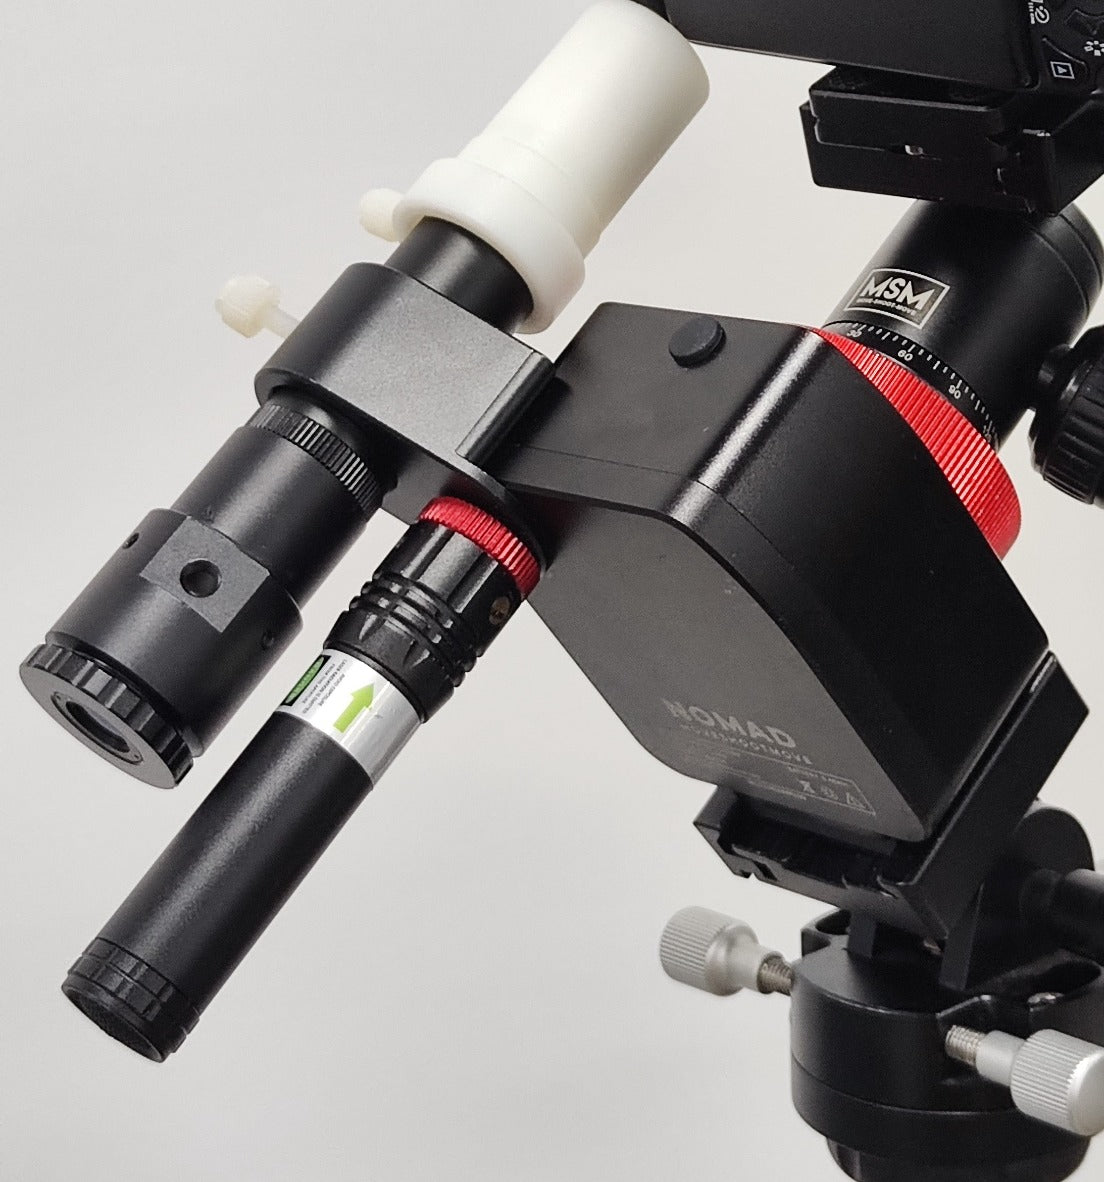
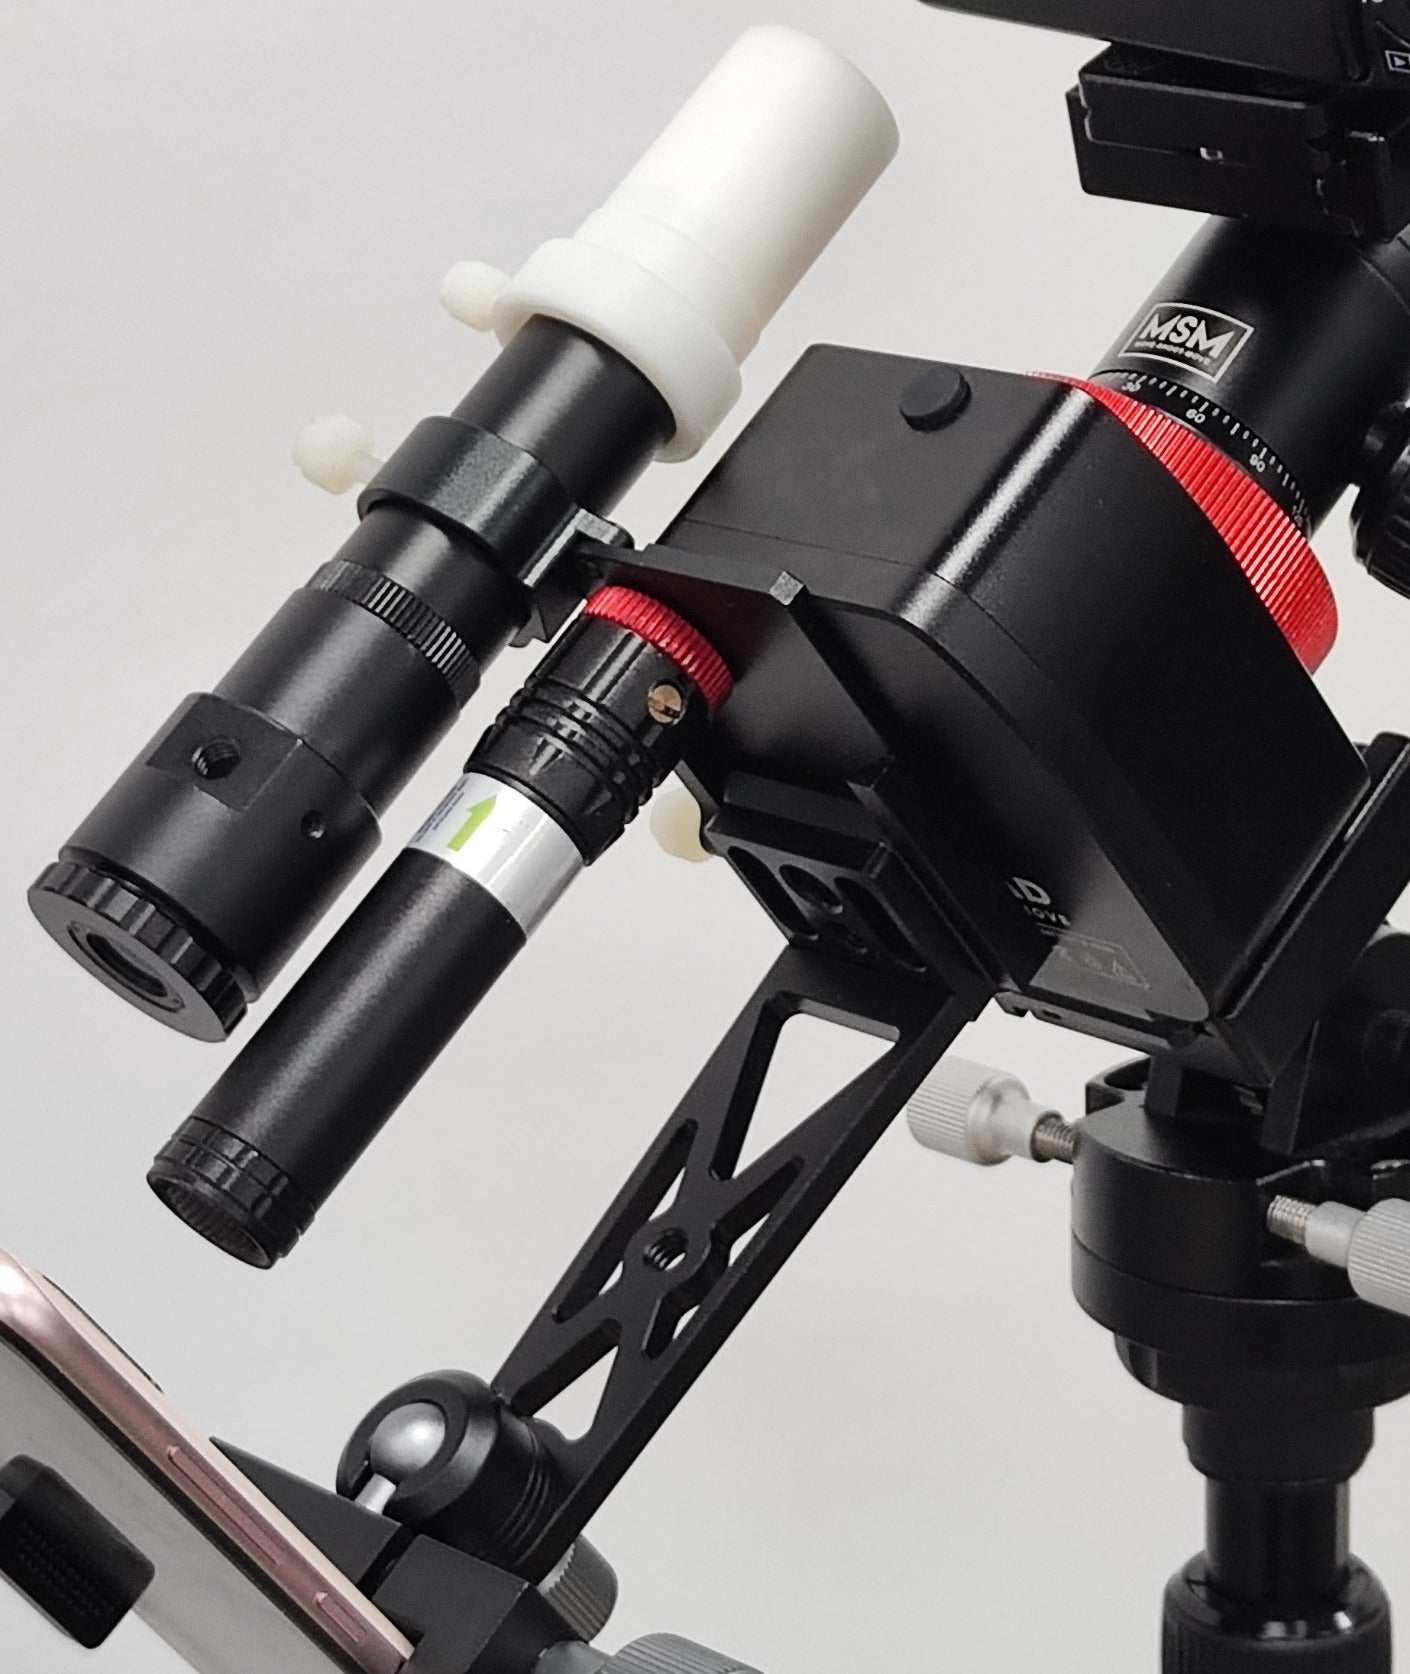
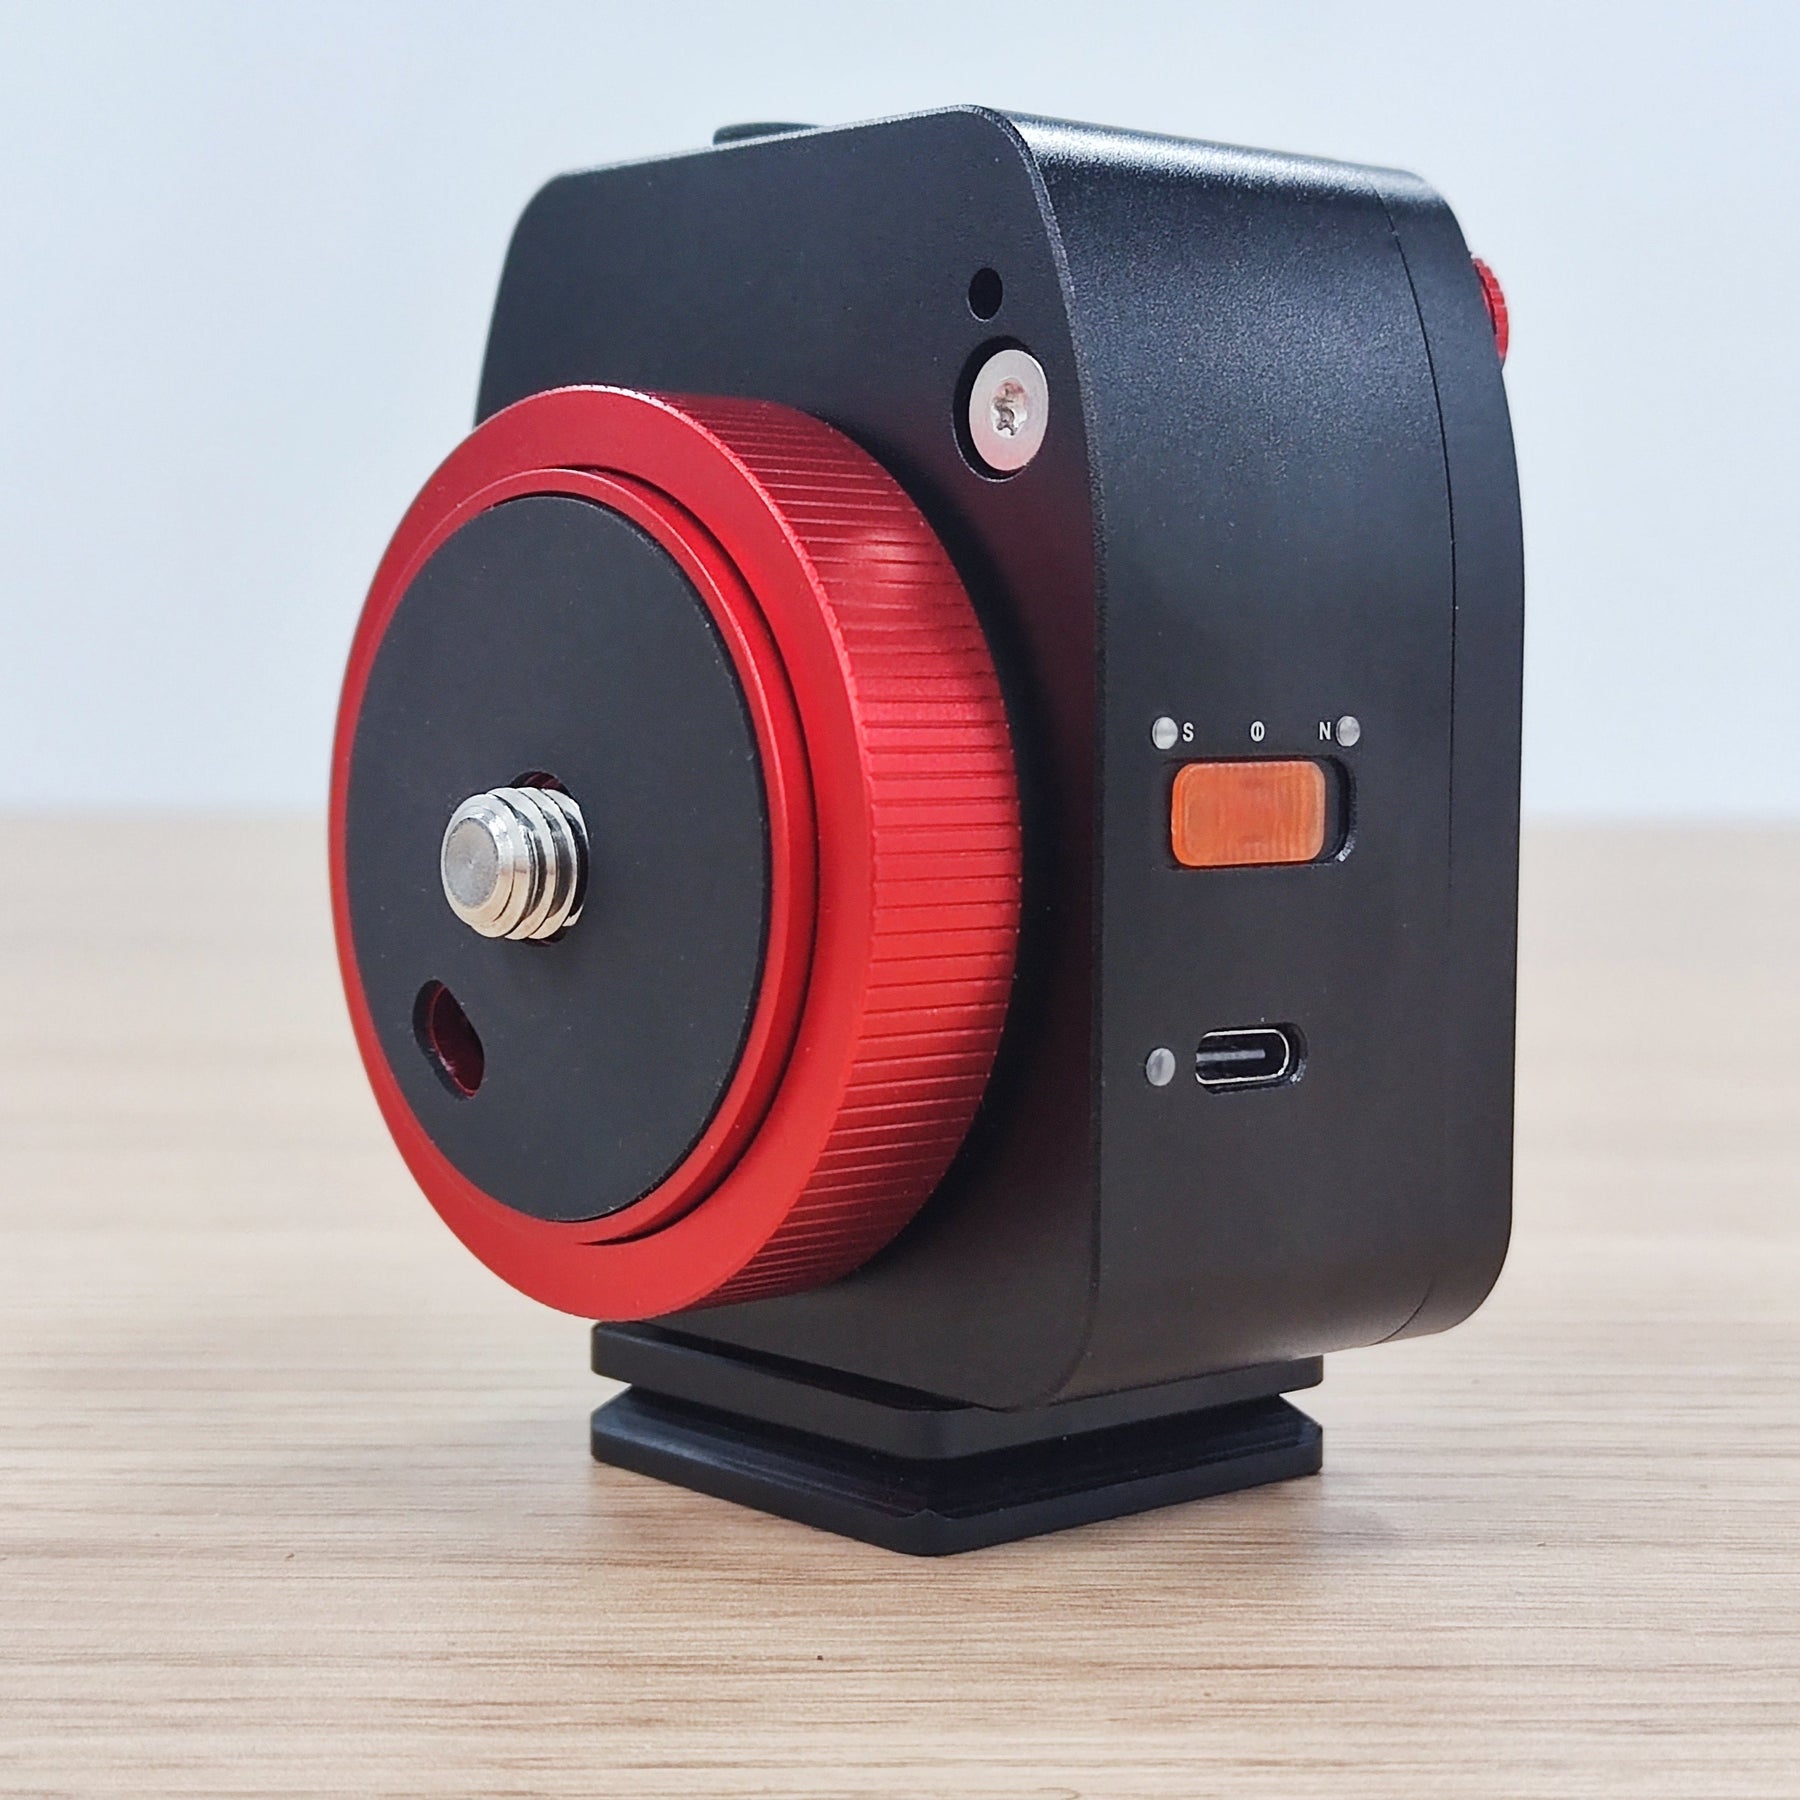
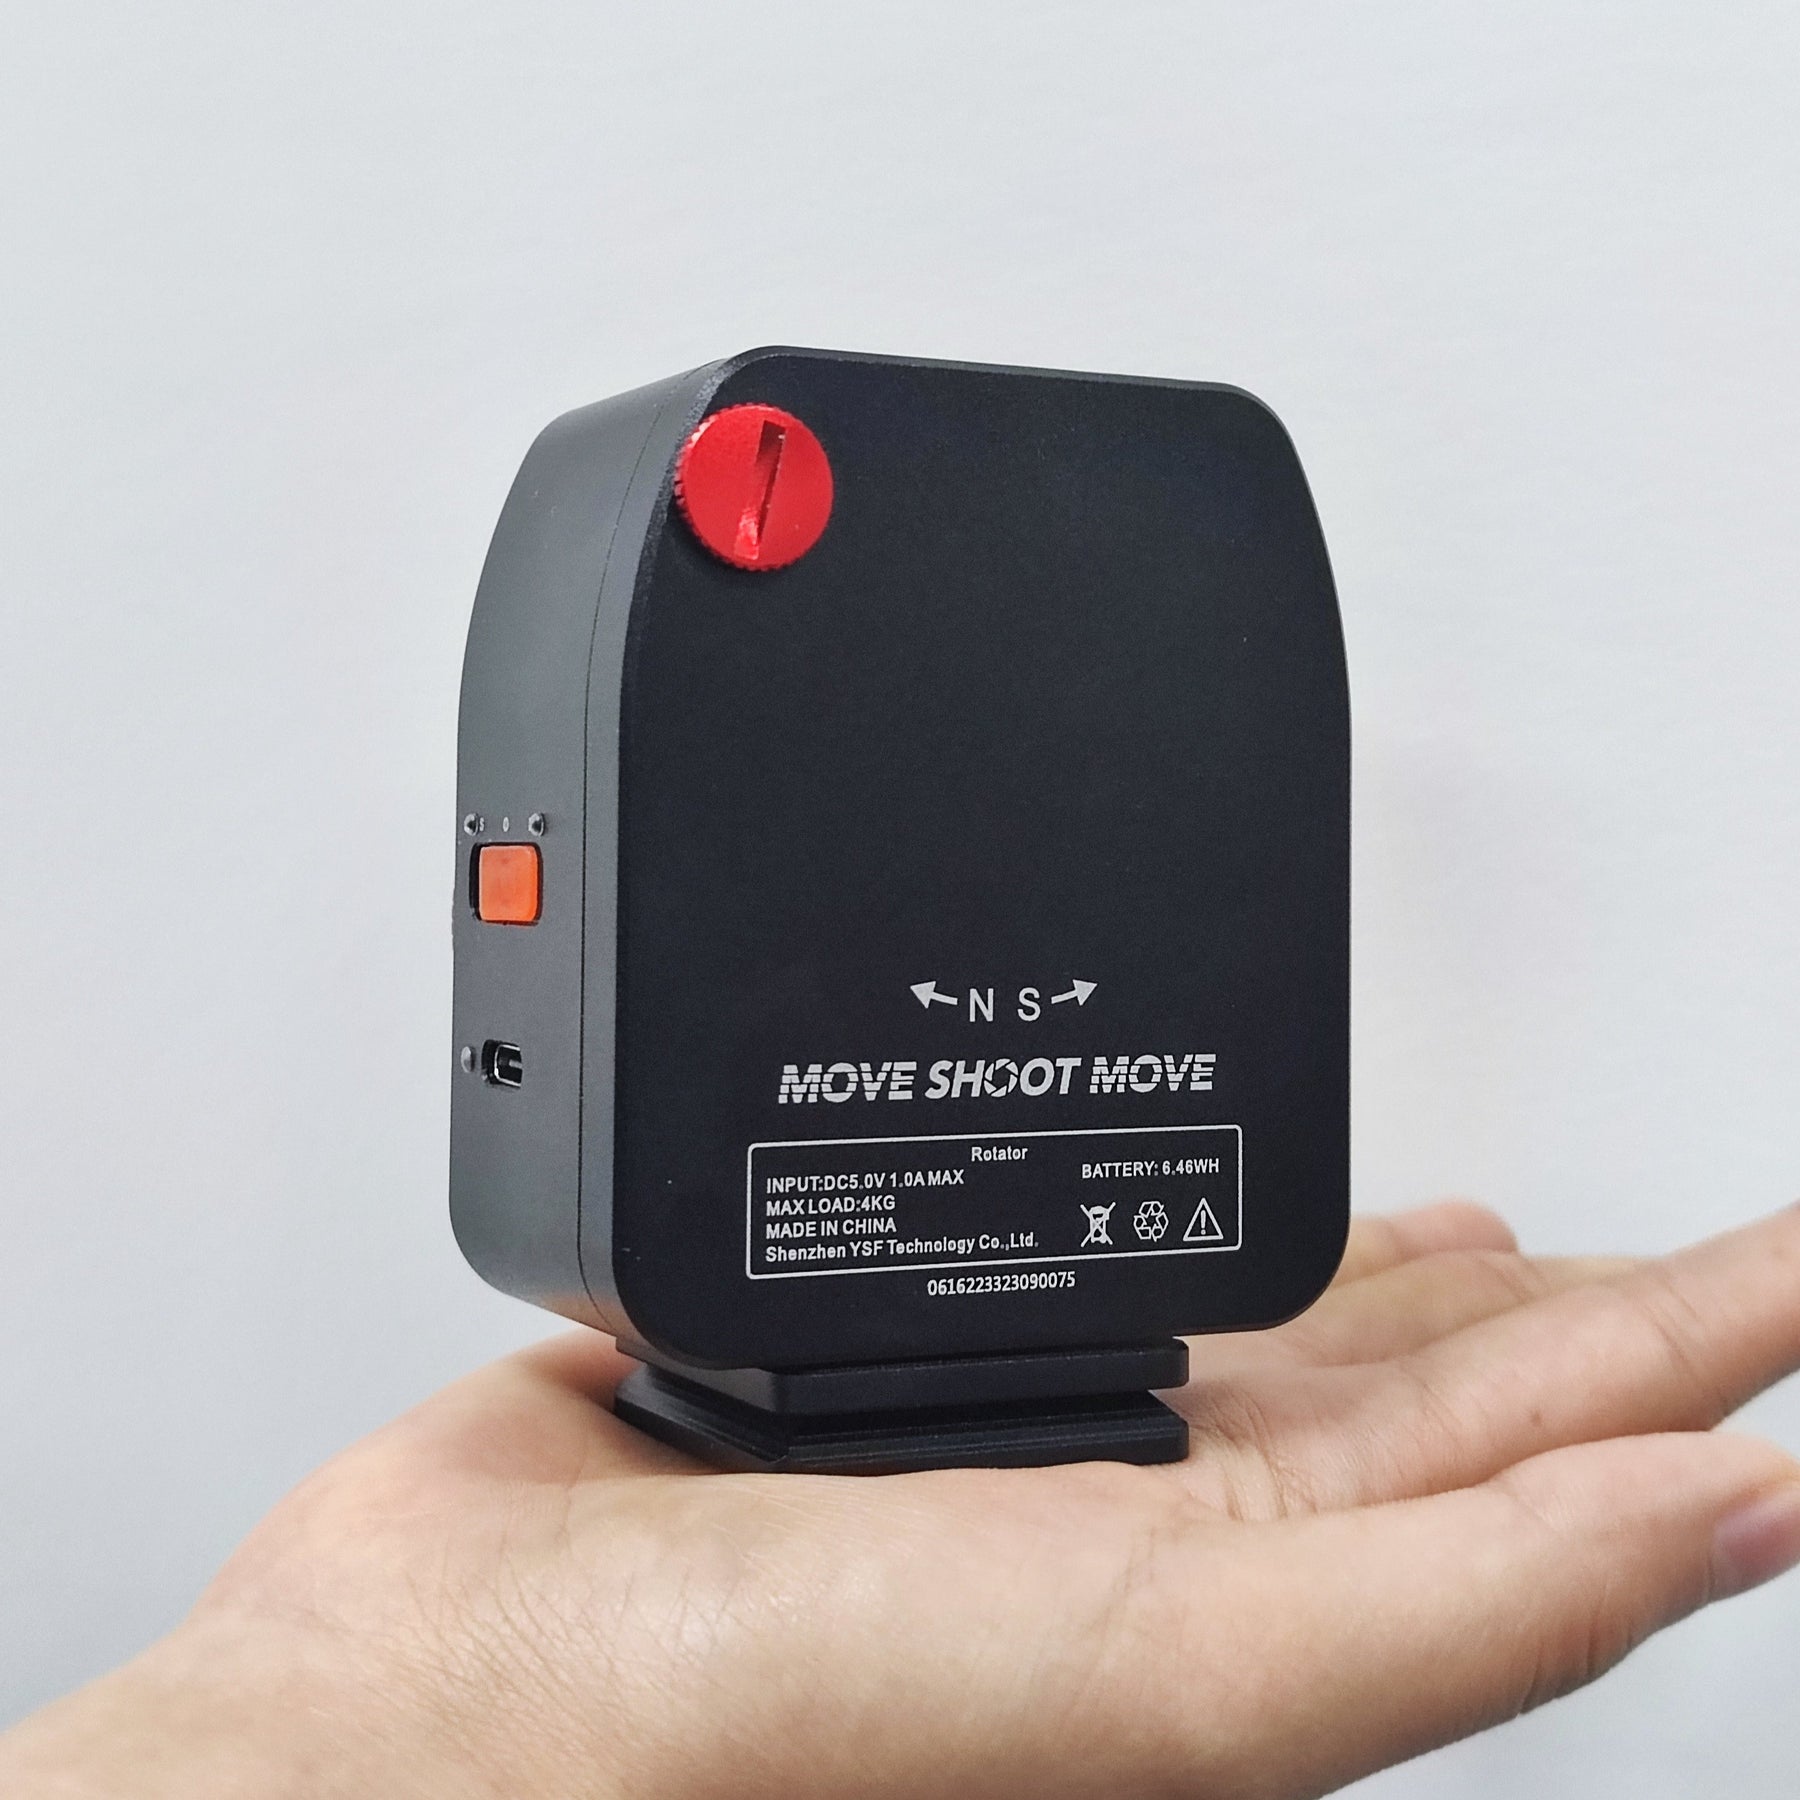
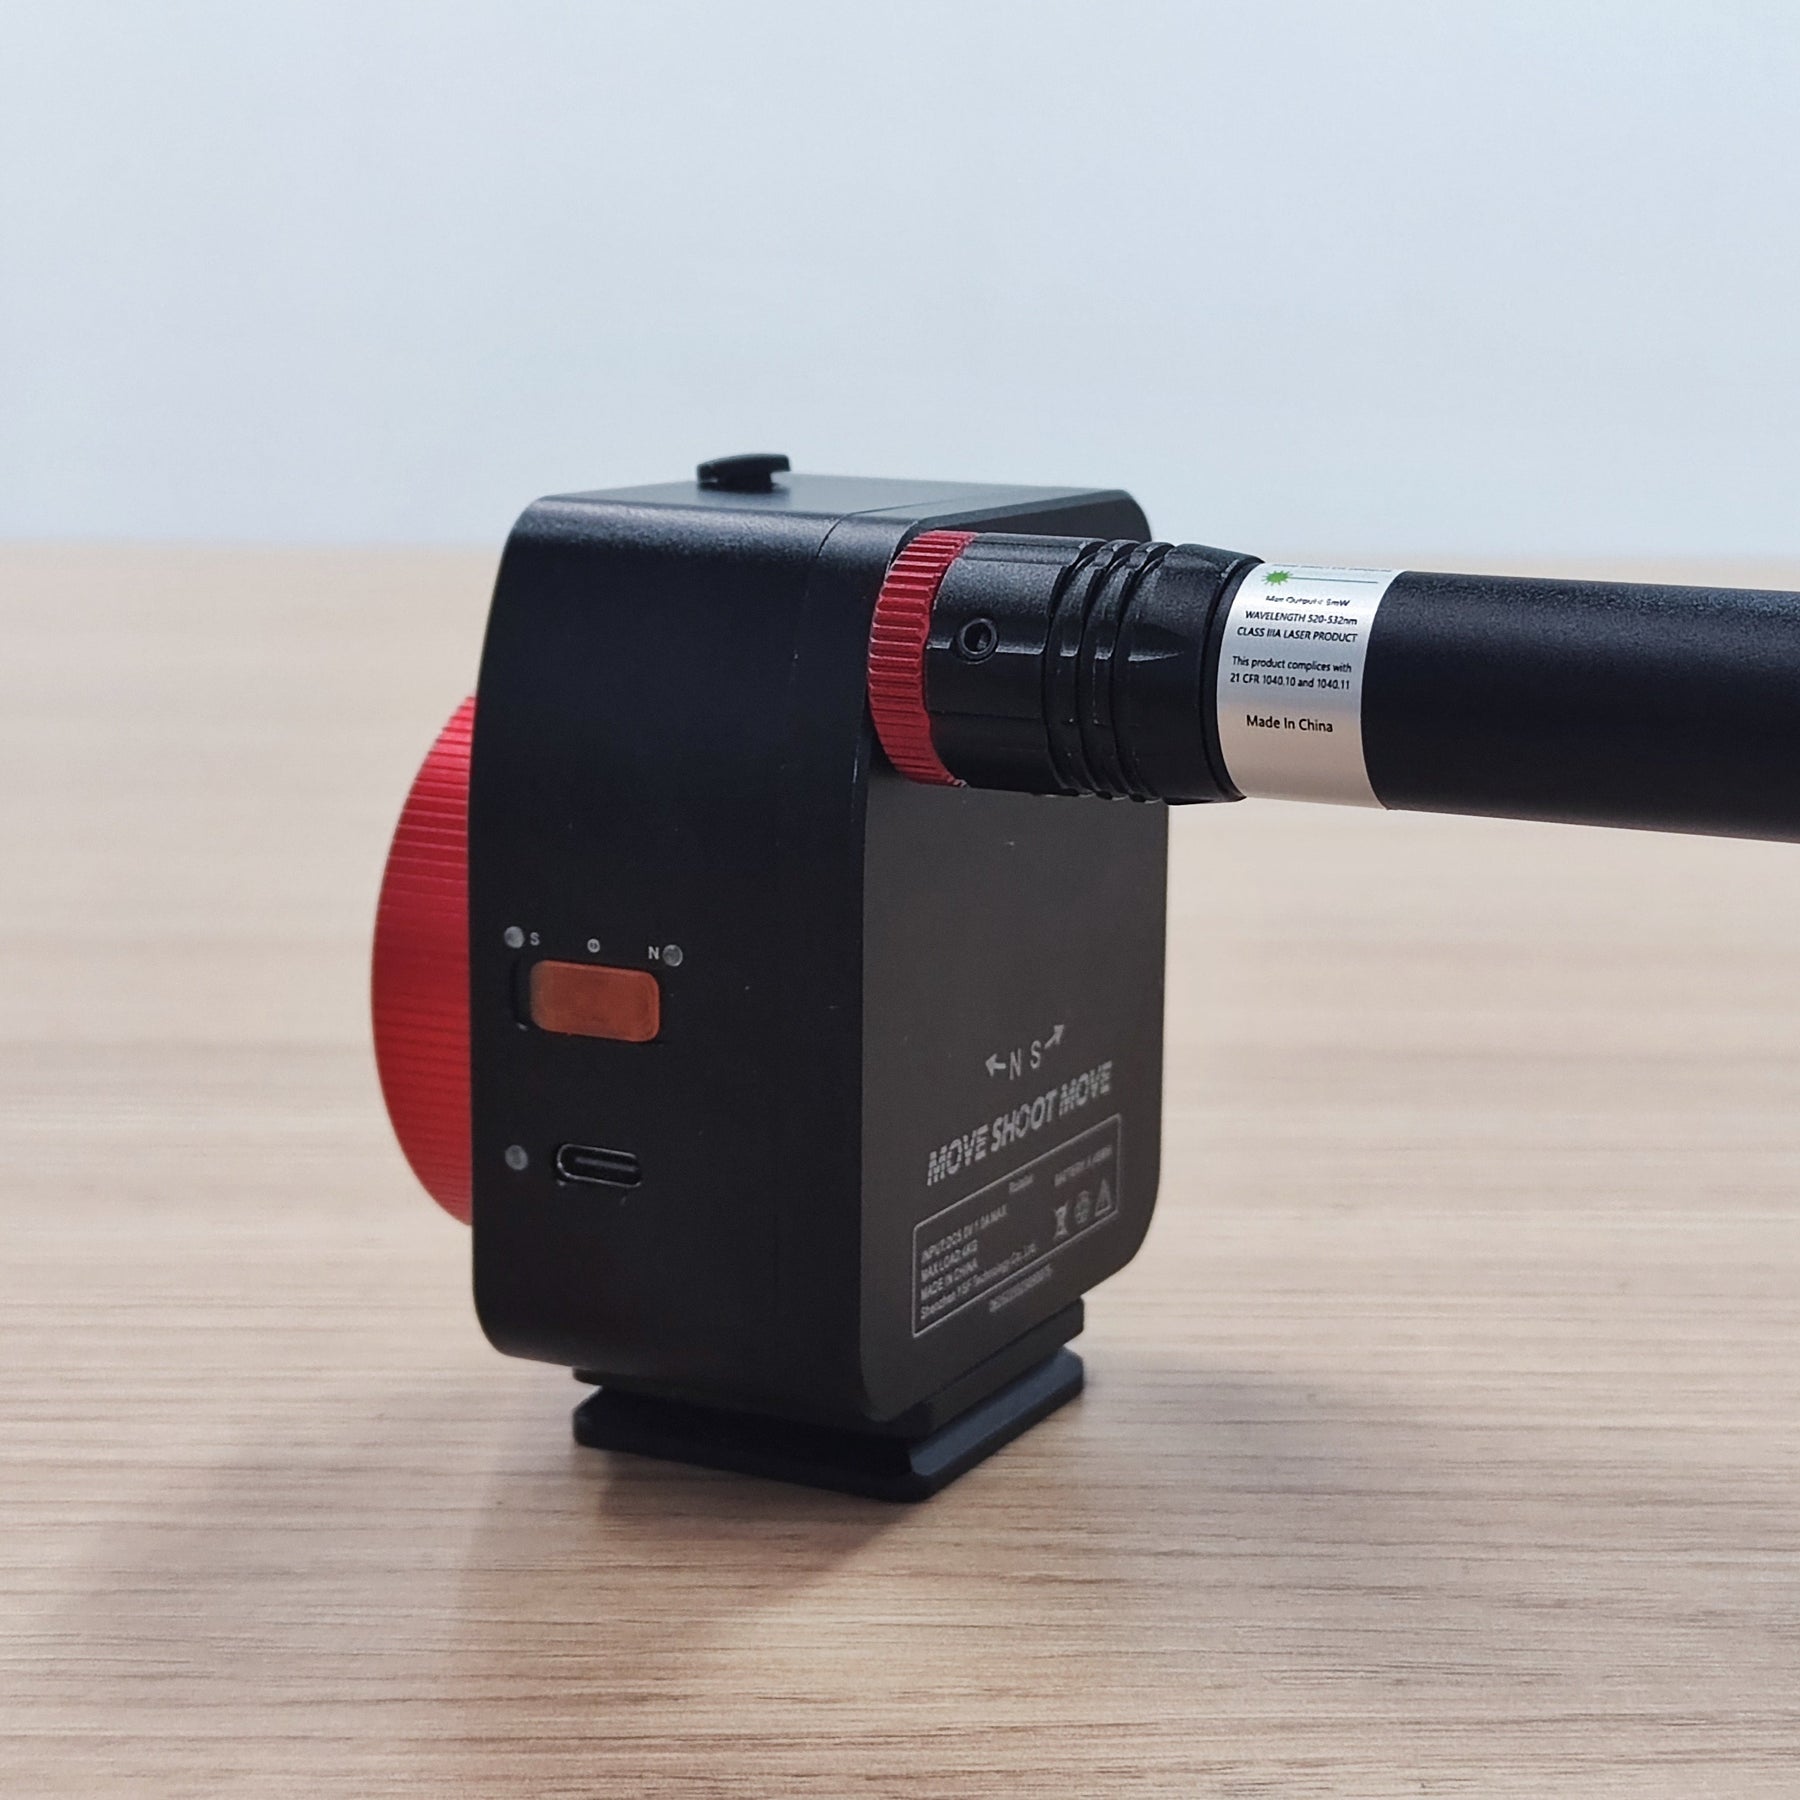
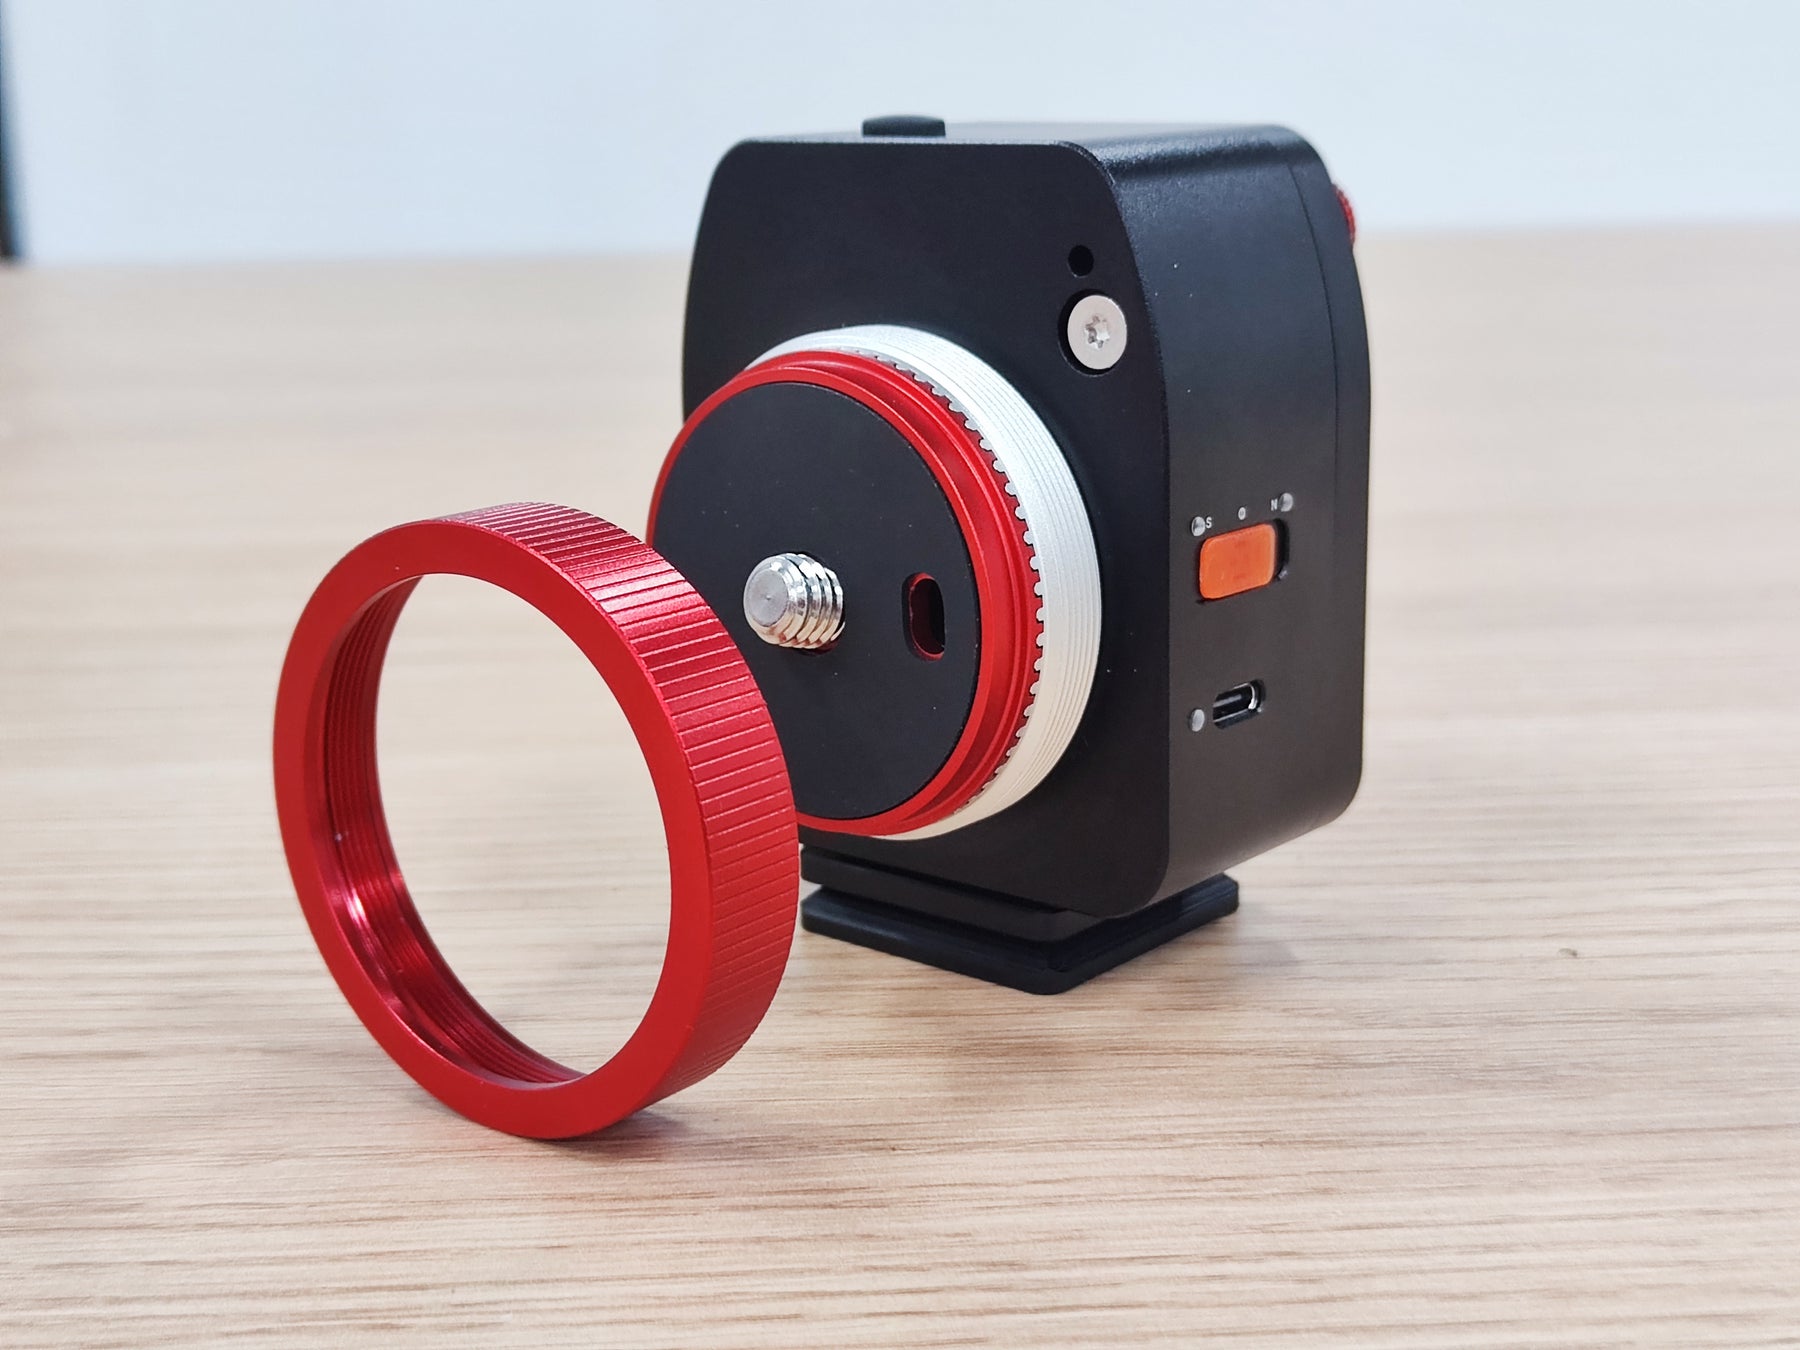
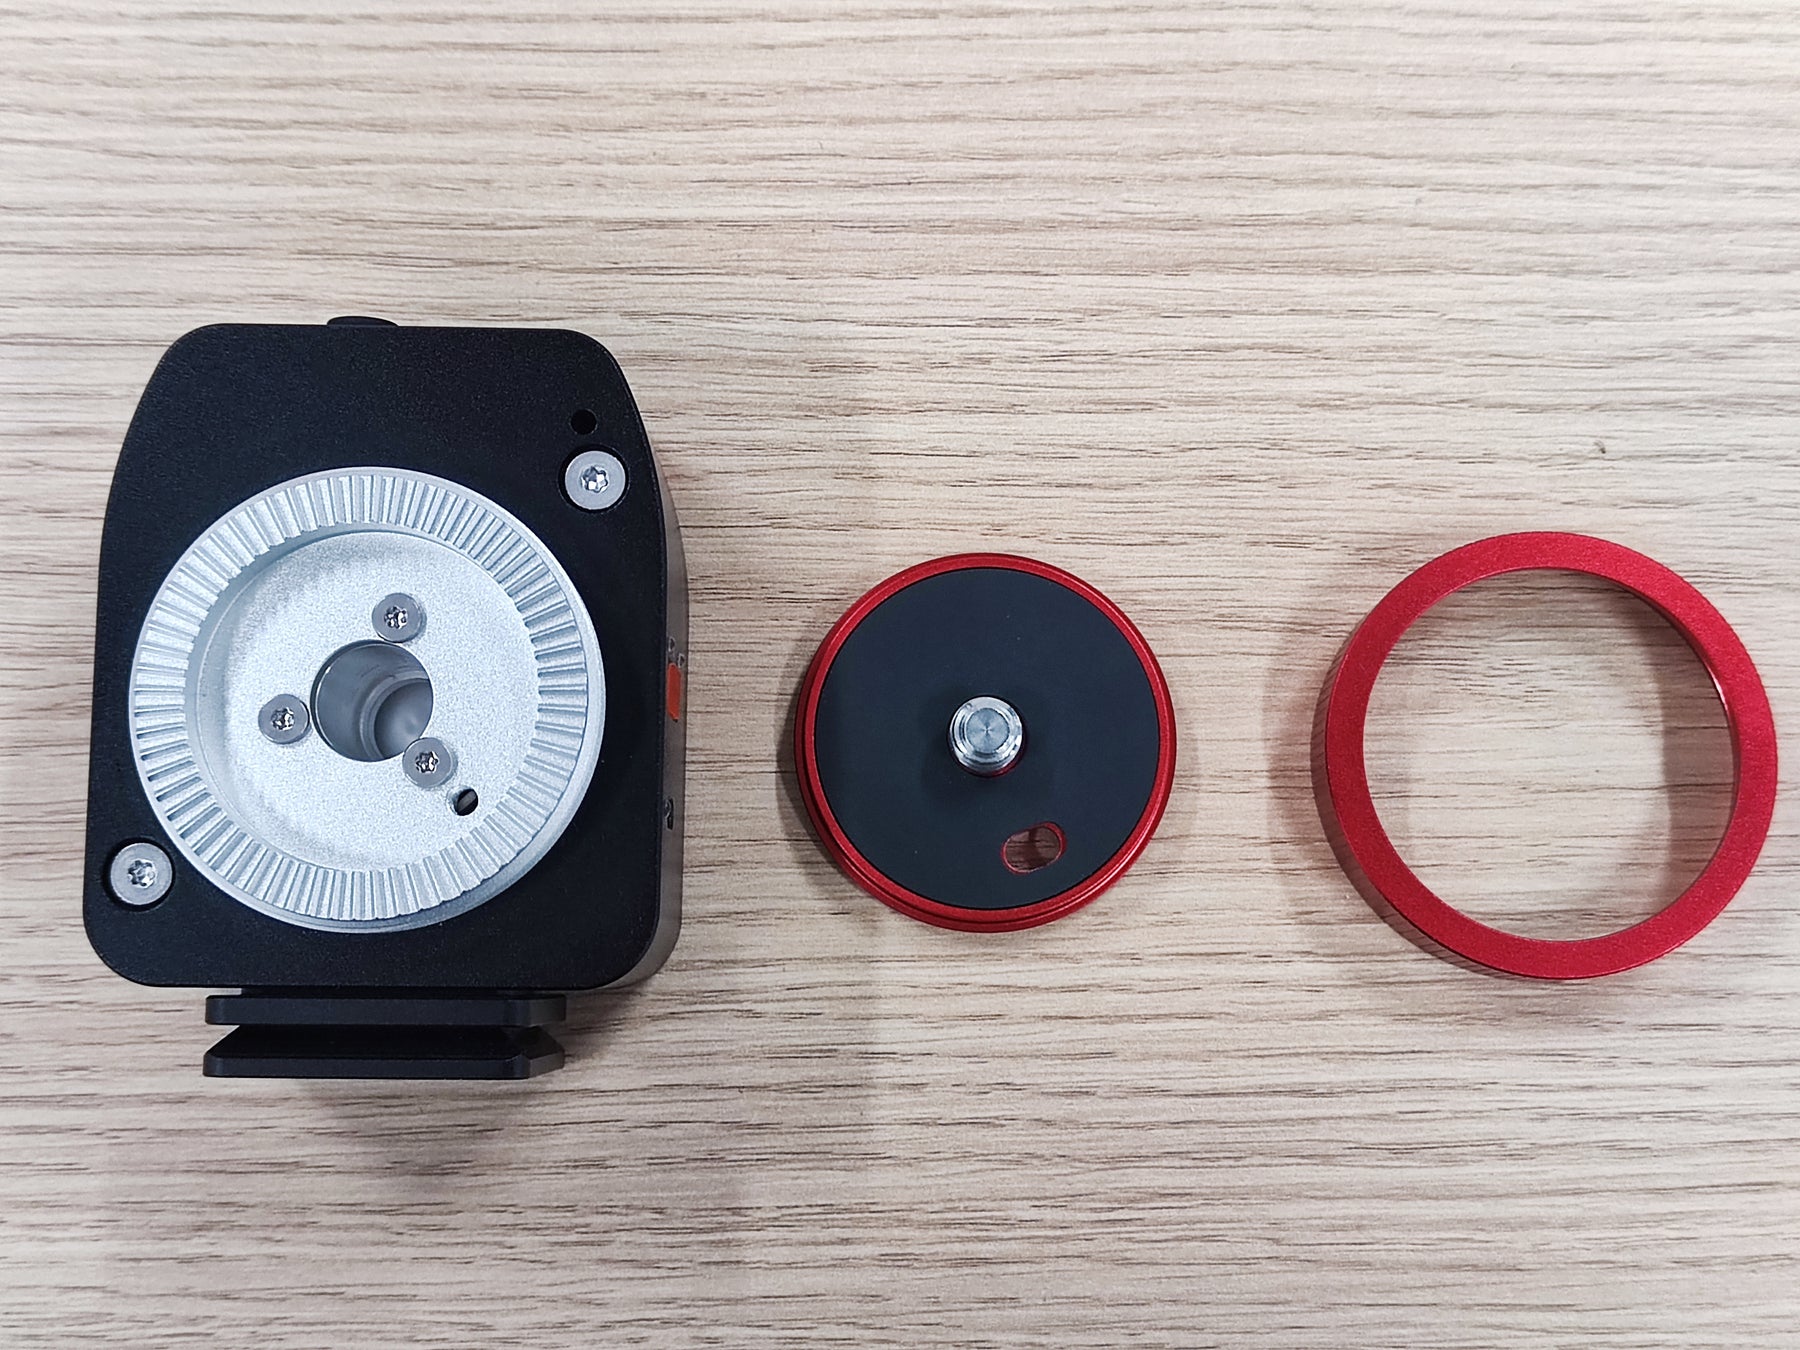
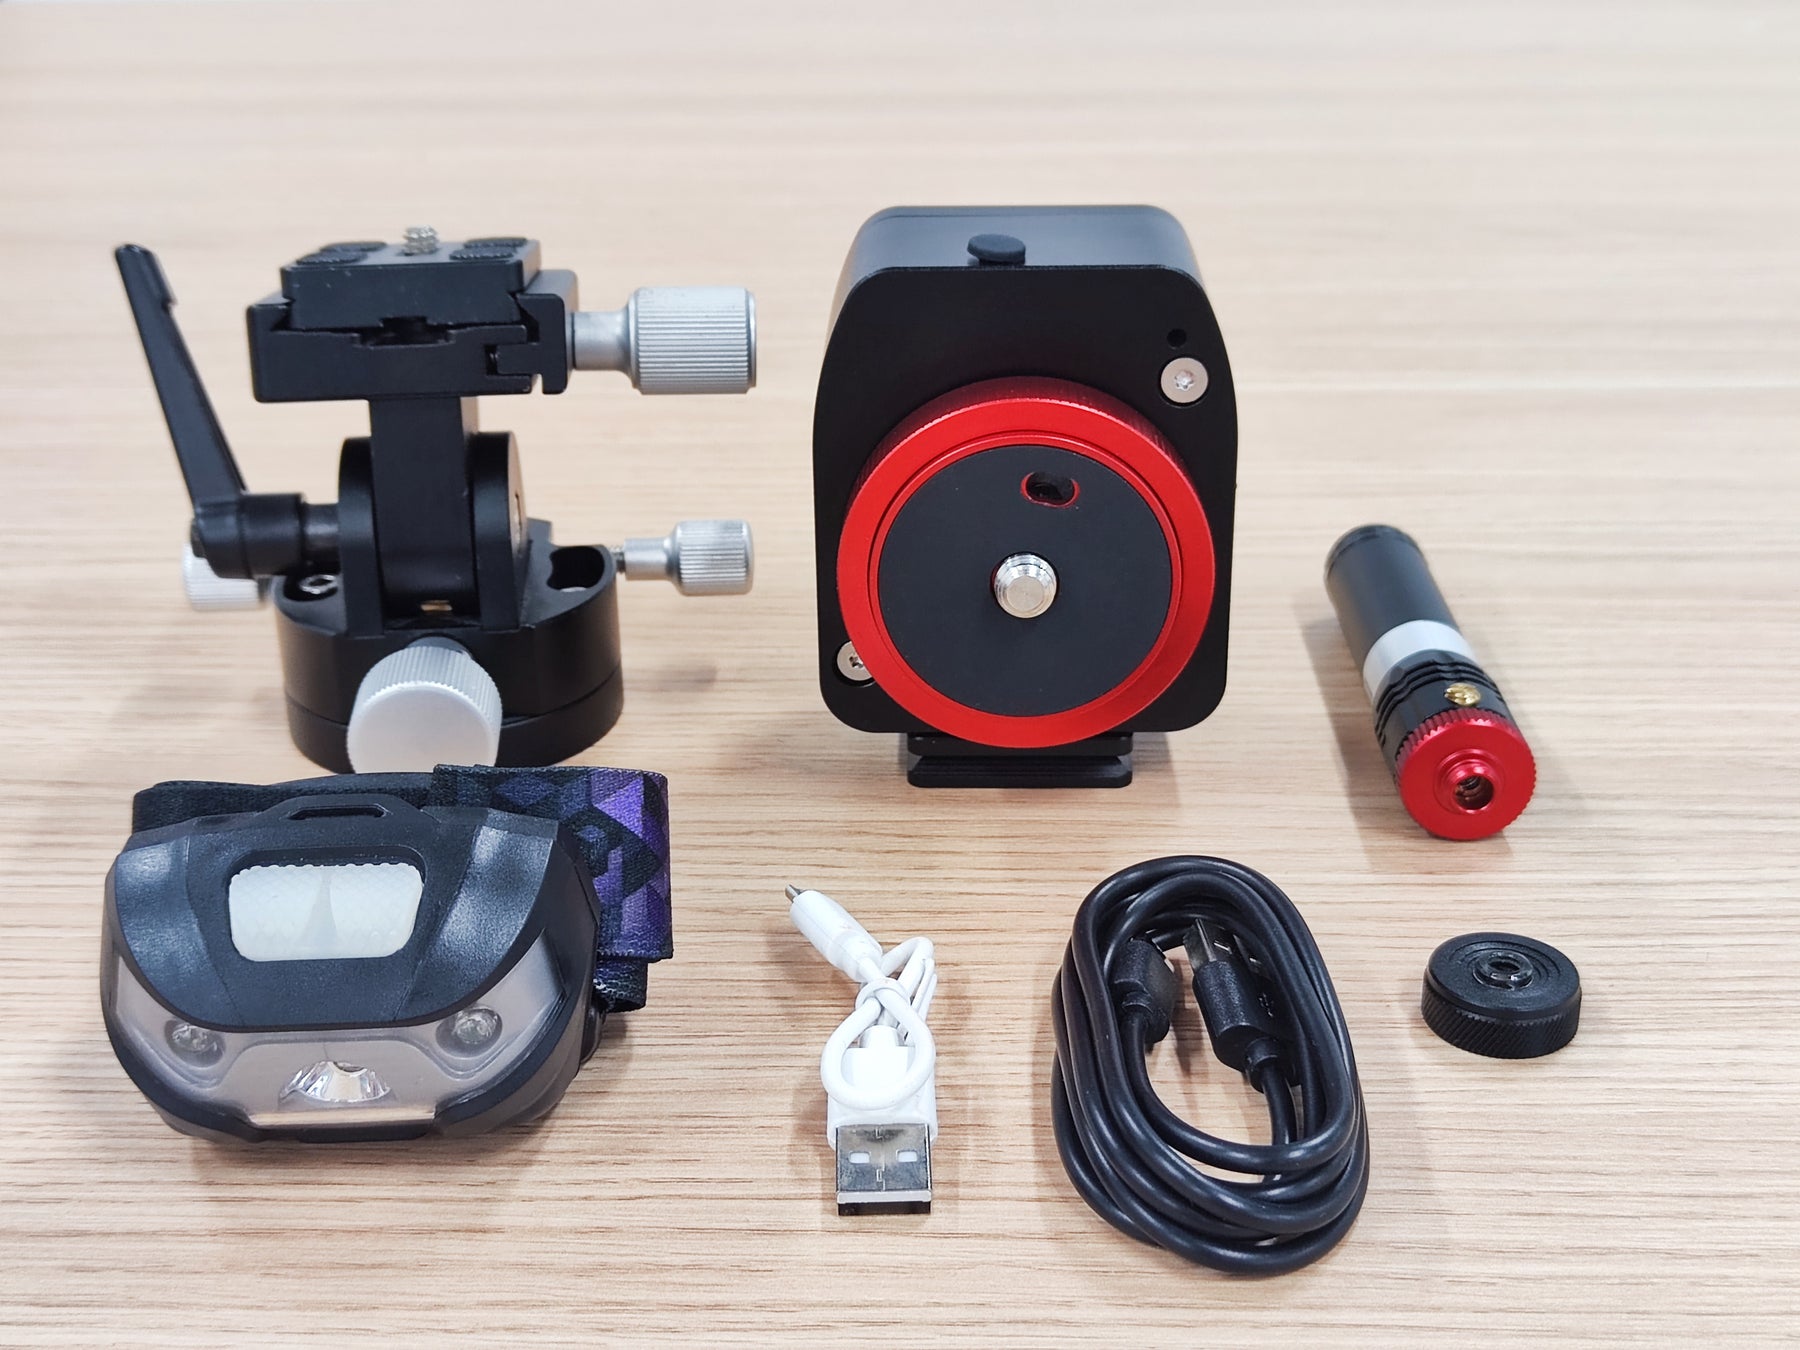
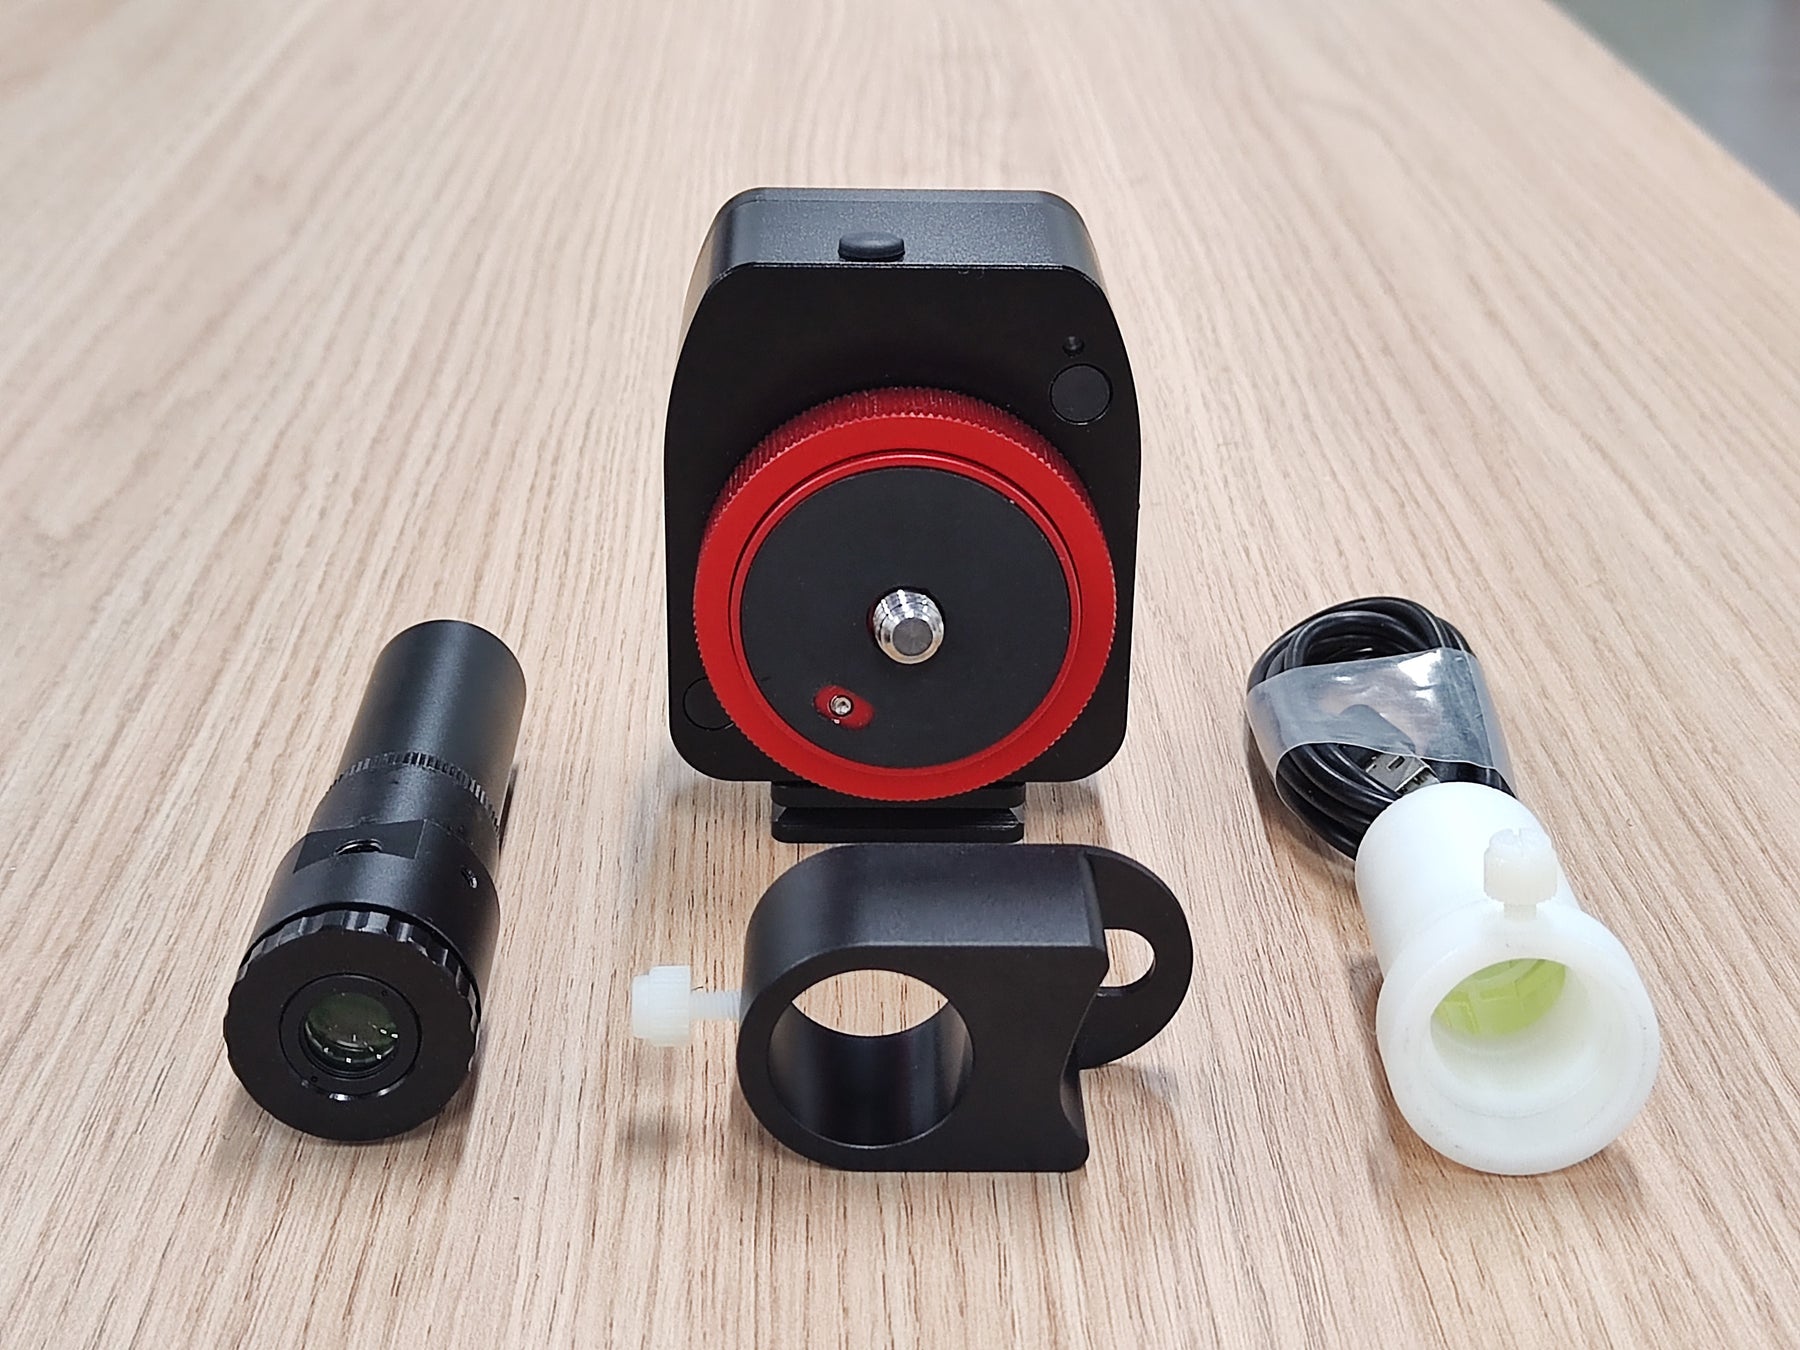
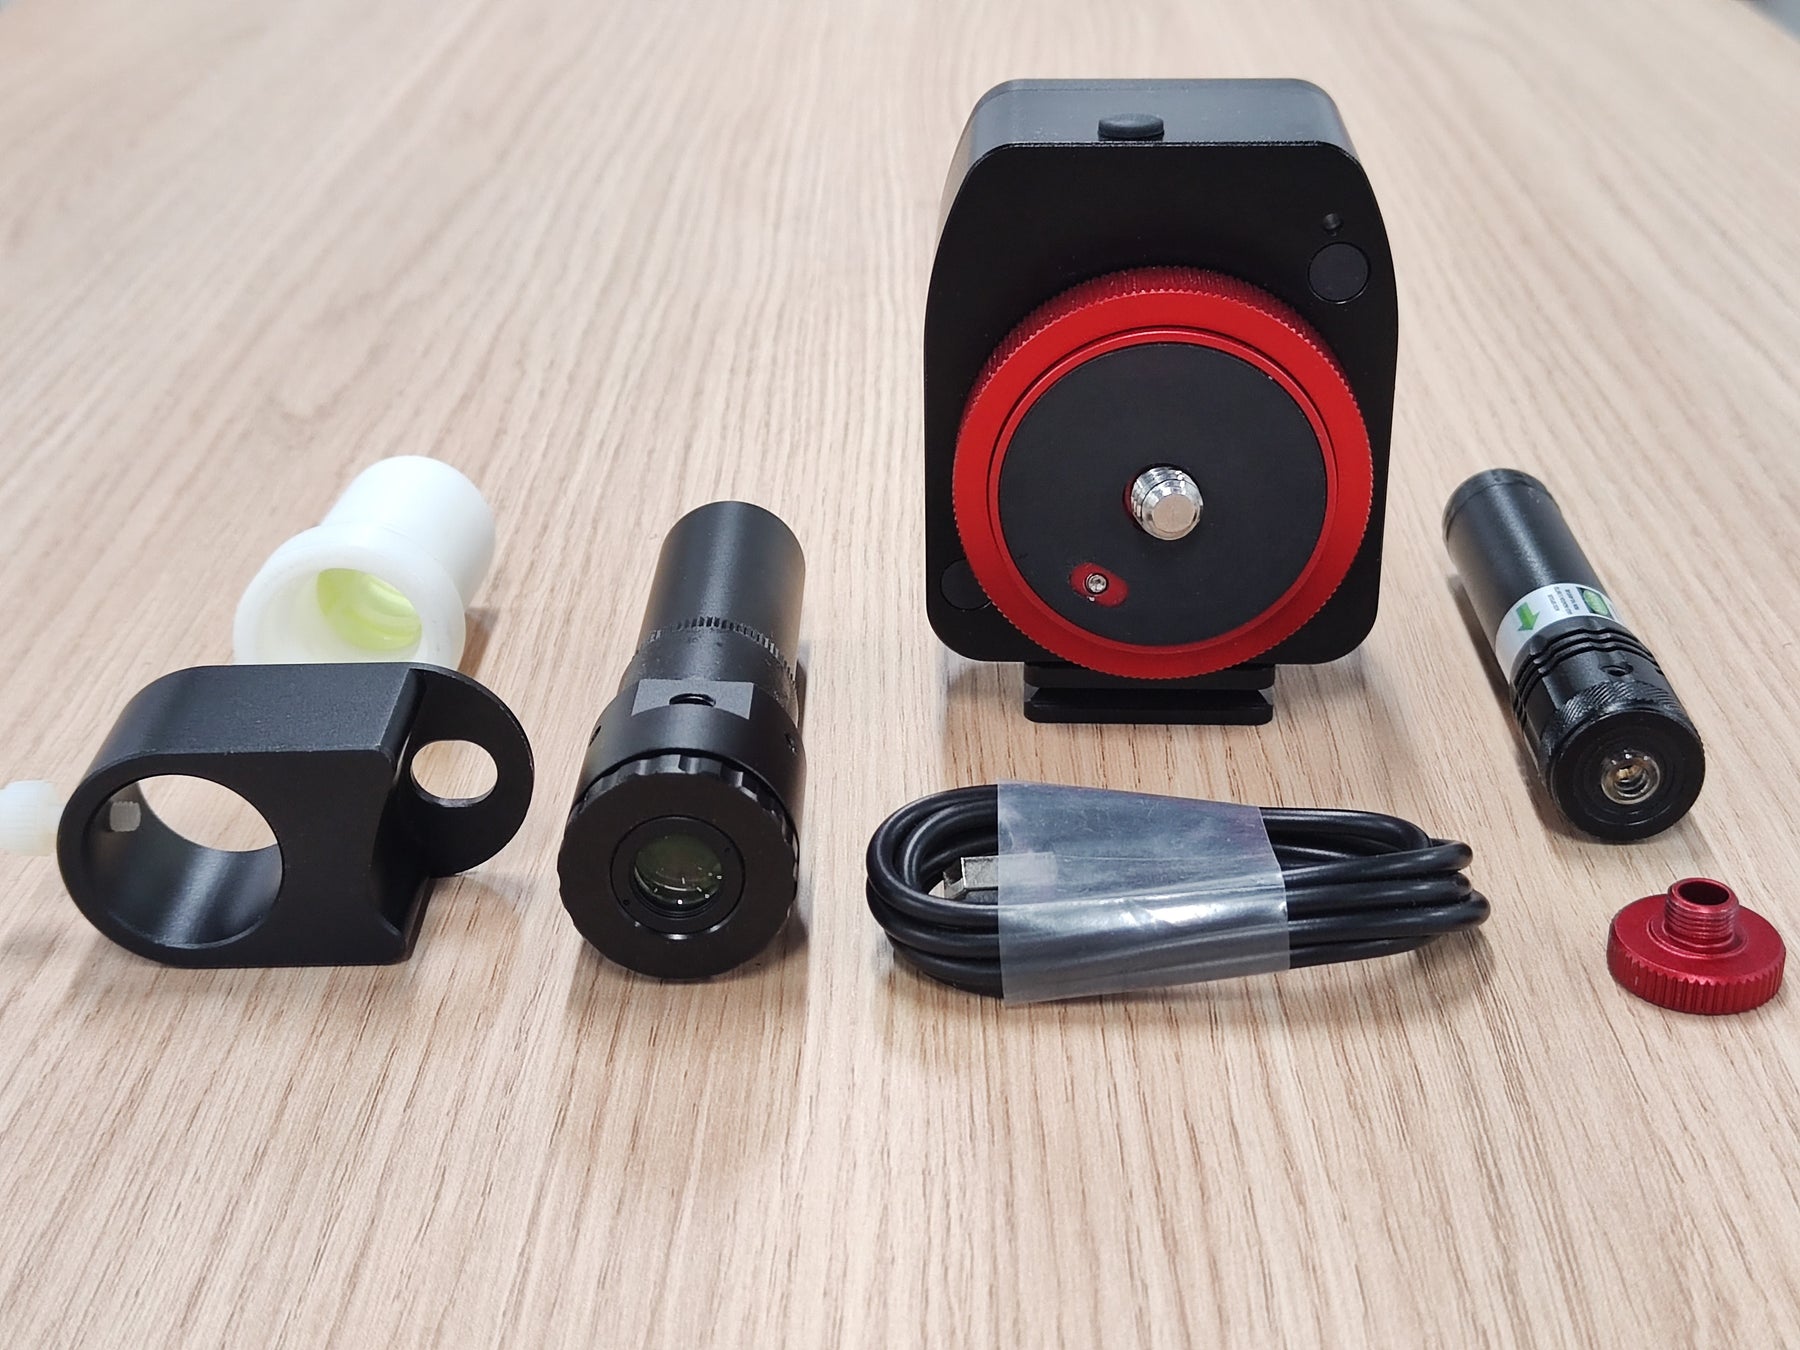
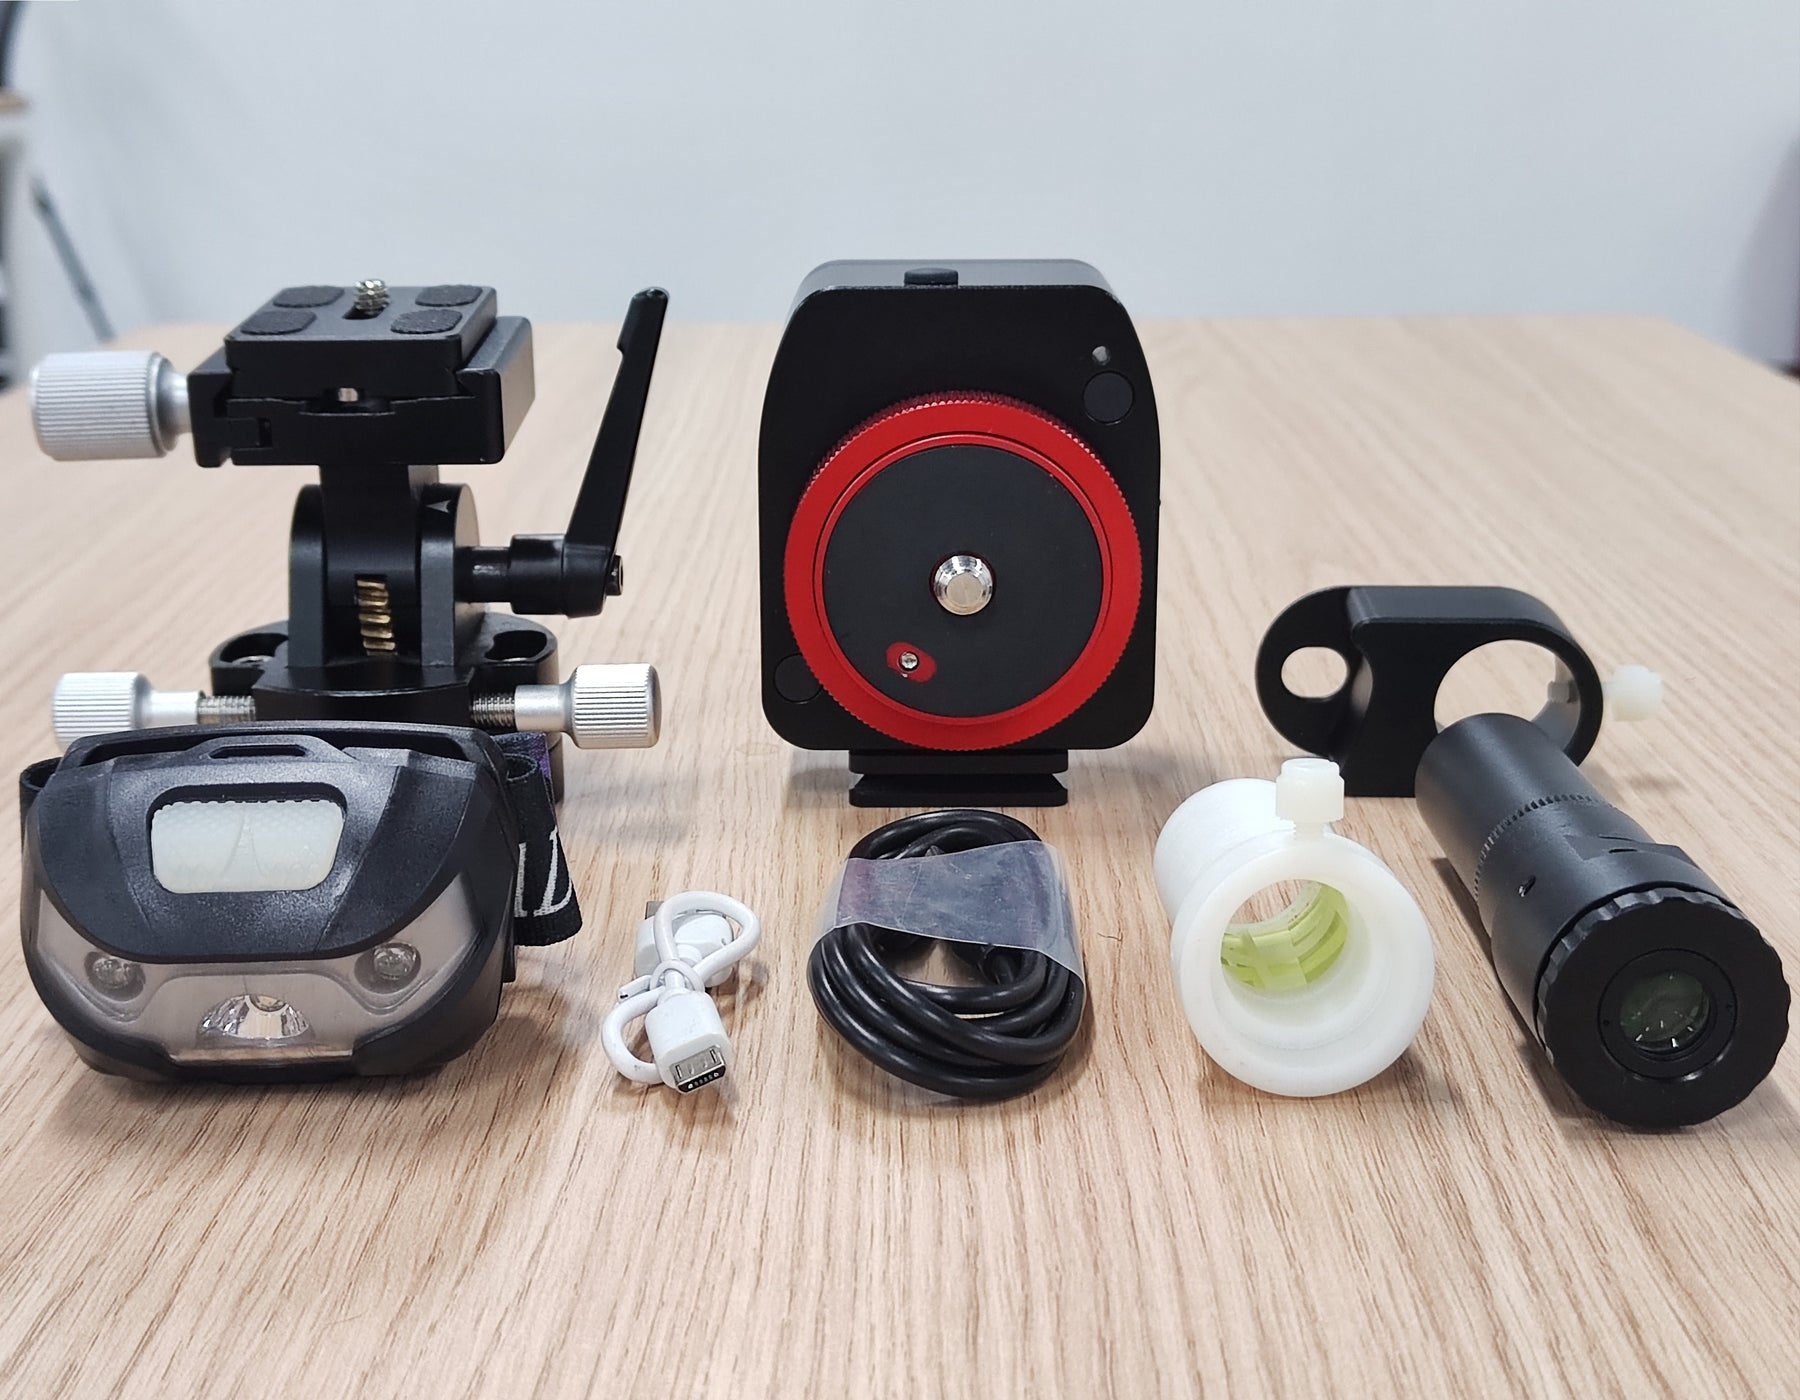
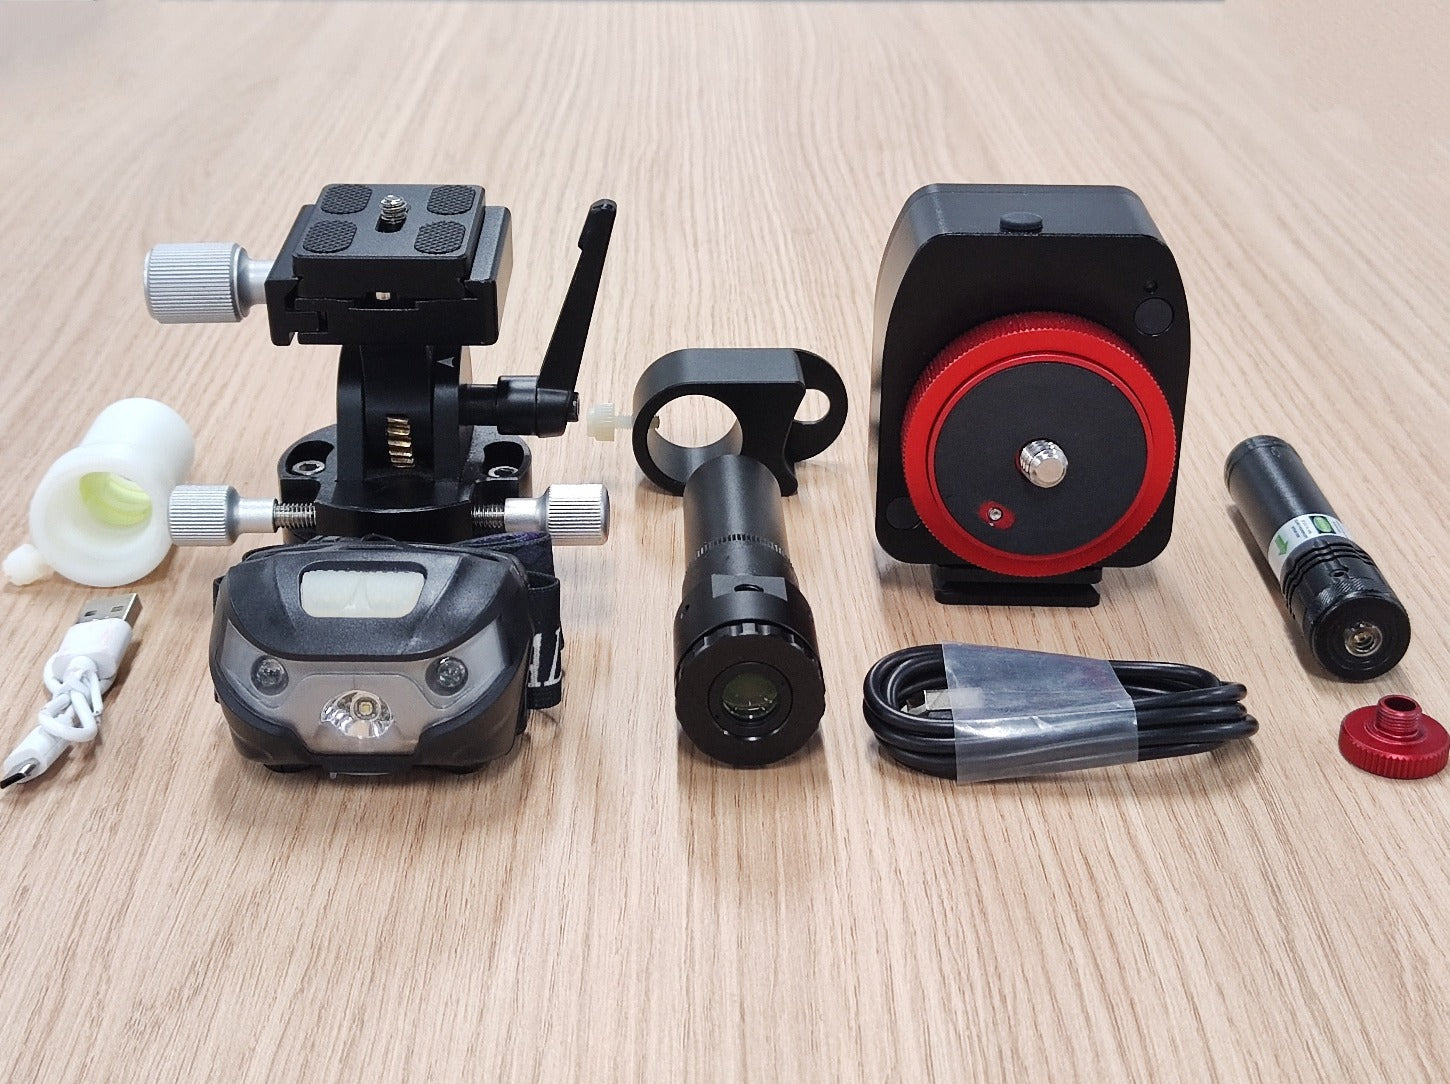
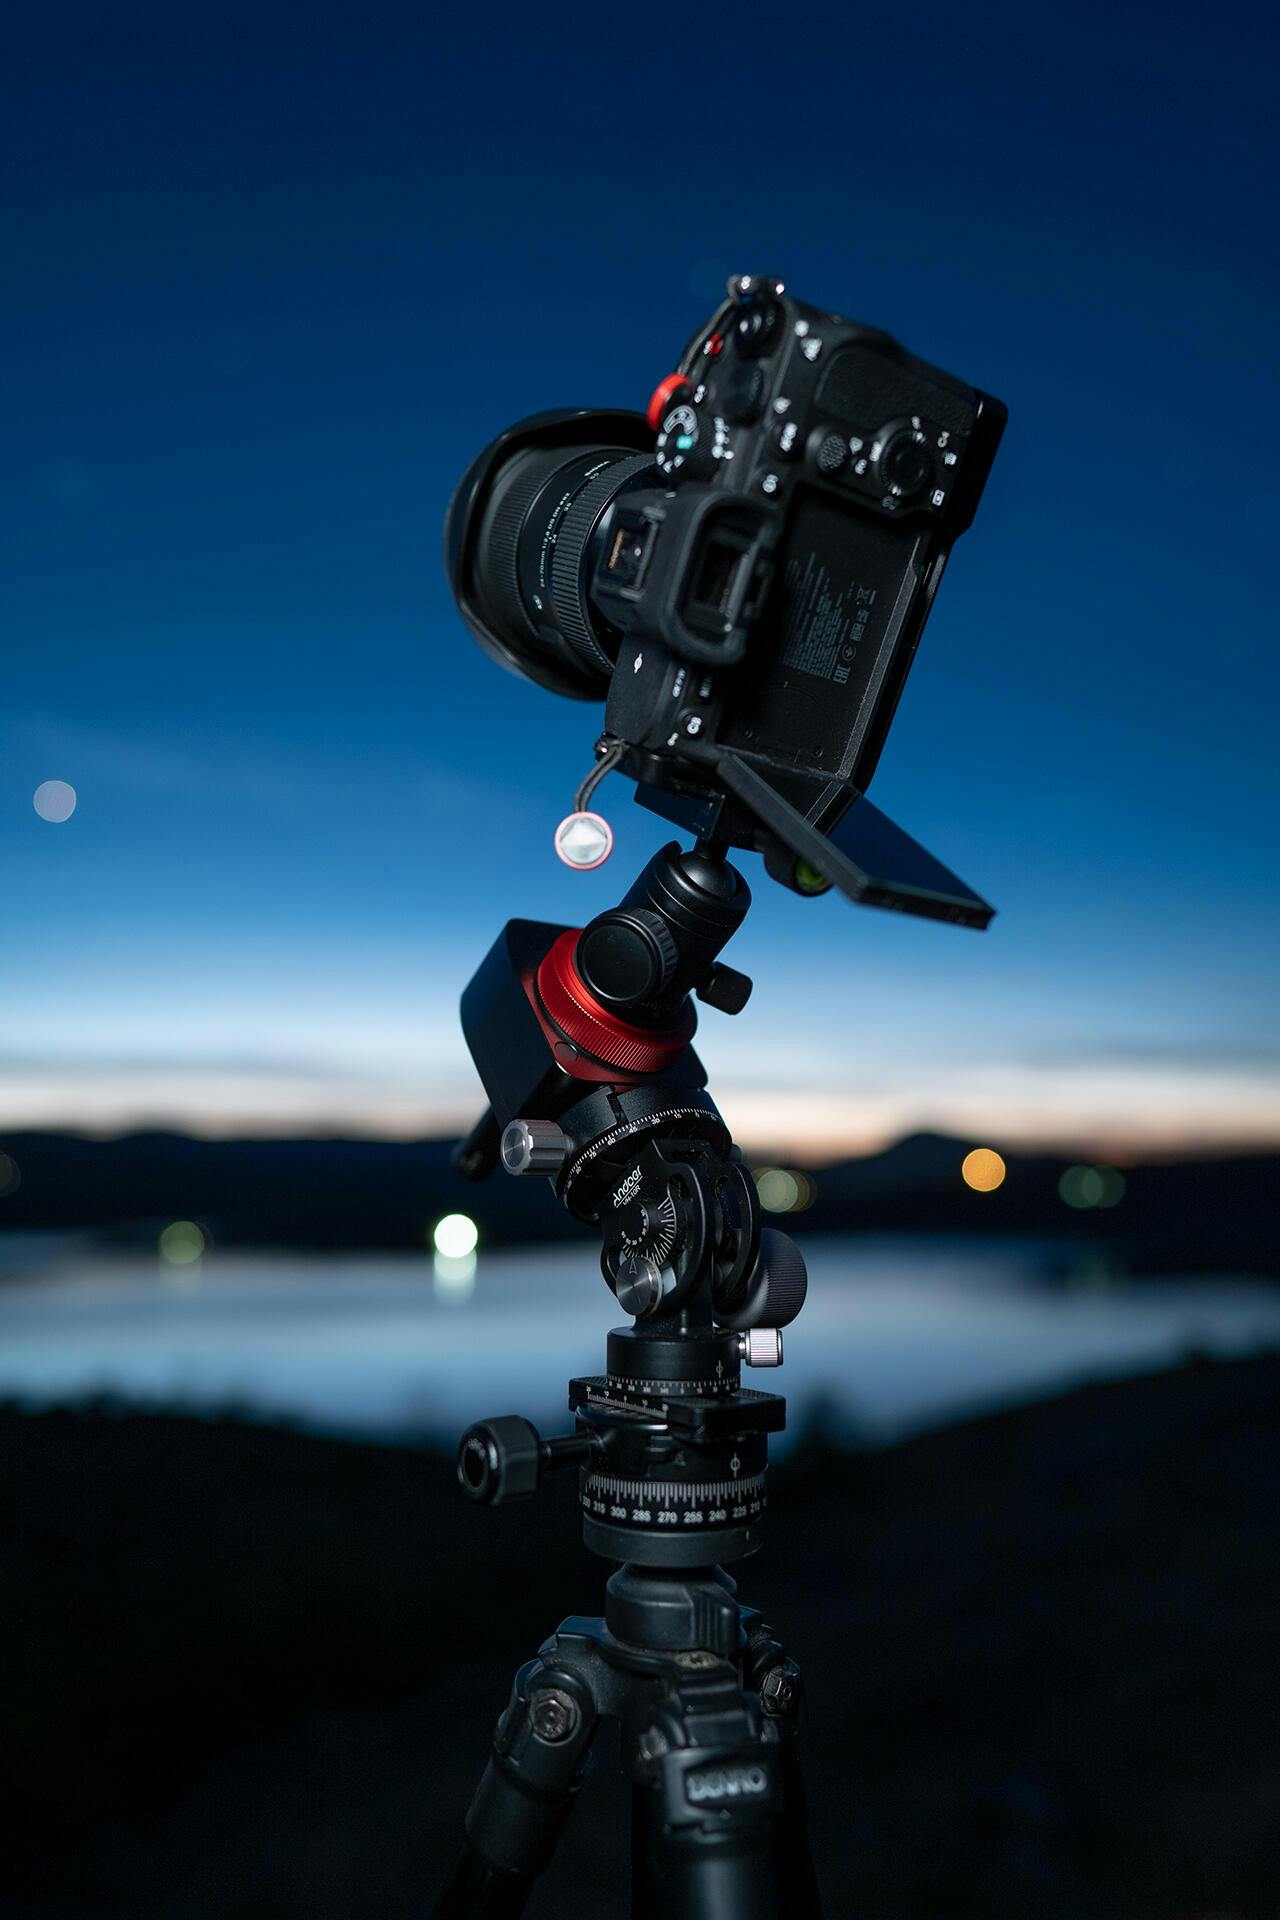
A star tracker is a motorized, equatorial mount that is fitted on top of a tripod but beneath your camera. The job of a move shoot move star tracker camera is to follow a fixed point in the sky- be that a star or planet- as they move with the rotation of Earth. 

Importance of Star Tracker

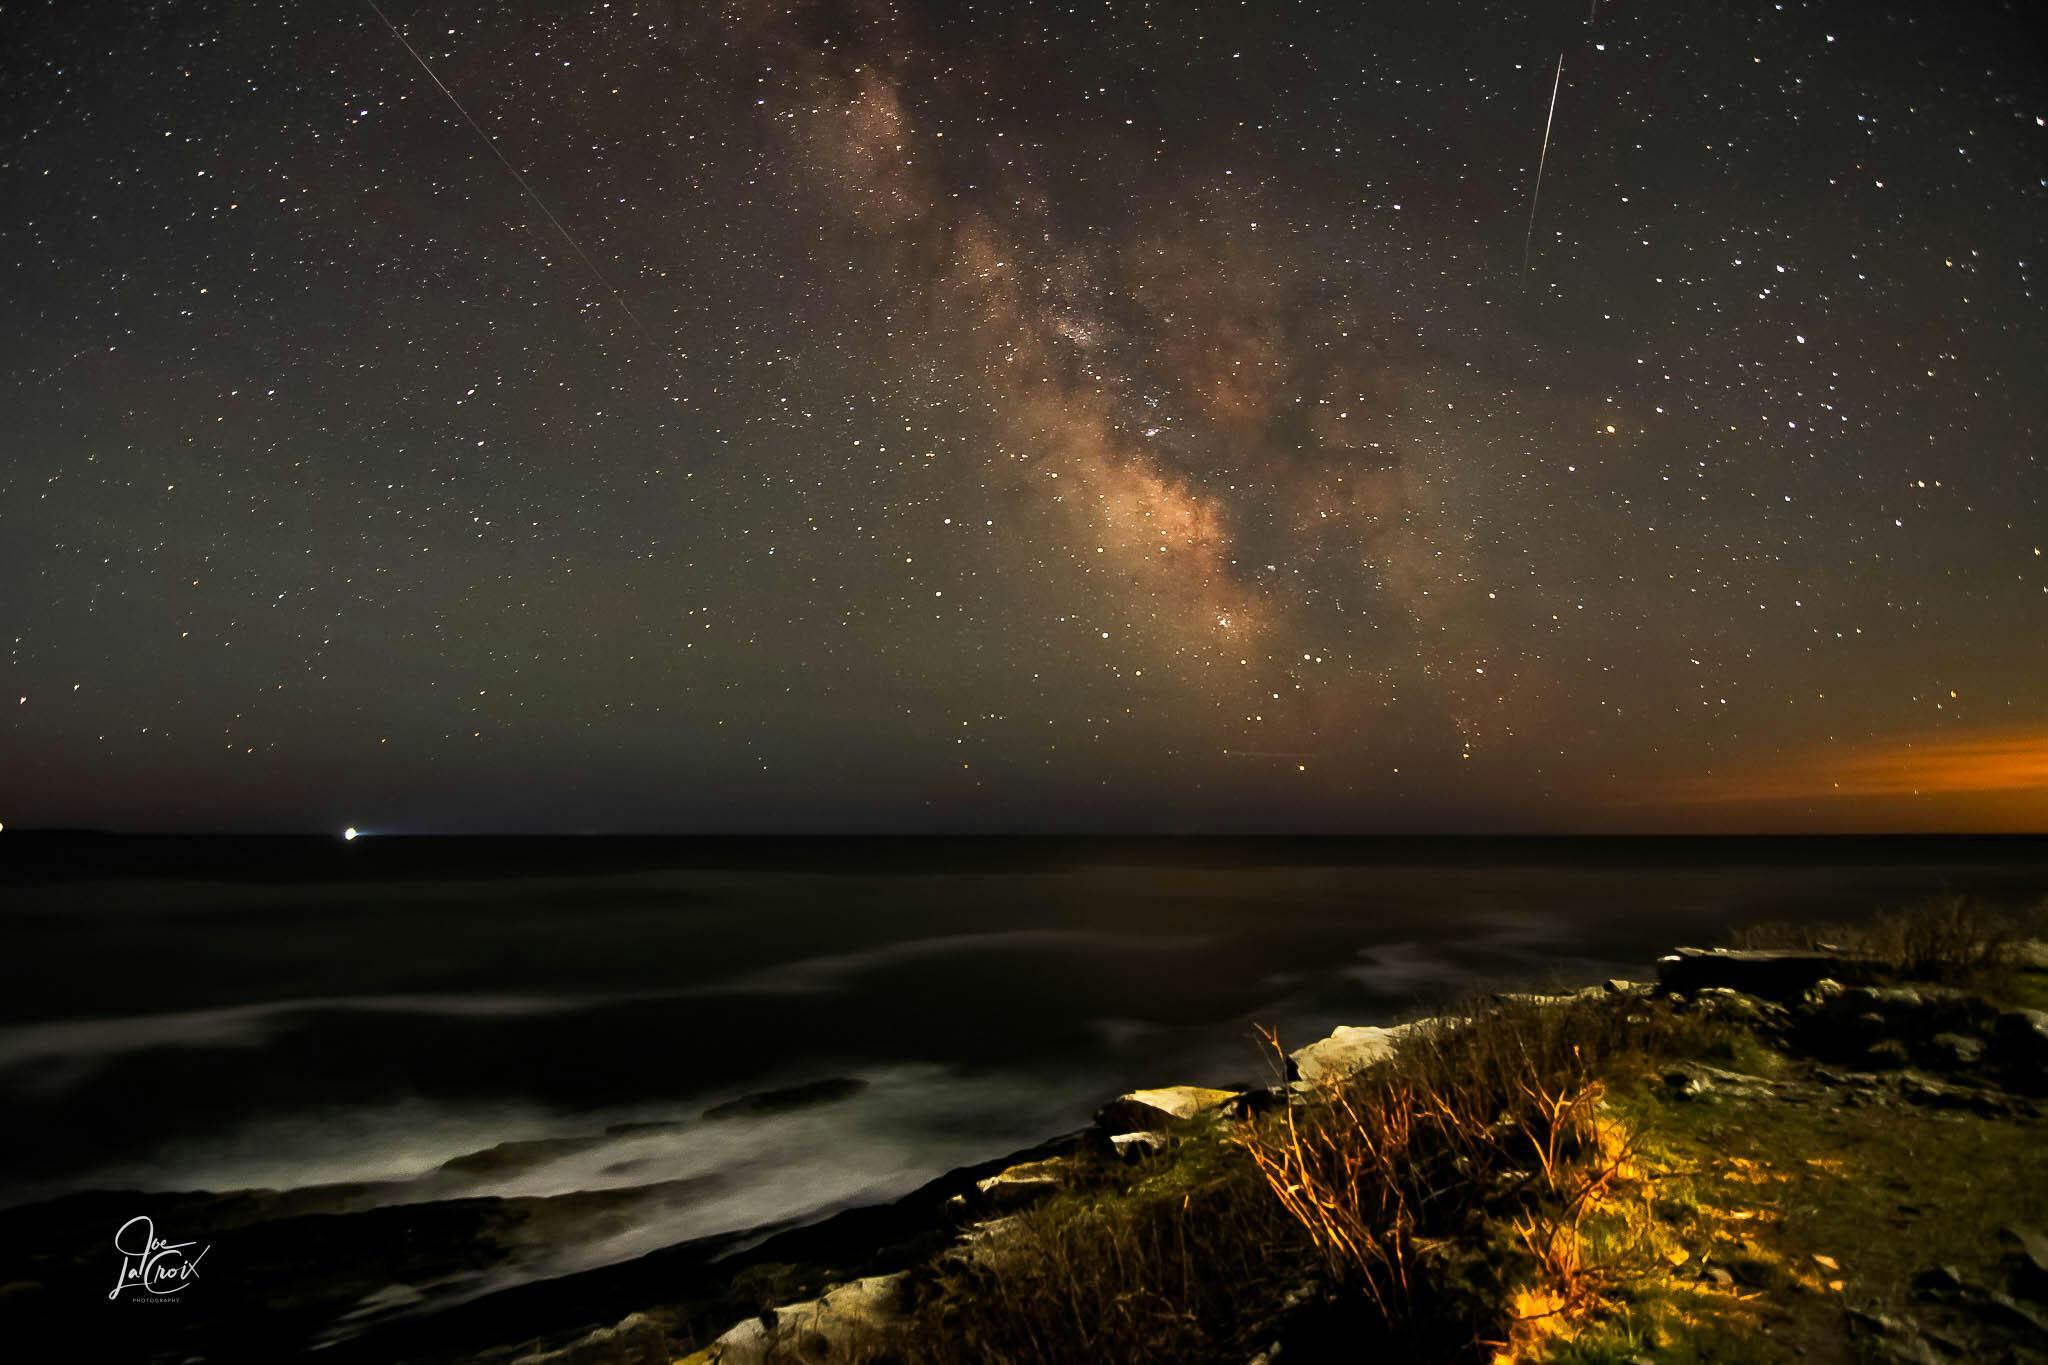
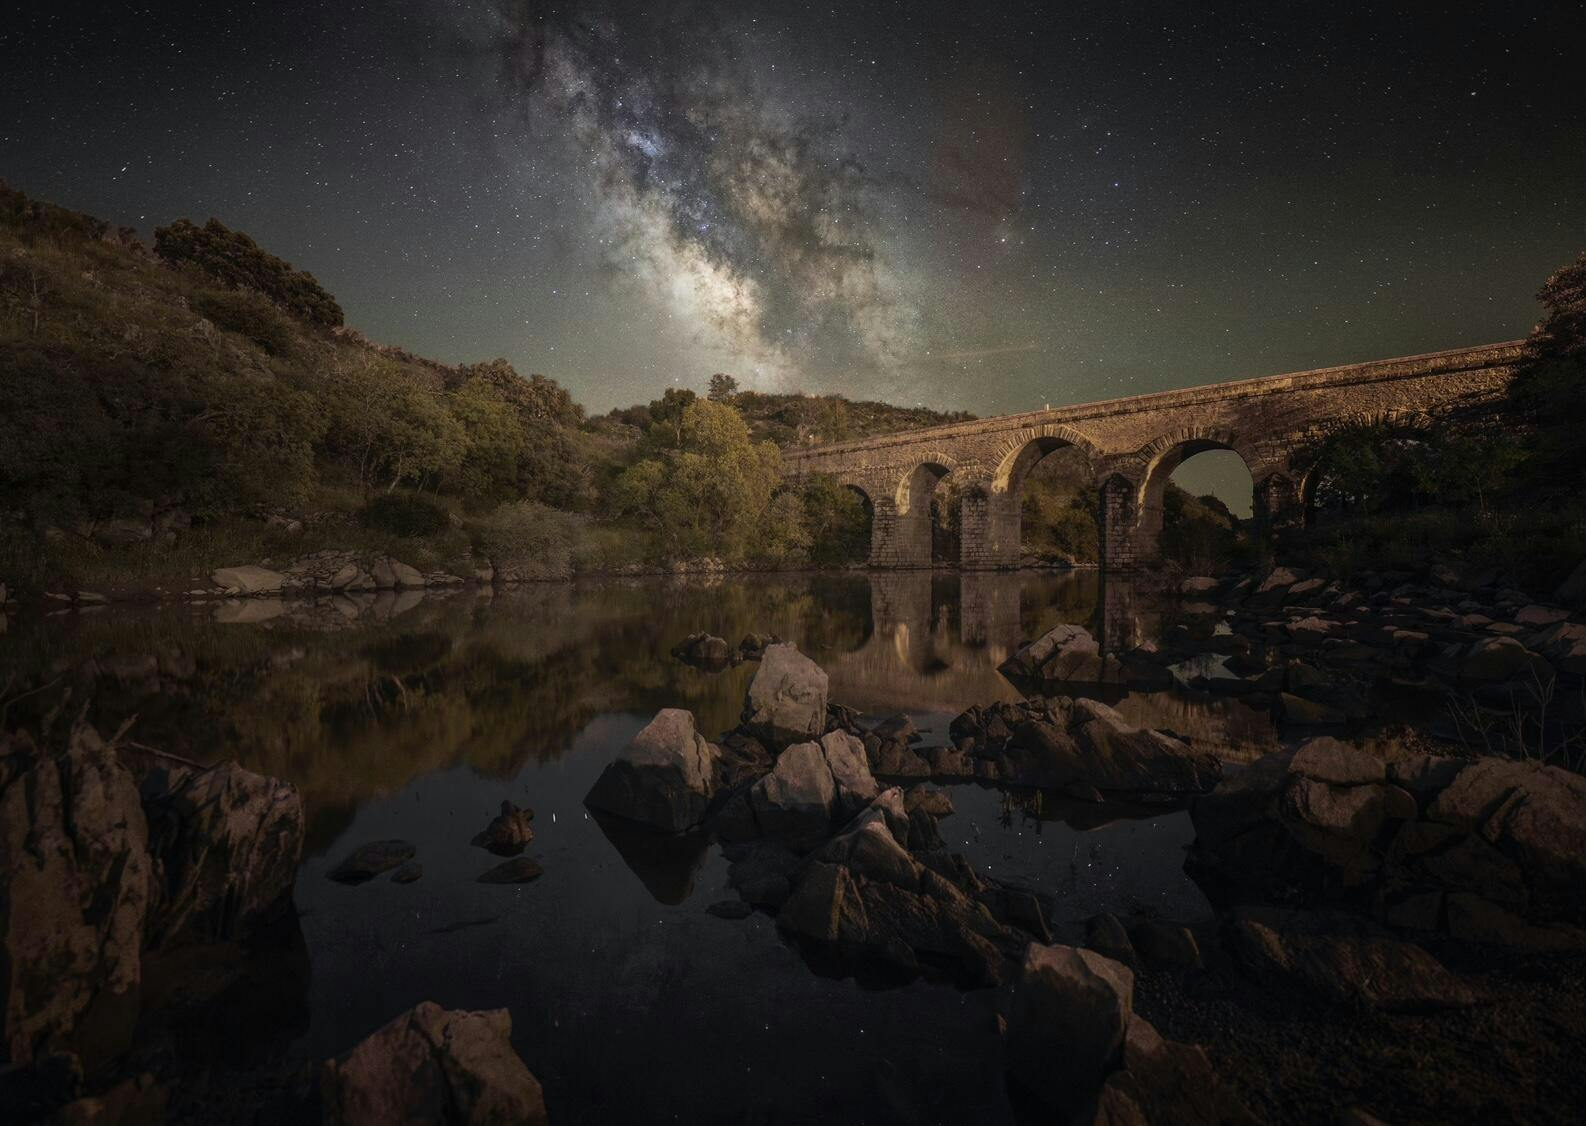
Astrophotography requires a long exposure time so that the camera can take more light. This would not be a problem in the case of Earthly objects like mountains or buildings as they do not move. But the heavenly bodies of the sky do move. A long exposure will result in a trial. 


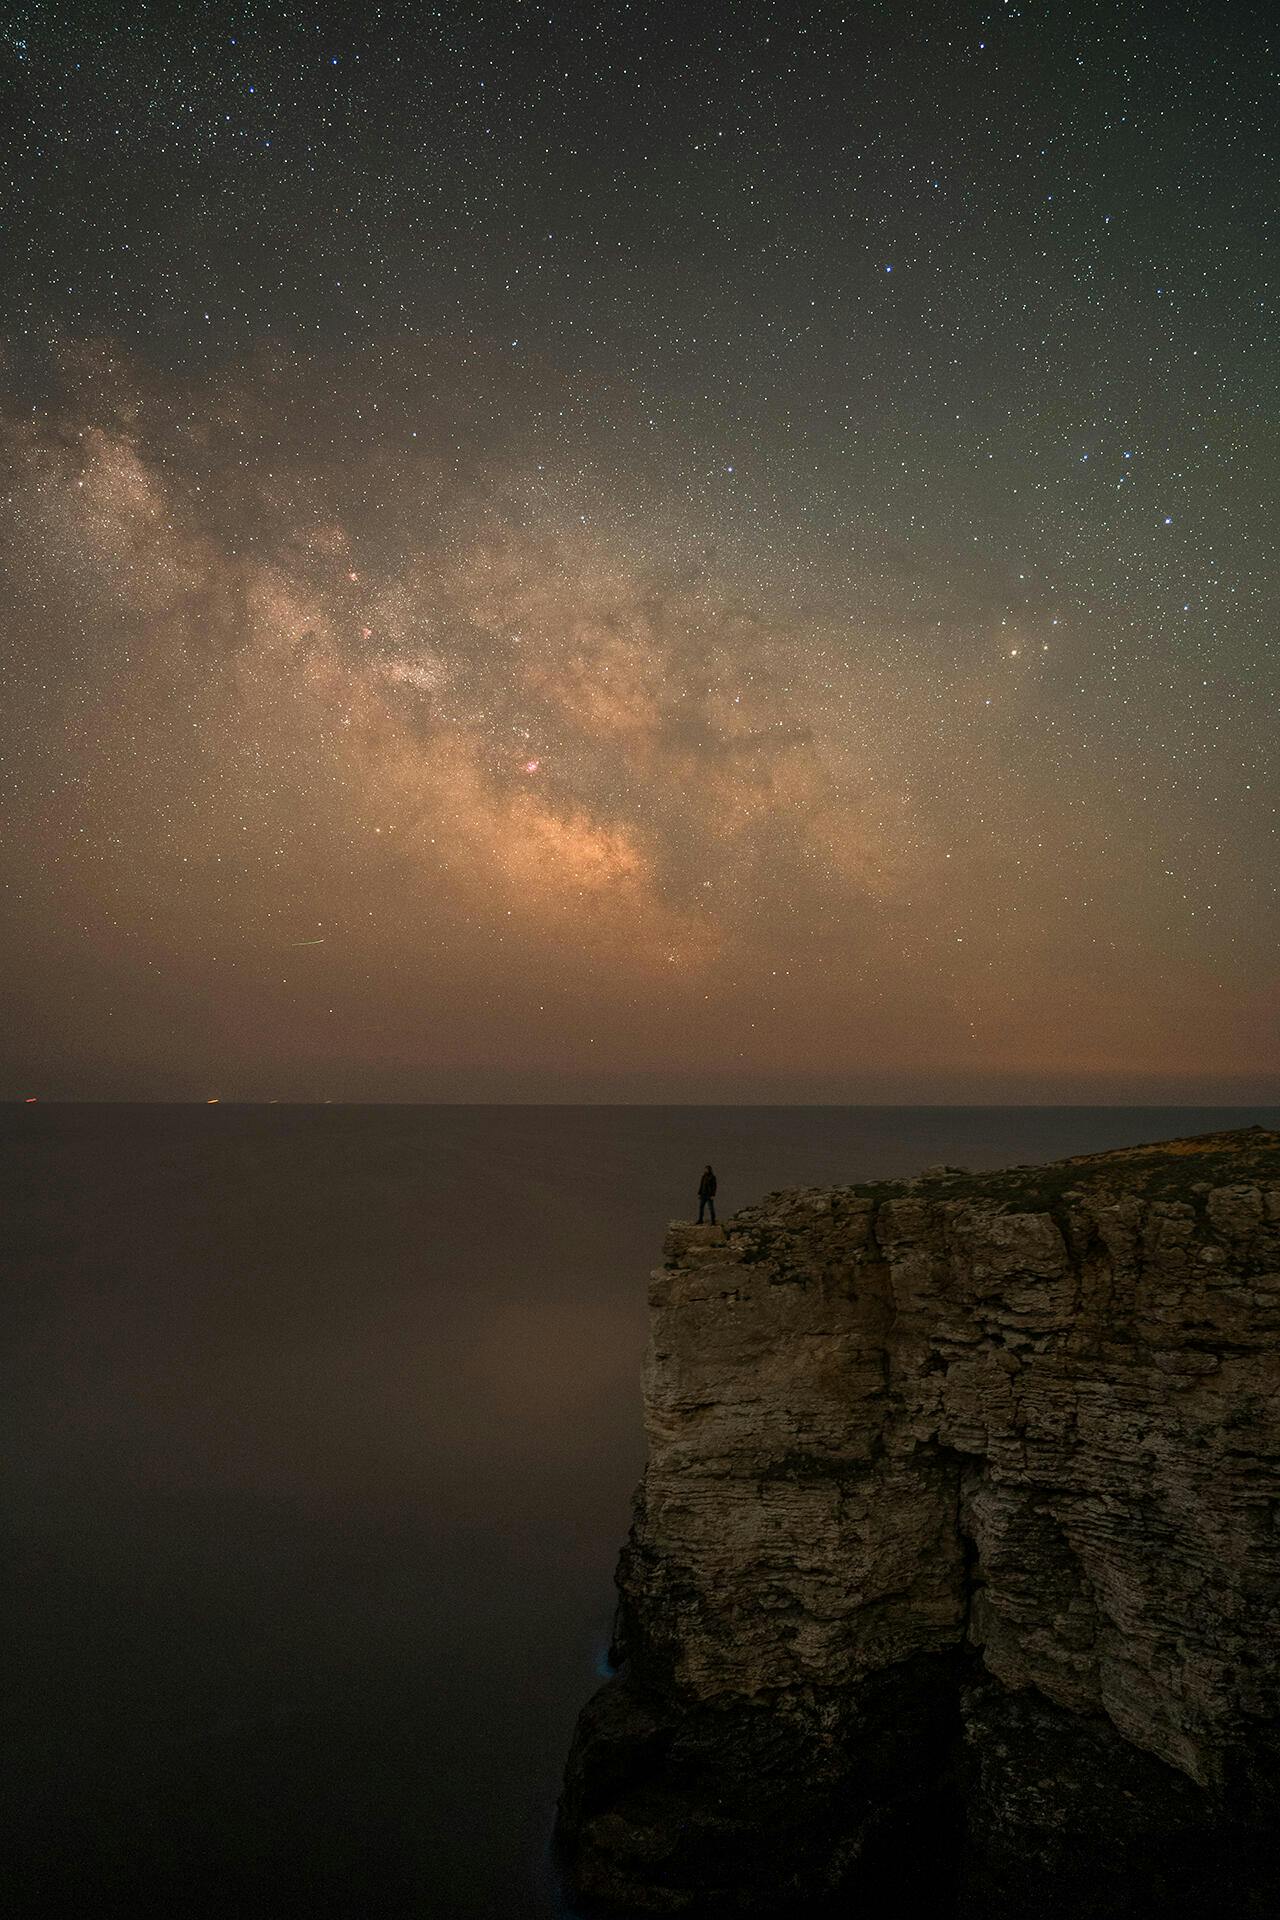
Star trails are sometimes useful for astronomers, but that is not always the objective of the astrophotographer. But when you want a sharp, detailed Astro image of the sky, you use a star tracker.


Need for Star Tracker

We have talked about what star tracker has to offer in simple words. But that might not tell you the whole story to the professionals. In technical terms, let us look into the advantages of a star tracker. 


    • Exposure time- Here is the catch- you need to have an exposure of several minutes and also want to omit digital noises from the photograph. The only way to do it is by reducing the shutter time. Using a star tracker, you can do that.
    • ISO- ISO is the sensitivity of the camera. Using a star tracker increases shutter speed, which in turn reduces ISO. More ISO usually contributes to more digital noises. With a star tracker, you can reduce the ISO of the night sky below 1600 instead of 3200-6400.
  • Aperture- Astrophotography demands images of high sharpness, and the narrower the aperture, the sharper the image. Closing the aperture will bring two beautiful outcomes- less vignetting and lens aberrations.

  • Remember, to produce mesmerizing astrophotography of the sky full of stars, you need all these 3 factors to contribute. Using these benefits, professionals produce mind-blowing night sky photographs that you find online.

    Notes on using a Star Tracker for Camera

    It is not always bread and butter every time when producing astrophotography. Just using a Star Tracker will not produce those beautiful images of the sky. Here are a few things to keep in mind if you are aiming to be an astrophotographer.

    Know how to use Photoshop

    One exposure is not enough when you are taking a shot with a star tracker. The foreground will be blurry as the camera moves with the movement of the star. So, you take two photos- one for the foreground and one for the sky.


    A complete photo is produced when you combine the two. How can you do that? You must have a working knowledge of photoshop to do that.

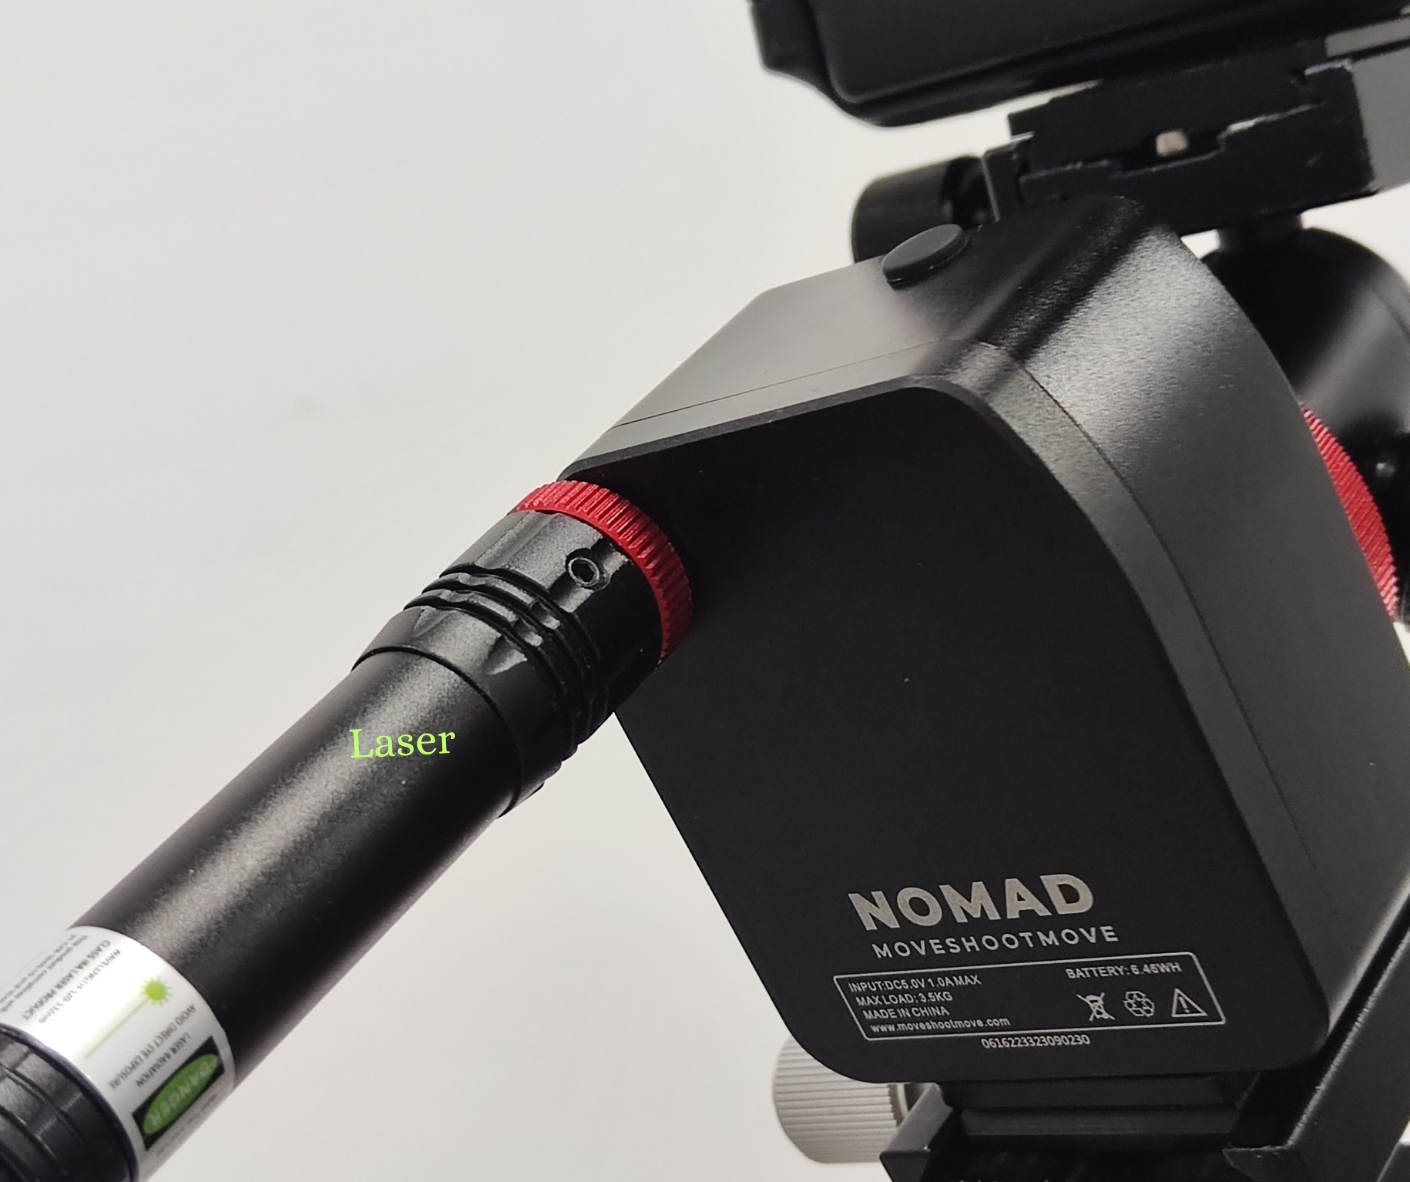
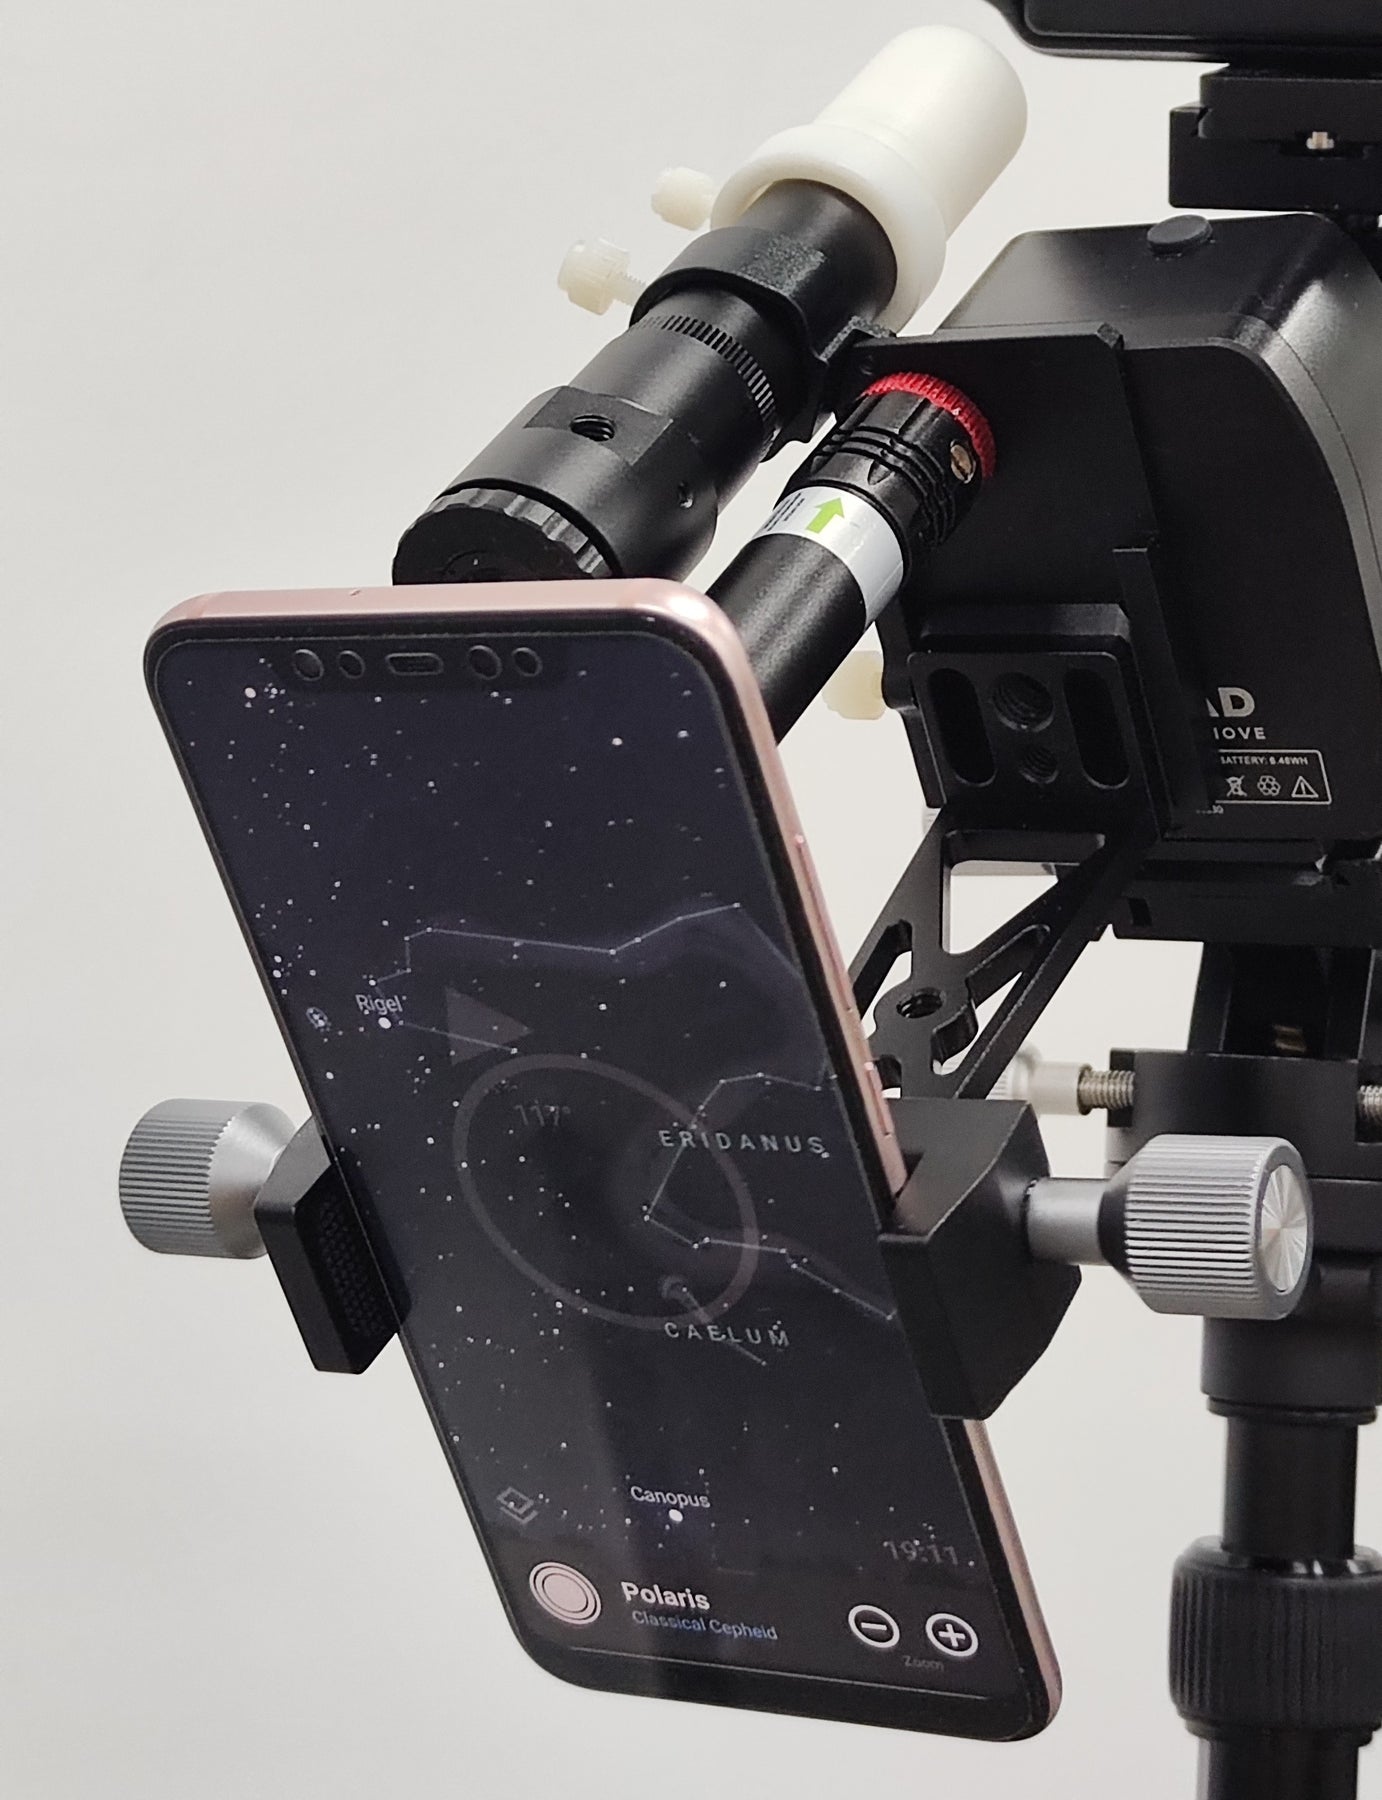
    Right Polar Alignment is Necessary

    If you align just any star with a star tracker, you might not receive the desired outcome. There is an unwritten rule that professionals use while taking images of the sky- Always point it to the stationary star in the sky. 

    That is usually the North Star for the northern hemisphere and South Star for the southern hemisphere. Why do we do it? We do it because all the stars in the sky appear to revolve around that star in a hemisphere. Aligning it with them makes the camera turn at the correct angle and speed.

    A Sturdy Tripod

    Since the shooting exposures are several minutes long, without sturdy tripods, your image will be ruined. If you are taking the shot outdoors, even the winds can cause a disturbance. Some tripods have a hook under the center column. For those tripods, add some weight to them to help your camera remain undisturbed by the wind.

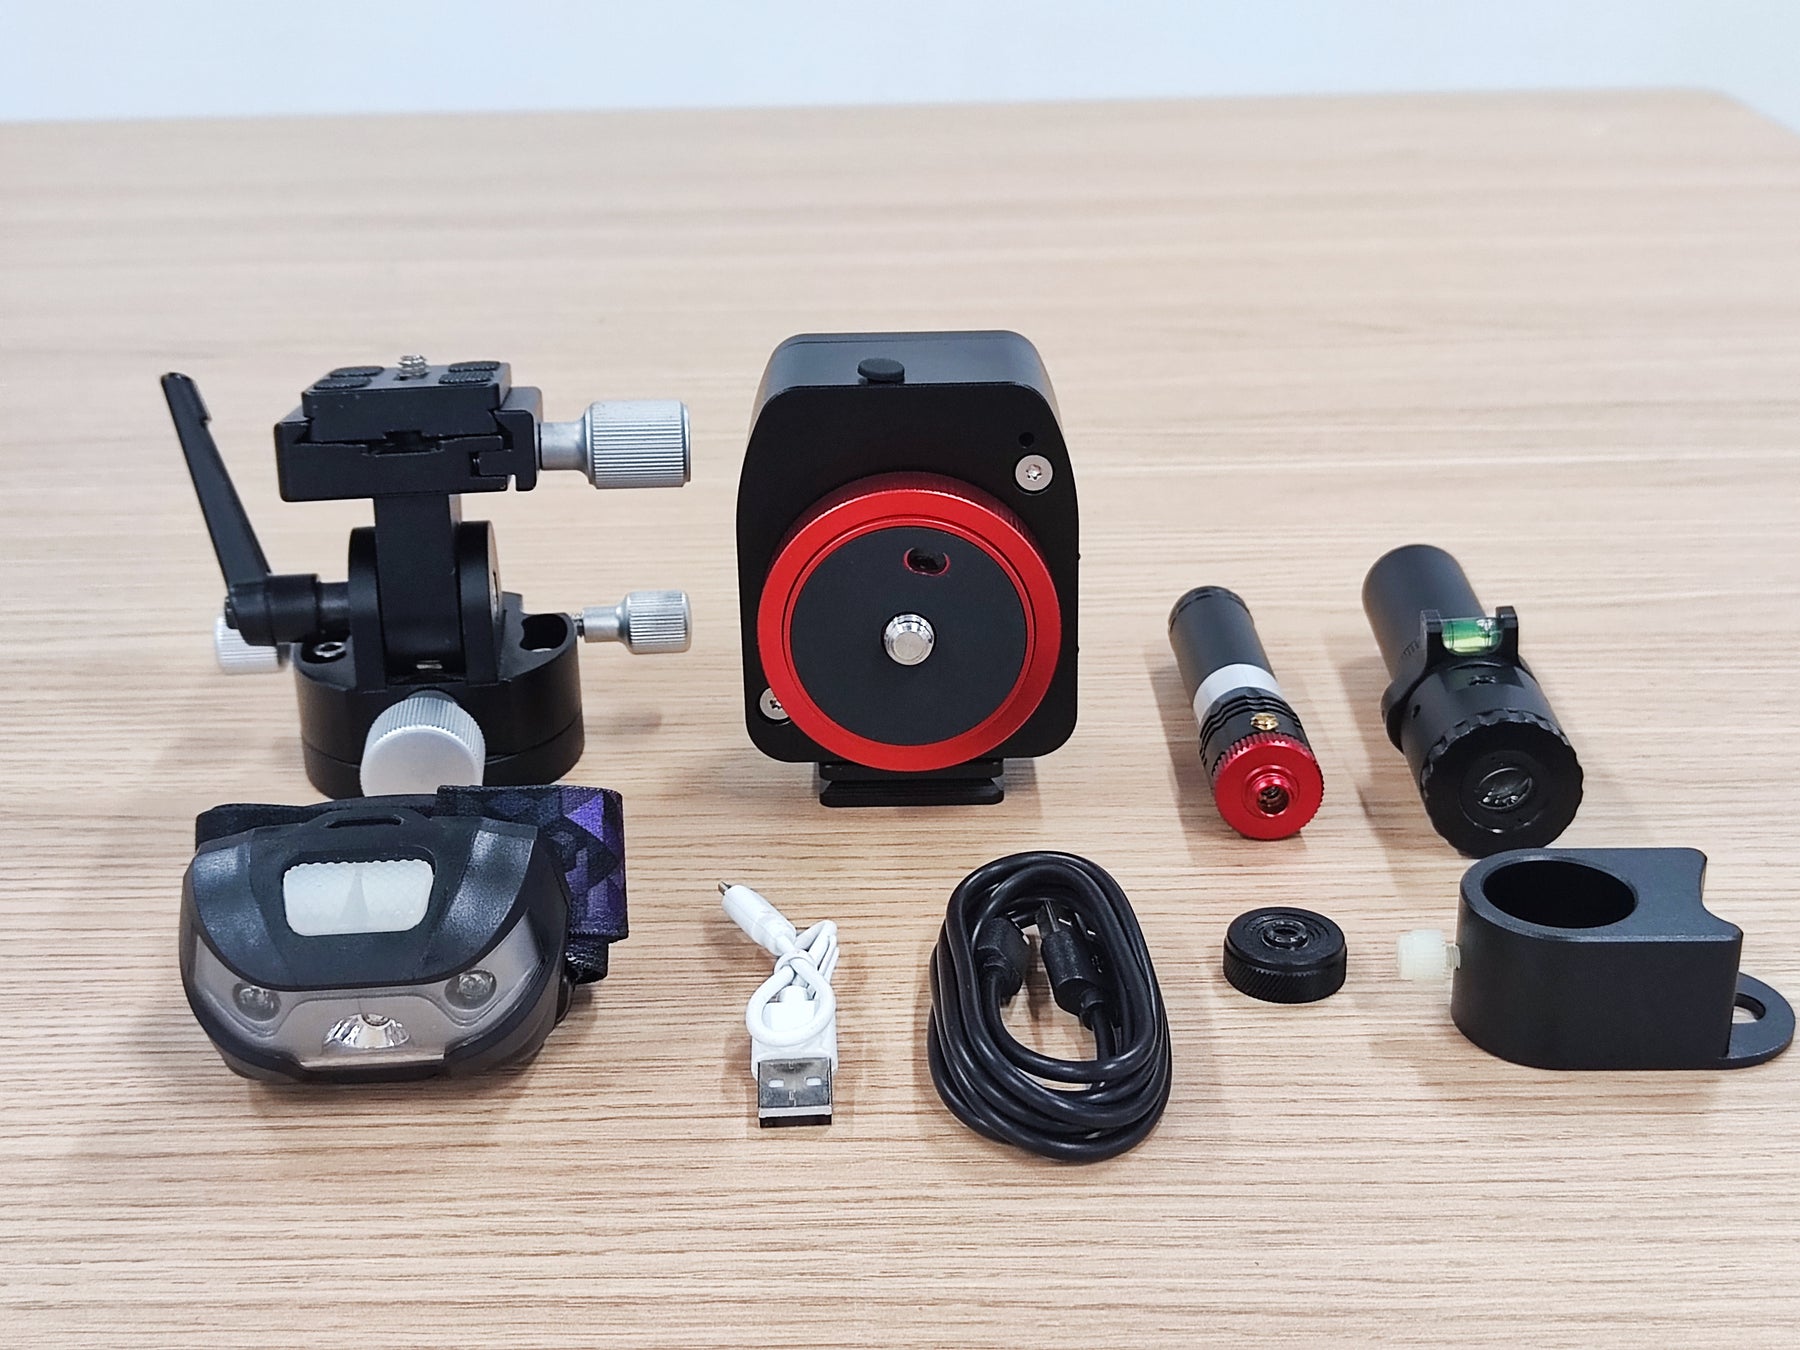
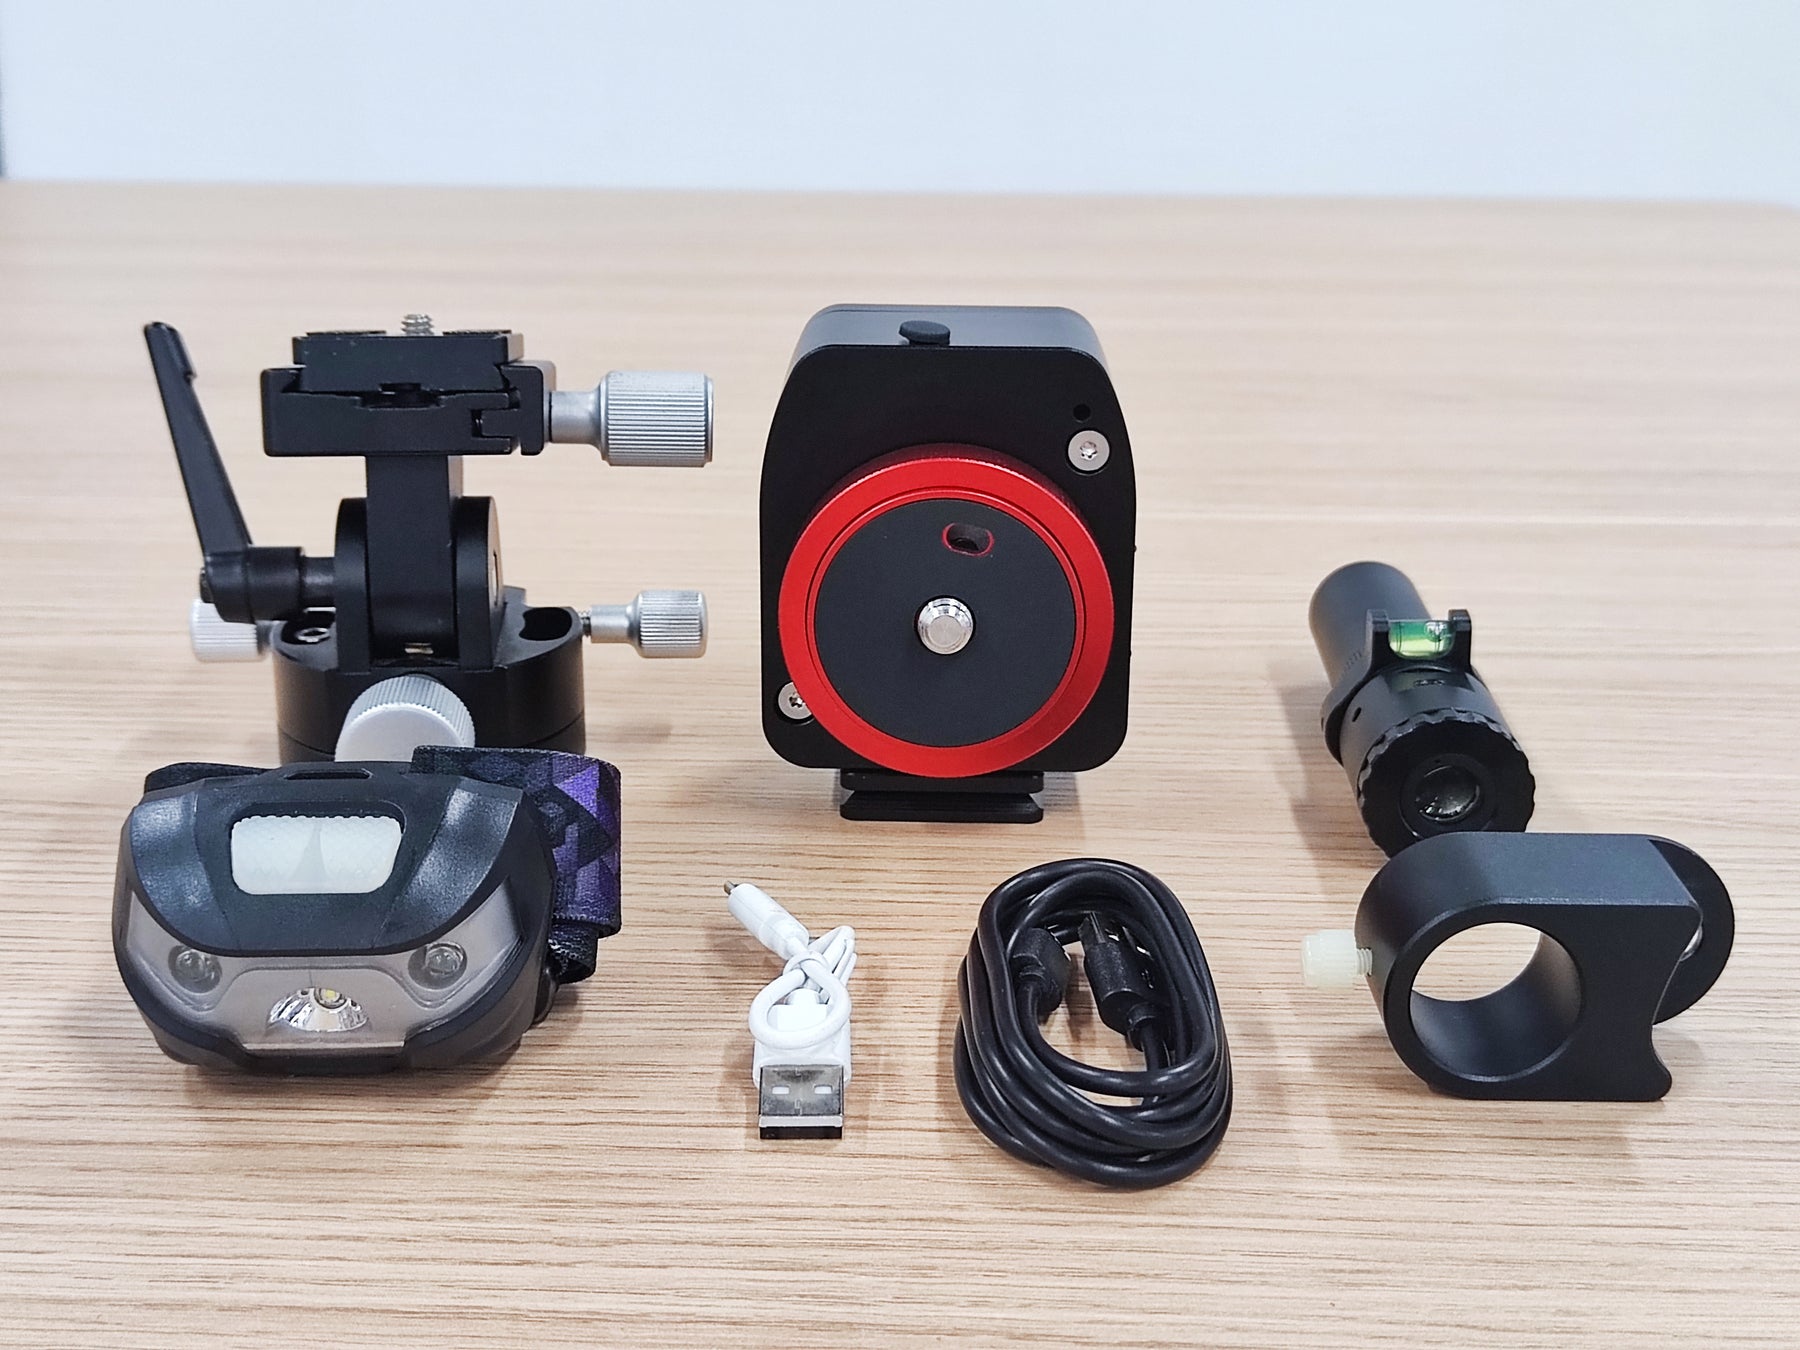
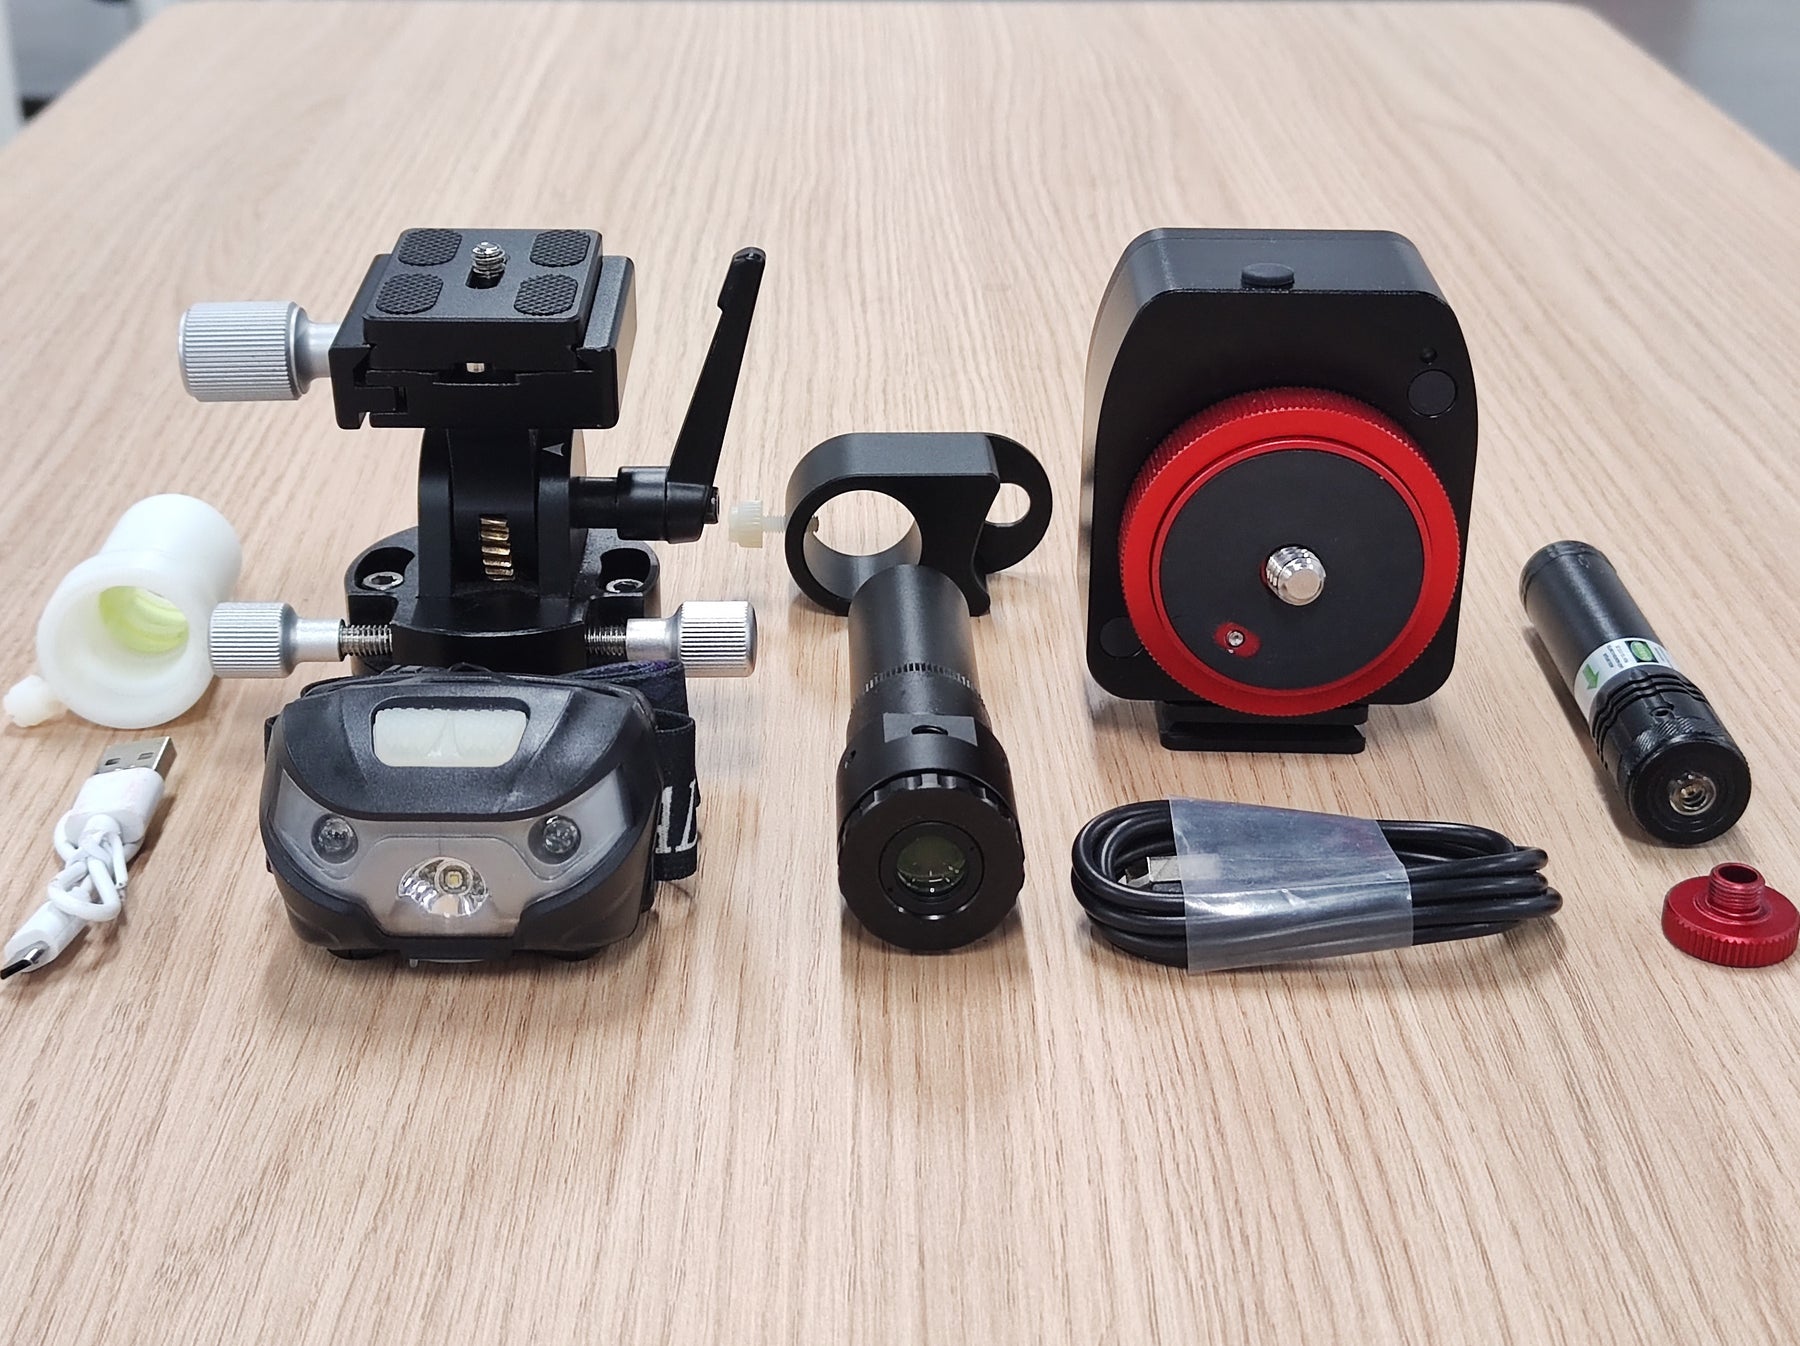
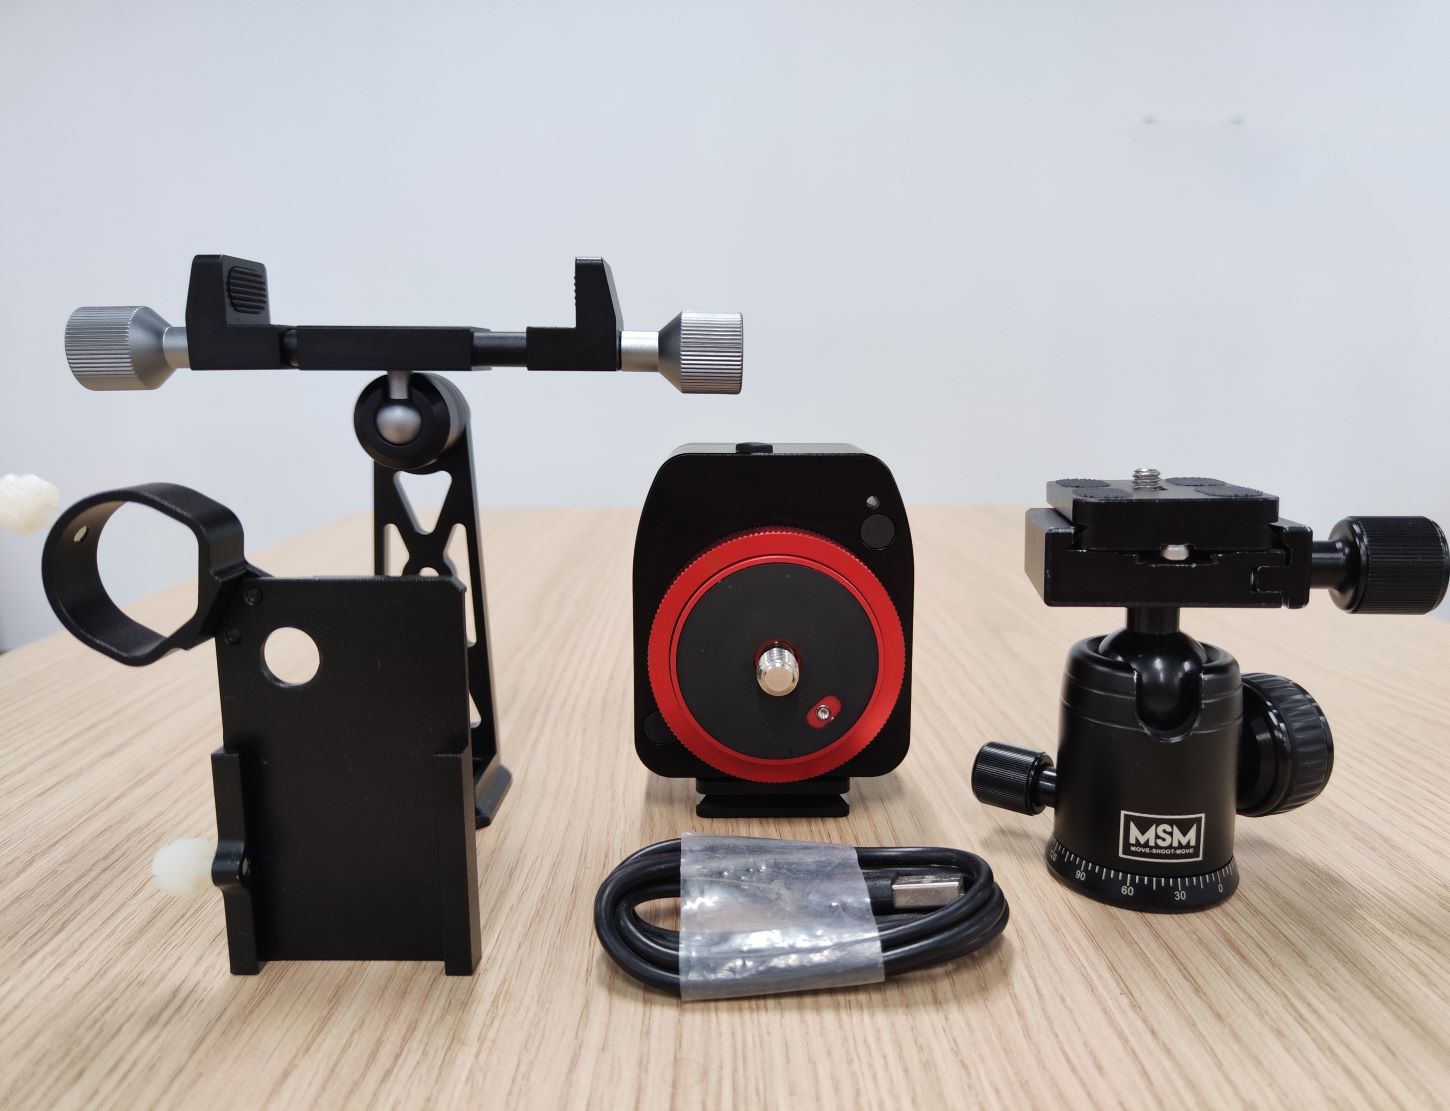
    How to Set up a Star Tracker Mount for Camera?

    Now that you have learned the basics of a star tracker mount, it's time you learn how to kickstart your astrophotography with a star tracker. Even when professionals create tracked Milkyway photography, they have to first get their star tracker ready. So, let us look into the 4 steps you can set up a star tracker.


    • First thing first - Level your Tripod. This has to be the first step, as without leveling, how can you track a star properly?  
    • Secondly, mount a ball head. This will hold the star tracker. Do not use some cheap ball head as this must be robust and strong to hold the weight of the whole star tracker setup.
    • Thirdly, you have to slide the tracker on the ball head and ensure the apparatus is not quivering. When it's done, mount a second ball to hold your camera.
    • Lastly, when all the above 3 steps are done, attach your camera to the star tracker.

    After these 4 steps, you are ready to align it with a star or take a test shot to see whether you have the desired outcomes.

    Star Tracker is an amazing tool for you if you wish to take Astrophotography. But remember, it is not a must, and you will still be able to capture beautiful, sharp images of the Milky Way in a good climate. With a star tracker, you will take the game to the next level.


    Preorder- Easy to use MSM Rotator for Astrophotography - Happy 2023 Milky Way Season🎁🏃🏃
    Preorder- Easy to use MSM Rotator for Astrophotography - Happy 2023 Milky Way Season🎁🏃🏃
    Preorder- Easy to use MSM Rotator for Astrophotography - Happy 2023 Milky Way Season🎁🏃🏃
    Preorder- Easy to use MSM Rotator for Astrophotography - Happy 2023 Milky Way Season🎁🏃🏃
    Preorder- Easy to use MSM Rotator for Astrophotography - Happy 2023 Milky Way Season🎁🏃🏃
    Preorder- Easy to use MSM Rotator for Astrophotography - Happy 2023 Milky Way Season🎁🏃🏃
    Preorder- Easy to use MSM Rotator for Astrophotography - Happy 2023 Milky Way Season🎁🏃🏃
    Preorder- Easy to use MSM Rotator for Astrophotography - Happy 2023 Milky Way Season🎁🏃🏃
    Preorder- Easy to use MSM Rotator for Astrophotography - Happy 2023 Milky Way Season🎁🏃🏃
    Preorder- Easy to use MSM Rotator for Astrophotography - Happy 2023 Milky Way Season🎁🏃🏃
    Preorder- Easy to use MSM Rotator for Astrophotography - Happy 2023 Milky Way Season🎁🏃🏃
    Preorder- Easy to use MSM Rotator for Astrophotography - Happy 2023 Milky Way Season🎁🏃🏃
    Preorder- Easy to use MSM Rotator for Astrophotography - Happy 2023 Milky Way Season🎁🏃🏃
    Preorder- Easy to use MSM Rotator for Astrophotography - Happy 2023 Milky Way Season🎁🏃🏃
    Preorder- Easy to use MSM Rotator for Astrophotography - Happy 2023 Milky Way Season🎁🏃🏃
    Preorder- Easy to use MSM Rotator for Astrophotography - Happy 2023 Milky Way Season🎁🏃🏃
    Preorder- Easy to use MSM Rotator for Astrophotography - Happy 2023 Milky Way Season🎁🏃🏃
    Preorder- Easy to use MSM Rotator for Astrophotography - Happy 2023 Milky Way Season🎁🏃🏃
    Preorder- Easy to use MSM Rotator for Astrophotography - Happy 2023 Milky Way Season🎁🏃🏃
    Preorder- Easy to use MSM Rotator for Astrophotography - Happy 2023 Milky Way Season🎁🏃🏃
    Preorder- Easy to use MSM Rotator for Astrophotography - Happy 2023 Milky Way Season🎁🏃🏃
    Preorder- Easy to use MSM Rotator for Astrophotography - Happy 2023 Milky Way Season🎁🏃🏃
    Preorder- Easy to use MSM Rotator for Astrophotography - Happy 2023 Milky Way Season🎁🏃🏃
    Preorder- Easy to use MSM Rotator for Astrophotography - Happy 2023 Milky Way Season🎁🏃🏃

    Preorder- Easy to use MSM Rotator for Astrophotography - Happy 2023 Milky Way Season🎁🏃🏃

    Regular price $249.00 Sale price$209.00
    /

    Options

    Customer Reviews

    Based on 1234 reviews
    84%
    (1034)
    15%
    (180)
    1%
    (17)
    0%
    (1)
    0%
    (2)
    E
    Eric Hoppe (Düsseldorf, DE)
    A great way to begin photographing the Milky Way.

    Relatively easy setup, polar alignment in the southern Hemisphere is challenging but that is the case with every tracker. The phone mount makes it somewhat easier. The ability to charge via USB is a big plus as is its size, great for travel.

    C
    Cate (Katy, US)
    Great compact tracker!

    Easy to set up, sharp stars with 4 min exposures!

    T
    Tom Gober
    Easy to use

    Setup was a super easy. Laser pointer makes polar alignment a snap! High humidity, rain and clouds are making picture taking difficult, but the tracker seems to be functioning great.

    B
    Brendan Smullen (Dublin, IE)
    Not used it yet

    I have not used my MSM yet due to bad weather. But so far I can say it is light weight, easy to use (tested indoors only) and seems to be well made. As soon as I have tried it out correctly I will edit/write a full review.

    M
    Mr Mike Cantrell (Chesterfield, GB)
    View from a novice

    All of my time has been spent watching the various tutorials, a necessary process as the instruction booklet is a waste of paper.. The biggest issue I've had so far is finding a clear sky at the right time. English weather and city light pollution has been my bugbear. However locating the north star and lining up the laser pointer was very easy and my stars have been pinpoints.. The one remaining issue I have now is what the other buttons do ? when do you use them , why do you use them, why would you 1/2 star track? or even slower, you provide these but give no reason for such a facility. Overall for a beginner with a cheap 20mm lens mounted on a Sony A92 I'm enjoying the process and very pleased with my purchase.

    d
    daniele zambon (Lurate Caccivio, IT)
    Great value for the price

    So portable and easy to set up. I used it only for a few nights during my travels and it worked like a charm.

    P
    Paul Rush (Wolverhampton, GB)
    First star tracker

    Wow...! What an introduction to long exposure astrophotography, Absolutely amazing piece of kit and so small, it fits in my back pack with my Canon R6 16mm 2.8, 24-70 2.8 and my 70-200 f2.8, love it and soo easy to align with the laser pointer. Roll on the long winter dark skies. Highly recommended.

    J
    Joao Yordanov Serralheiro (Cambridge, GB)
    Amazing and Accurate Little Tracker

    I'm absolutely in love with the MSM tracker, I'm using it only with 20mm and 14mm lenses, however, had a go with a 50mm lens, using the laser only and got super sharp images with 4min exposure! Incredible what the little and light rotator can do!

    W
    William White (Atlanta, US)
    MSM works great!

    I used it for the Milky Way August 11 and it did a great job.

    I
    Ian Elmes (Wexford, IE)
    Excellent Rotator

    Never having used anything like this, I was dubious about purchasing a Star Tracker as they seem so expensive and Astro isn't something that I do a lot of.

    I bit the bullet and purchased the MSM Rotator with the Laser Point and the Wedge and also purchased the Star Focus Filter.

    I've used it a couple of times now and setting up to Polaris is really easy with the Laser Pointer. The Wedge is a little temperamental in my opinion. Yes it works well, but when you tightening it up, it moves slightly. it's not an issue if you remember to counter the movement before tightening.

    The Star Focus Filter is great too, although the Live View on my Camera isn't as good as I'd like it to be and I've ended up focusing on a distant light. However, once focused, I tape the lens and I'm good to go.

    Using the Rotator, I've shoot several 8 minute exposures using ISO 100 and f2.8 and they all look sharp to me.

    I've just ordered the Z and V Brackets and will use those in future without the Wedge.

    All in all, I'm really impressed and it has spurred me on to keep shooting Astro