Photographie de la Voie lactée avec smartphone et MSM
Introduction
Photographier le ciel nocturne a toujours été un défi, même avec les meilleurs reflex et appareils sans miroir du marché auparavant. Comme la technologie des capteurs se développe très rapidement ces dernières années, les smartphones récents sont également entrés dans la course. Aujourd'hui, il est facile d'obtenir des résultats satisfaisants avec la plupart des smartphones récents en astrophotographie de paysage. Cela offre à tout le monde une excellente opportunité de photographier le ciel nocturne, même aux débutants ou aux novices. Peut-être qu'à l'avenir, nous pourrons emporter moins de matériel grâce aux progrès technologiques, qui sait :). Dans cet article, nous allons examiner plus en détail comment photographier la Voie lactée avec un smartphone et le Move Shoot Move 2en1 Rotateur.
Liste du matériel
La liste du matériel est assez facile à se procurer, tout ce dont vous avez besoin est ;
- Smartphone avec contrôles manuels de l'appareil photo
- Trépied robuste
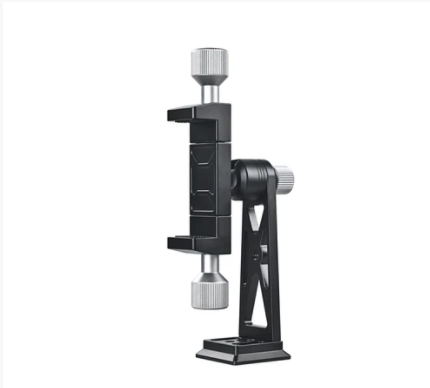
- Move Shoot Move 2en1 Rotateur
La plupart des smartphones récents disposent d'un mode Pro ou Manuel qui permet de contrôler manuellement les réglages de l'appareil photo dans les applications. Bien que certains téléphones proposent des préréglages dans leurs applications photo appelés Mode Nuit, Mode Ciel Nocturne, Mode Ciels Étoilés, etc., nous ne recommandons généralement pas d'utiliser ces modes car ils effectuent un certain post-traitement dans l'application et vous donnent le résultat final. Les algorithmes de ces applications ne sont pas encore parfaits aujourd'hui et de bien meilleurs résultats peuvent facilement être obtenus manuellement (il peut y avoir quelques exceptions).
Pour le choix du smartphone, vous pouvez opter pour n'importe quel téléphone disposant d'un mode Pro ou Manuel et qui prend aussi des photos en RAW. Cependant, certains smartphones ont des capteurs plus grands et meilleurs comme le Xiaomi Mi10T Pro, qui est l'exemple sur lequel nous allons nous concentrer aujourd'hui.
Pour le choix du trépied, n'importe quel modèle solide capable de supporter le poids de votre traqueur d'étoiles et du smartphone conviendra. Dans les exemples de cet article, nous avons utilisé le Benro TMA47 AXL (qui est assez grand, lourd et robuste :)).
En astrophotographie, un traqueur d'étoiles améliore indéniablement les résultats, bien que le Move Shoot Move soit une révolution. Les traqueurs traditionnels sont généralement lourds et difficiles à installer, mais le MSM est de la taille d'une poche et facile à mettre en place. Comme nous emportons moins de matériel et n'utilisons pas de gros reflex lourds avec de grands objectifs, le MSM serait très pratique et facile à transporter pour l'astrophotographie au smartphone.
Technique
Plusieurs techniques différentes sont utilisées en photographie de paysage, aucune d'entre elles n'est mauvaise,
La plupart sont utilisées pour améliorer la qualité (pour obtenir un meilleur rapport signal/bruit, des données plus détaillées) vous pouvez choisir n'importe laquelle pour obtenir des résultats satisfaisants. Cela dépend uniquement de votre méthode et de la composition que vous souhaitez réaliser. Ces techniques s'appellent ;
- Exposition simple
- Panorama
- Empilement
- Utilisation d'un traqueur d'étoiles
- Fusion
- Composition, etc.
Vous pouvez utiliser n'importe laquelle des méthodes ci-dessus, mais suivre les étoiles et empiler améliorerait les résultats. Lorsqu'on utilise un traqueur d'étoiles, fusionner le ciel avec un premier plan est presque indispensable à cause de la rotation de la Terre. Comme le traqueur vise des étoiles parfaitement nettes, le premier plan sera flou et inversement lorsque vous prenez des images pour le premier plan.
Autre chose à mentionner, pendant que je testais le Xiaomi 10T Pro pour l'astrophotographie, l'appareil peut aller jusqu'à 30 secondes d'exposition. Si votre appareil permet une exposition plus longue, lancez-vous avec le MSM, les résultats seront bien plus nets et précis. Même si l'appareil va jusqu'à 30 secondes, j'ai constaté que les étoiles laissent des traînées si vous exposez plus de 8 secondes sans traqueur. Dans ce cas, utiliser MSM a été un sauveur pour collecter encore plus de photons sur le capteur et obtenir de meilleurs résultats.
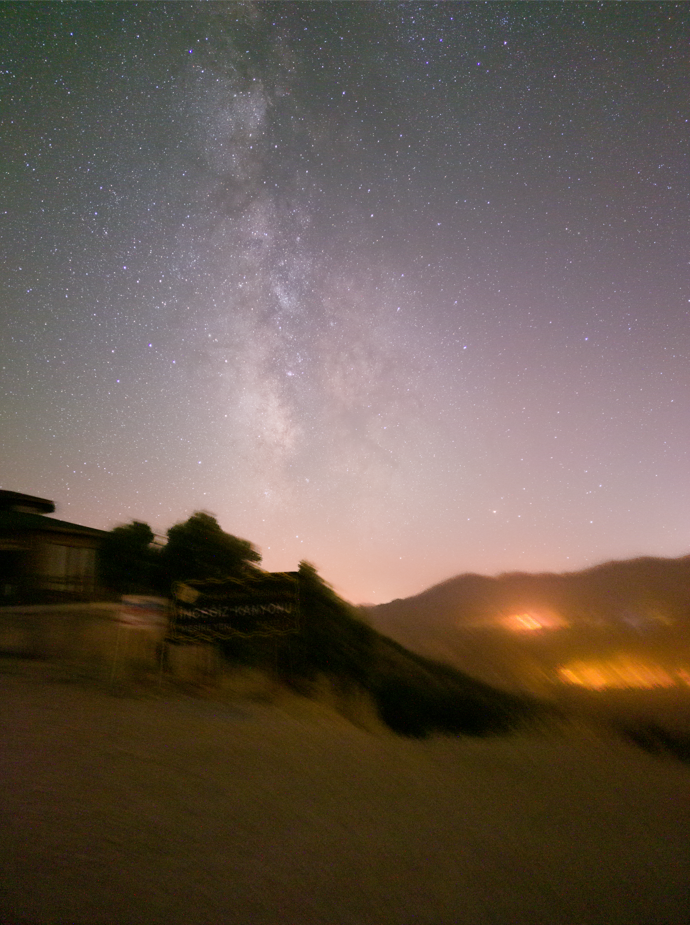
Lors de mes premiers tests en astrophotographie avec smartphone, j'ai essayé des expositions simples et l'empilement pour voir ce que ces petits appareils sont capables de faire. Quand je l'ai pris en photo pour la première fois, le résultat m'a vraiment impressionné, pour être honnête. C'était juste comme la qualité d'un ancien appareil APS-C. Sur la photo ci-dessous, vous pouvez voir combien de détails ont été capturés même sans traqueur d'étoiles.
Xiaomi Mi 10T Pro 6x25s f/1.7 ISO 1600 (Empilées)
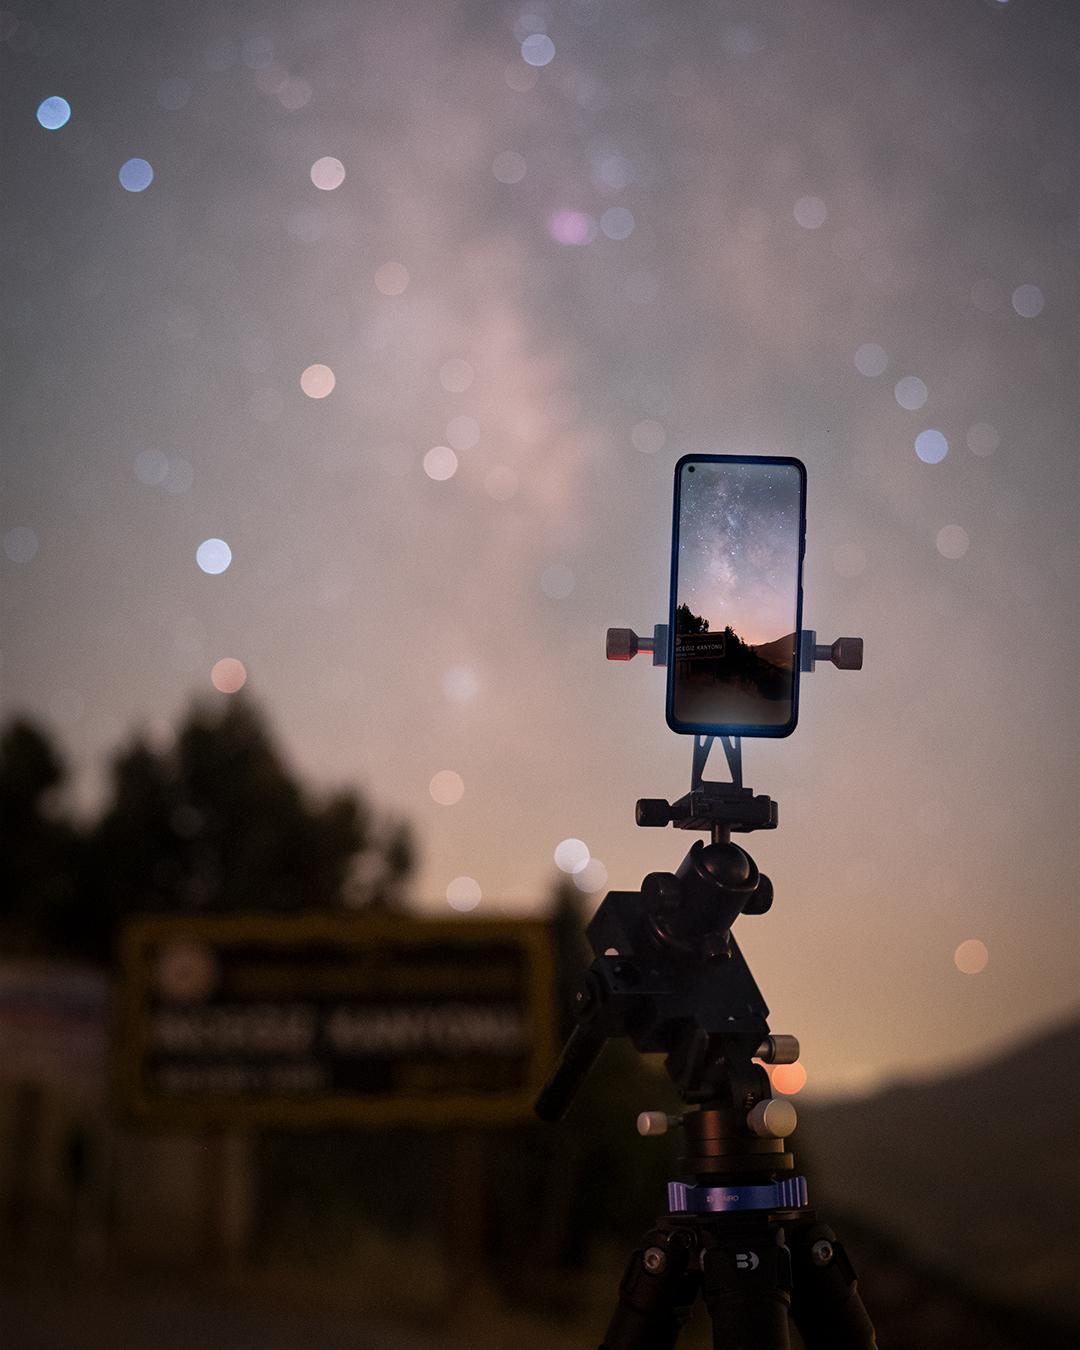
Une fois que vous avez pré-planifié votre emplacement et que vous y arrivez en journée, vous aurez amplement de temps sur place pour décider de vos compositions et techniques. Comme dans cet exemple, nous sommes arrivés au canyon d'Incegiz, en Turquie, avant le coucher du soleil, nous avons fait un repérage pour trouver nos compositions et attendu la nuit. Pour le premier plan, j'aimais beaucoup le paysage de cette partie du canyon avec le lac du barrage et le village au pied de la colline, mais il y avait un problème. Lorsque le cœur de la Voie lactée apparaît derrière la colline de ce côté, il serait caché par la colline et le ciel commençait à s'éclairer, j'ai donc décidé de faire un composite. Cette fois, j'étais extrêmement enthousiaste de voir comment Move Shoot Move pouvait améliorer la qualité. Quand le cœur de la Voie lactée était assez haut, j'ai commencé à prendre des images suivies pour le ciel. J'ai pris 15 expositions de 30 secondes à empiler pour le ciel.
Xiaomi Mi 10T Pro sur Move Shoot Move 2en1 Rotateur 15 x 30s f/1.7 ISO 1600 (Empilés)
Après avoir pris les images du ciel, j'ai attendu le crépuscule astronomique pour prendre les images du premier plan afin d'obtenir un premier plan moins bruité et plus net. Dès que le crépuscule a commencé, j'ai éteint mon traqueur Move Shoot Move pour éviter tout mouvement au premier plan et j'ai commencé à prendre les images du premier plan.
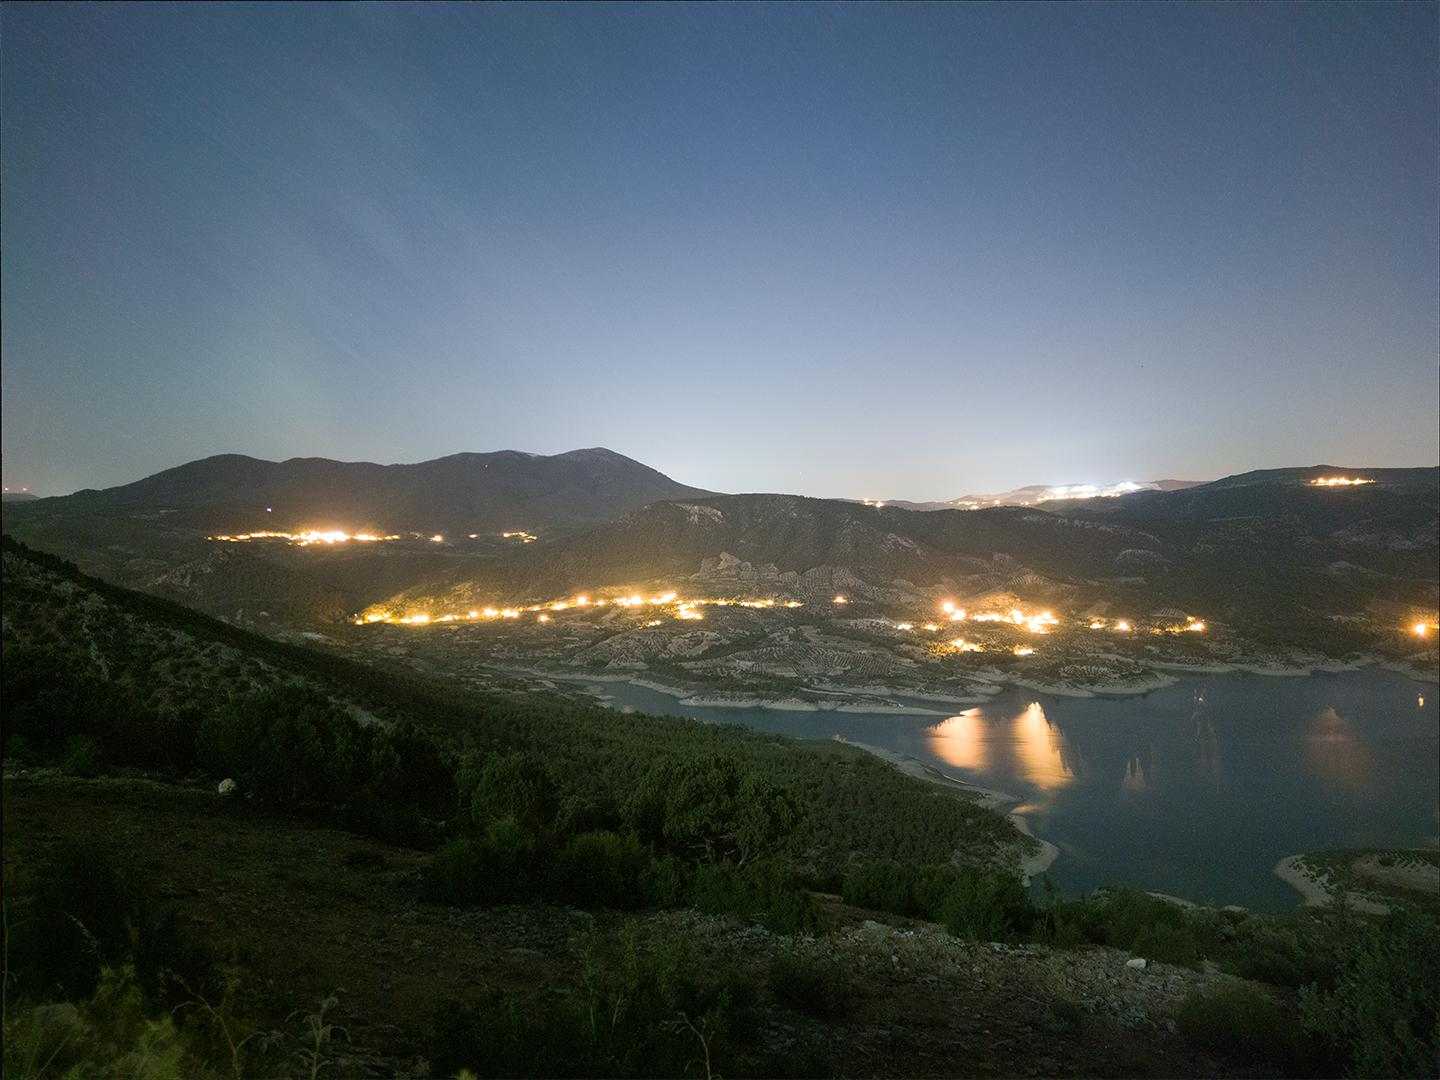
Xiaomi Mi 10T Pro 29 x 30s f/1.7 ISO 1600
Une fois que j'ai obtenu les résultats pour le premier plan et le ciel, il ne reste plus qu'à les retoucher. Pour la retouche, j'ai d'abord empilé chaque image du ciel, puis empilé les images du premier plan entre elles pour obtenir des résultats moins bruités et plus détaillés. Une fois empilées, je les ai simplement fusionnées dans Adobe Photoshop. Lors de la fusion, il suffit de masquer le ciel sur vos images du premier plan et de placer le calque du ciel en dessous. Après quelques retouches pour les deux, j'ai obtenu le résultat ci-dessous.
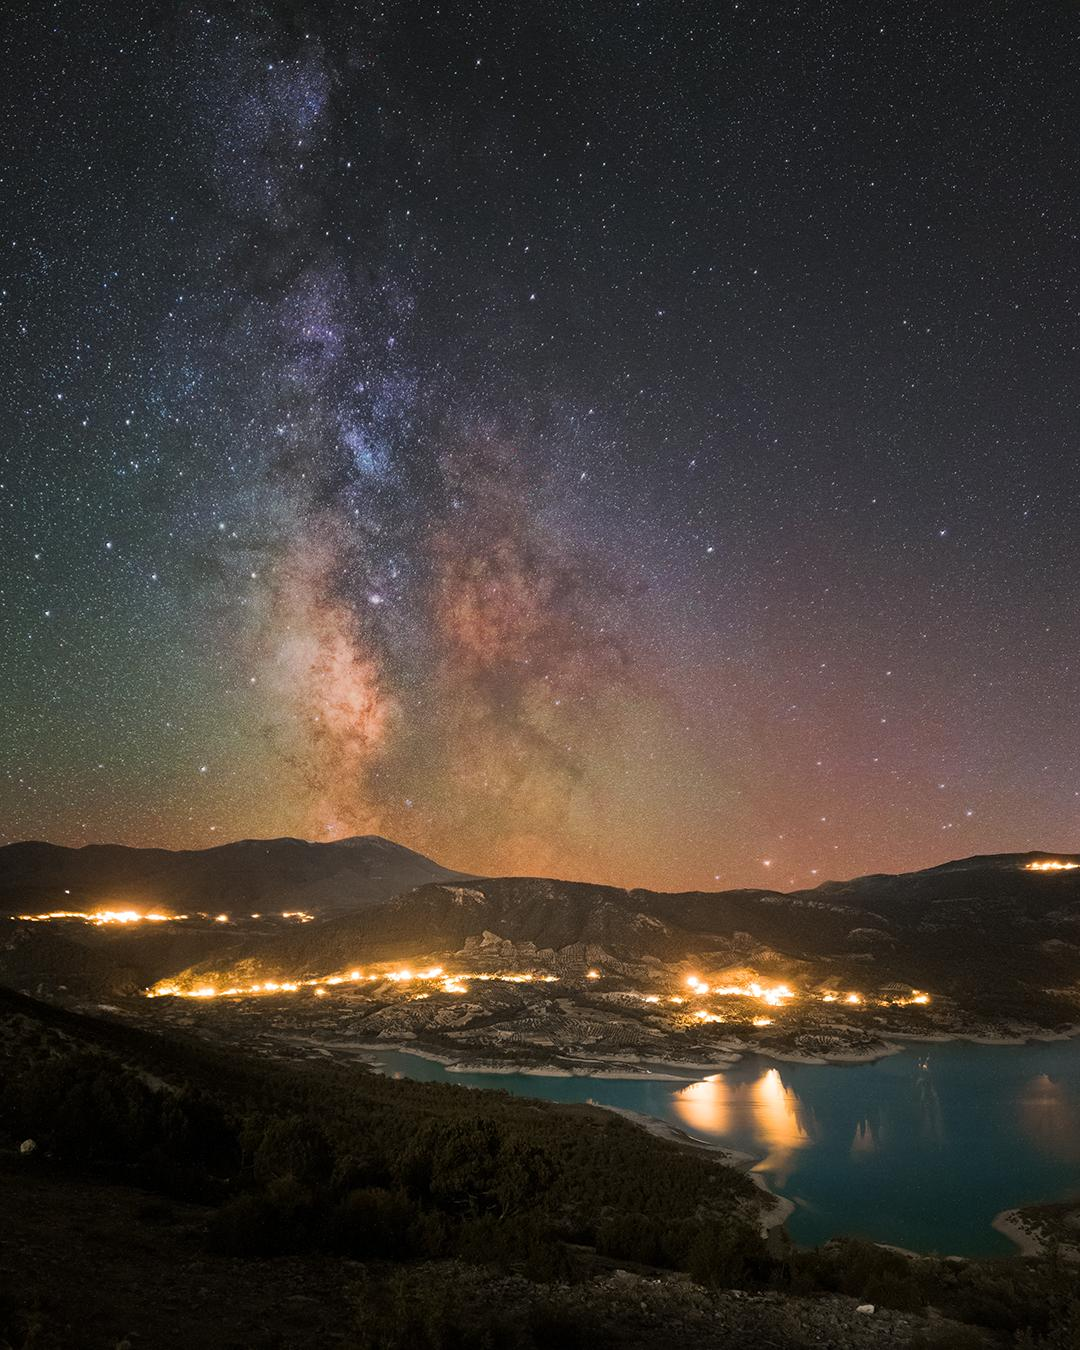
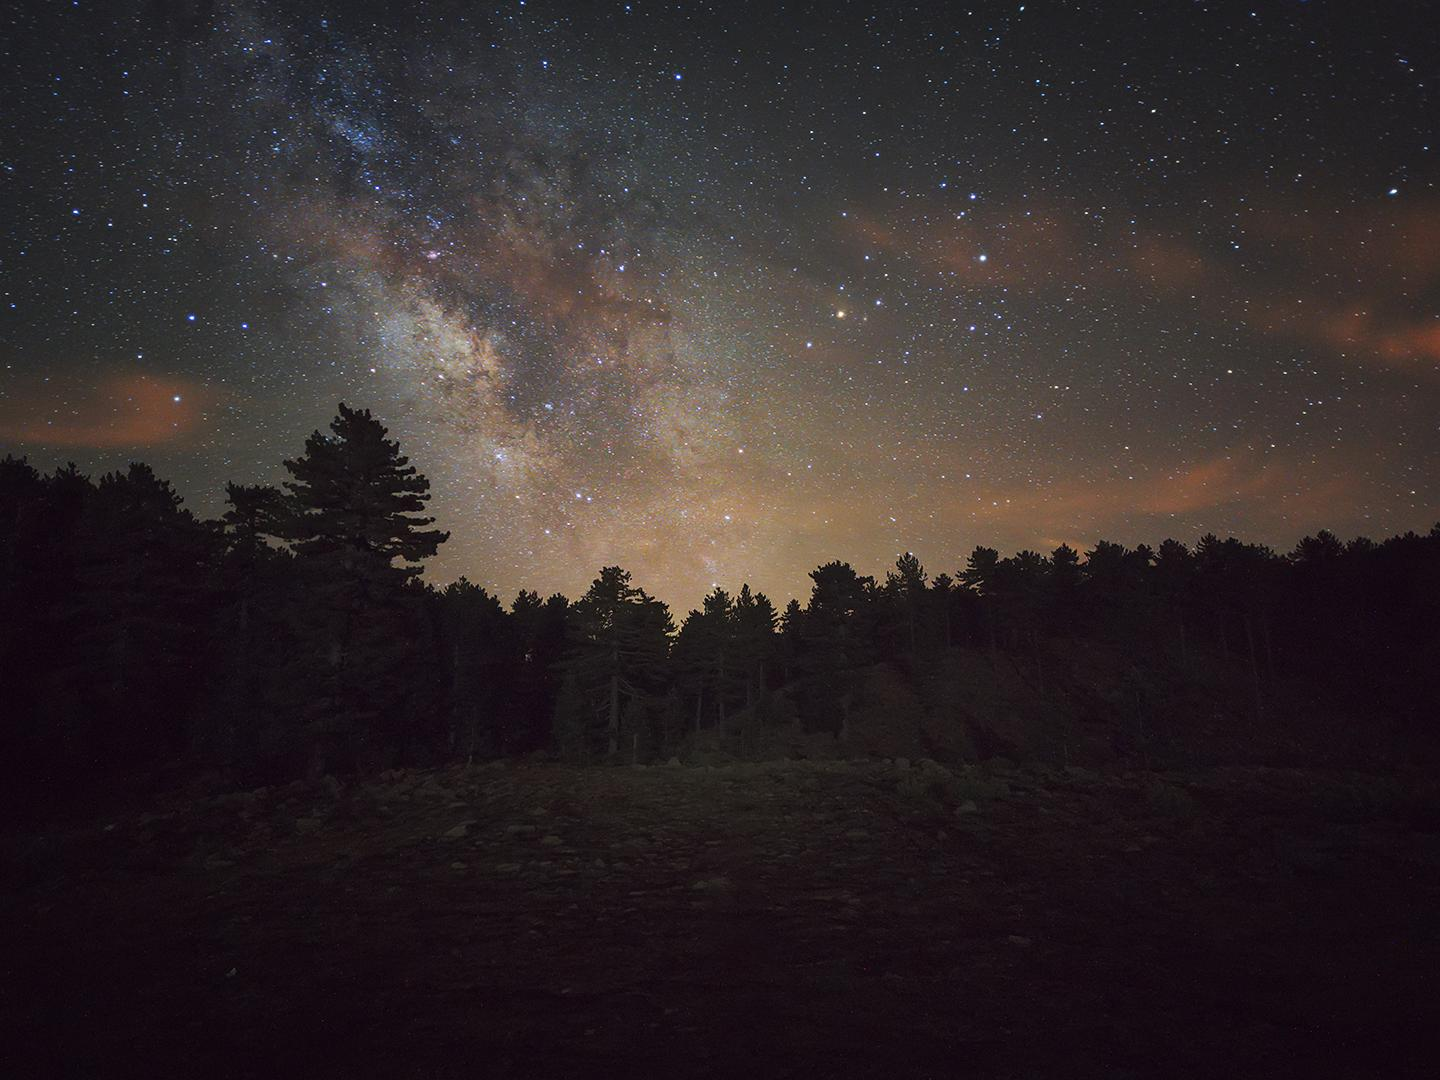
Xiaomi Mi 10T Pro & Move Shoot Move 2en1 Rotateur
Ciel 15 x 30s f/1.7 ISO 1600 (Empilés)
FG 29 x 30s f/1.7 ISO 1600 (Empilés)
Conclusion
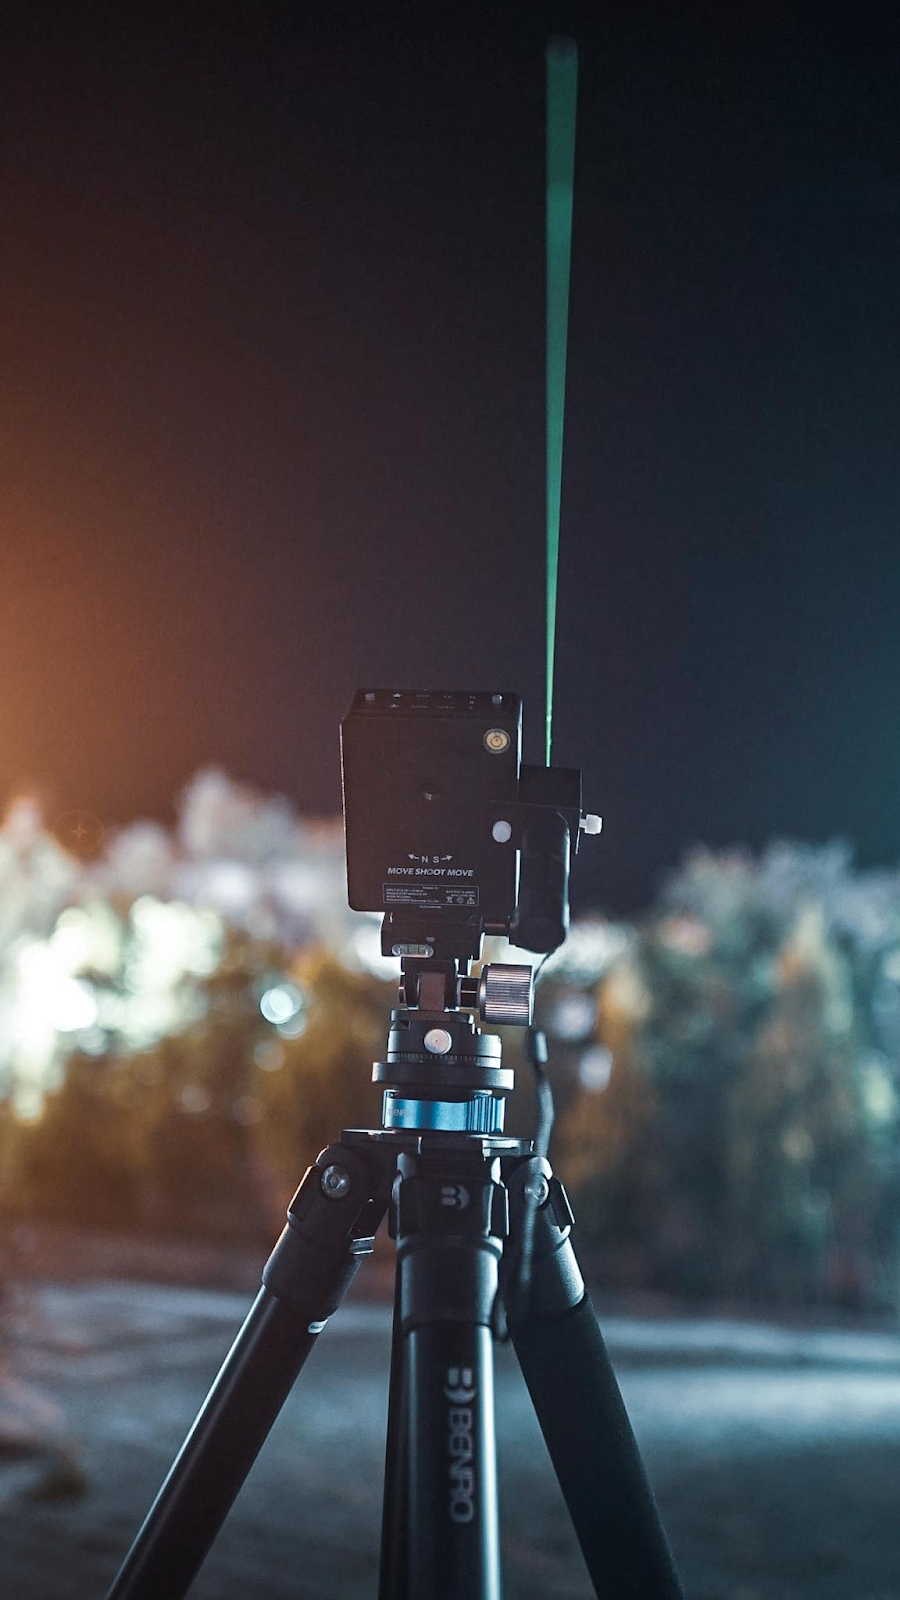
La technologie des appareils photo évolue et s'améliore extrêmement rapidement, et il est incroyable de pouvoir capturer le ciel nocturne avec autant de détails grâce à ces tout petits capteurs. En utilisant ces petits capteurs dans nos poches, Move Shoot Move change la donne avec son profil compact et sa facilité d'utilisation. Comme nous avons l'intention de faire de l'astrophotographie avec un smartphone, il est crucial de transporter moins et plus léger. Si j'avais un plus grand traqueur céleste ou une monture énorme, je ne me donnerais même pas la peine de l'emporter pour l'astrophotographie au smartphone. De plus, comme le smartphone que j'utilisais ne pouvait pas faire d'expositions de plus de 30 secondes, un alignement polaire rapide avec le pointeur laser du MSM suffisait pour obtenir des images sans traînées. Le processus d'alignement polaire ne prend que 15 à 30 secondes et vous êtes prêt à photographier !
En ce qui concerne les inconvénients de l'astrophotographie sur smartphone, j'aimerais que mon téléphone puisse exposer plus de 30 secondes en RAW (je ne suis pas sûr qu'il existe des smartphones capables de prendre des RAW de plus de 30 secondes sur le marché). Je crois que les résultats seraient encore plus détaillés et nets. Une autre chose agaçante est la forme des étoiles. En examinant les fichiers RAW sur PC, j'ai réalisé que les étoiles ont des formes étranges à cause des aberrations. Tous les objectifs présentent des aberrations (ex. chromatique, coma, astigmatisme, etc.) lorsqu'ils sont utilisés à pleine ouverture. Dans l'application appareil photo intégrée, il n'y avait aucun réglage pour fermer l'ouverture afin d'éviter toutes ces étoiles aux formes bizarres.
En résumé, avec le temps, je crois que la plupart de ces inconvénients ne poseront bientôt plus de problème grâce à la technologie en rapide évolution. Si vous êtes débutant et que vous possédez un smartphone capable de réglages manuels et de prise de vue en RAW, vous pouvez facilement essayer l'astrophotographie sur smartphone comme point de départ et la combiner avec un traqueur d'étoiles portable comme le MSM. Si vous êtes un astrophotographe expérimenté, vous pouvez toujours vous amuser avec ces petits jouets et essayer de repousser leurs limites...
Merci à tous d'avoir lu jusqu'ici. Si mon travail vous plaît, vous pouvez me suivre sur ;
Youtube : https://www.youtube.com/okanbozat
Instagram : https://www.instagram.com/okanbozat
Twitter : https://twitter.com/okanbozat
De plus, si vous souhaitez apprendre l'astrophotographie, consultez nos cours et ateliers sur ; https://en.stellarxperiences.com/
À propos de l’auteur
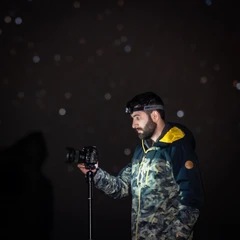
Okan Bozat est un astrophotographe paysagiste né et ayant grandi dans une ville appelée Muğla, en Turquie. Il a étudié l'architecture à l'Université d'économie d'Izmir et poursuit une carrière dans ce domaine. Après avoir obtenu son diplôme universitaire, sa passion pour la photographie, principalement l'astrophotographie, l'a également conduit sur une autre voie. Son profond intérêt pour la nature, les cieux nocturnes et les voyages l'amène à se retrouver dans certains des endroits les plus sombres avec des paysages uniques à travers le monde.
Équipements utilisés dans ce projet