


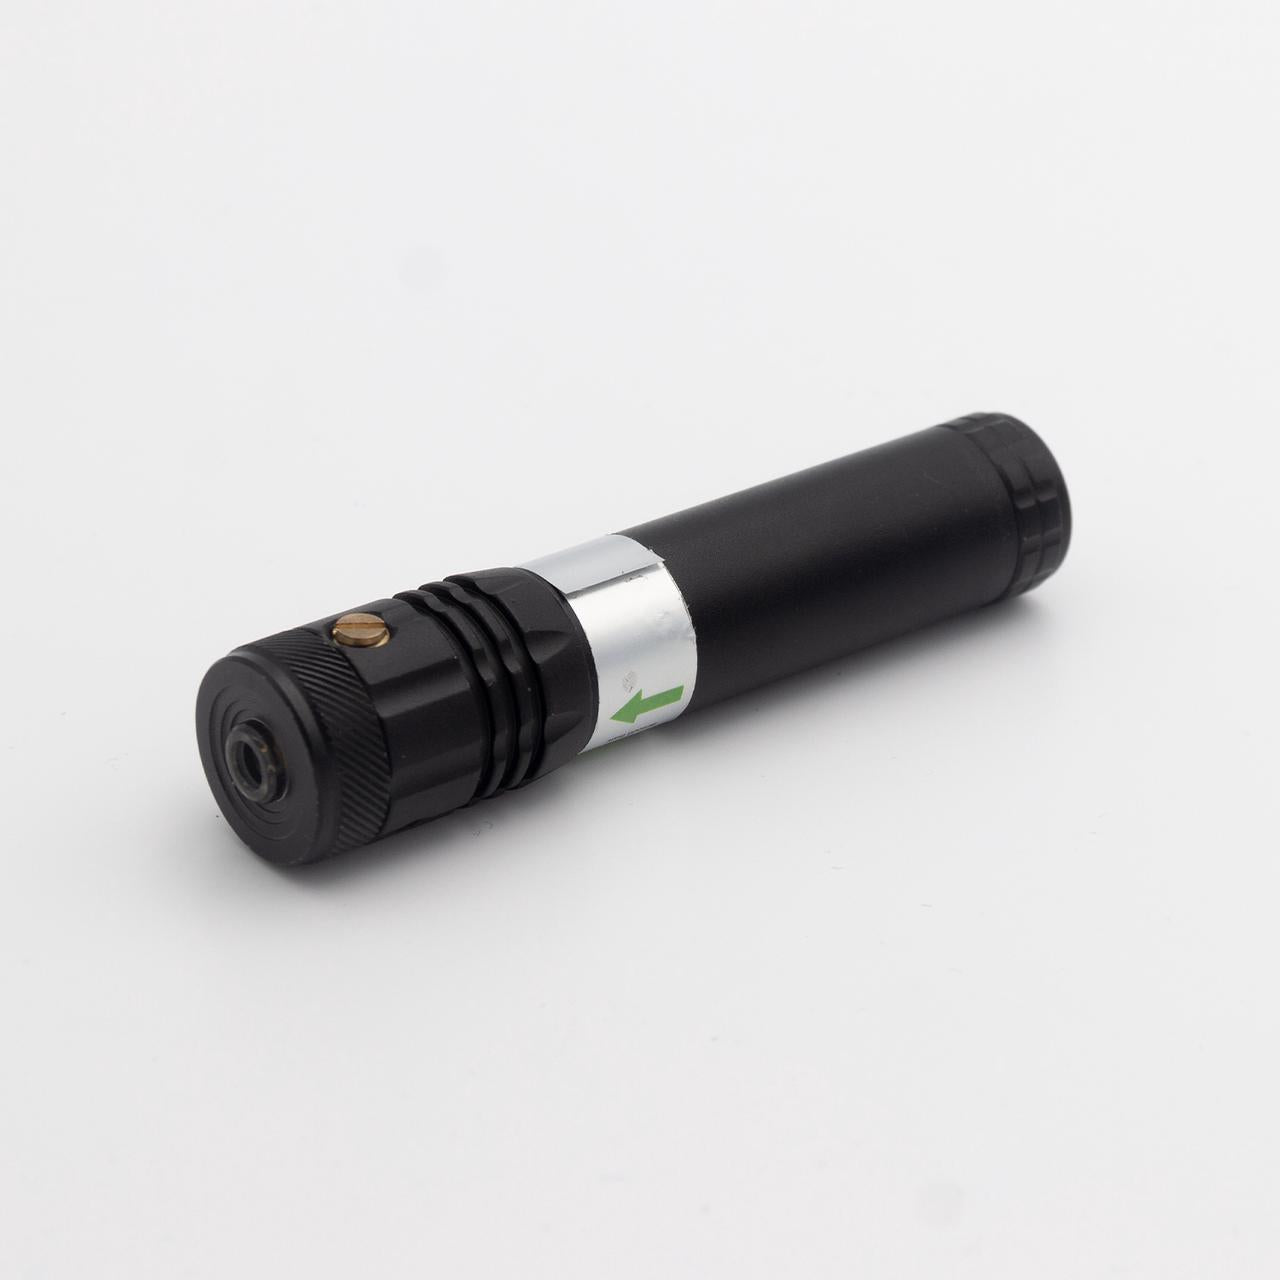


Puntatore per allineamento polare
- Spedizione gratuita in tutto il mondo per ordini superiori a 99$
TEMPO DI GESTIONE
Tutti gli ordini saranno programmati per la spedizione entro 1-3 giorni lavorativi, esclusi i giorni festivi.
PAESI
Spediamo in tutto il mondo.
MAGAZZINI
Attualmente, abbiamo 5 magazzini.
🇺🇸 Magazzino USA, per i nostri utenti negli USA, i pacchi di solito arrivano in 4-7 giorni.
🇨🇦 Magazzino Canada, per i nostri utenti canadesi, i pacchi di solito arrivano in 4-8 giorni
🇪🇺 Magazzino UE, per la maggior parte dei paesi UE, i pacchi di solito arrivano in 4-7 giorni. (Esente da tasse)
🇦🇺 Magazzino AU, per i nostri utenti in Australia e Nuova Zelanda, i pacchi di solito arrivano in circa 4-7 giorni.
🇨🇳 Magazzino CN, per tutti i paesi, i pacchi arrivano in 4-7 o 8-20 giorni. Controlla sotto per i dettagli.
Per maggiori informazioni, clicca qui.
Specifiche:
Lunghezza: 97 mmAvviso di sicurezza: Usa il laser responsabilmente ed evita di puntarlo verso aeromobili, veicoli, persone o occhi. Accendi il laser solo quando necessario durante l'allineamento polare.
Come montare il puntatore laser sul NOMAD:
-
Svita il tappo a vite rosso sul retro del NOMAD.
-
Rimuovi la carta isolante all'interno del laser e il cappuccio protettivo sulla testa del laser.
-
Avvita l'adattatore laser sul laser.
-
Monta il laser sul retro del NOMAD.

Come montare il puntatore laser su Sky-Watcher o iOptron:
-
Rimuovi la carta isolante all'interno del laser e il cappuccio protettivo sulla testa del laser.
-
Avvita il laser nell'adattatore laser SW o nell'adattatore laser IO (a seconda che tu stia usando uno star tracker Sky-Watcher o iOptron).
-
Fissa il combo di laser e adattatore al cannocchiale polare del tuo montatura Sky-Watcher o iOptron.
Per iOptron SkyGuider Pro (parte filettata interna), ti consigliamo di acquistare il IO Laser Kit da questa pagina: IO Laser Kit
📌Il kit adattatore laser SW è anche compatibile con il cannocchiale polare MSM
Come si usa?
- Svita prima il cappuccio del laser

- Fissa il laser all'adattatore laser SW

- Fissa questo combo di laser e adattatore al cannocchiale polare e stringilo
- Configurazione completata
