


User Story Vol. 11 🌌When Ruins Meet the Rising Milky Way

< User Story·Vol.11 >
8 min read
Welcome to the eleventh edition of our User Story series.
This time, we're heading to South Australia, where Eric Wilkes (IG @eric_wilkes_photography) captured the beauty of the Southern Hemisphere Milky Way core rising above a remote rural landscape.
Finding the Perfect Night
I had been itching to get out once the Milky Way core had started to show itself but life and the weather had had other ideas.
Finally I got a chance on a moonless Sunday night to go shooting and so headed to one of my favourite locations near a tiny town called Towitta about 90 minutes drive from Adelaide in South Australia.
Planning the Shot
The plan was really simple, find a location in dark skies with some interesting ruined buildings that the Milky Way would rise over just after midnight. I wanted to zoom in on the core and Rho Ophiuchi so that it dominated the sky so I chose to shoot with a fast 50mm f/1.4 lens.
On Location
I set up well in advance after scouting locations and was lucky in that I could use the first part of the night to capture Orion setting over another building and then turn around 180 degrees to capture the rising core in this shot. All from a secluded road without having to cross any fences and get permission from the owners (although most farms around this area are really accomodating, you just have to find them)
My camera of choice was my astro modded Canon RP to bring our the nebulae in the sky shots, but I also used the same camera and lens for the foreground images as it does a good job even if I do have to correct a little for the colour cast from the astro mod.
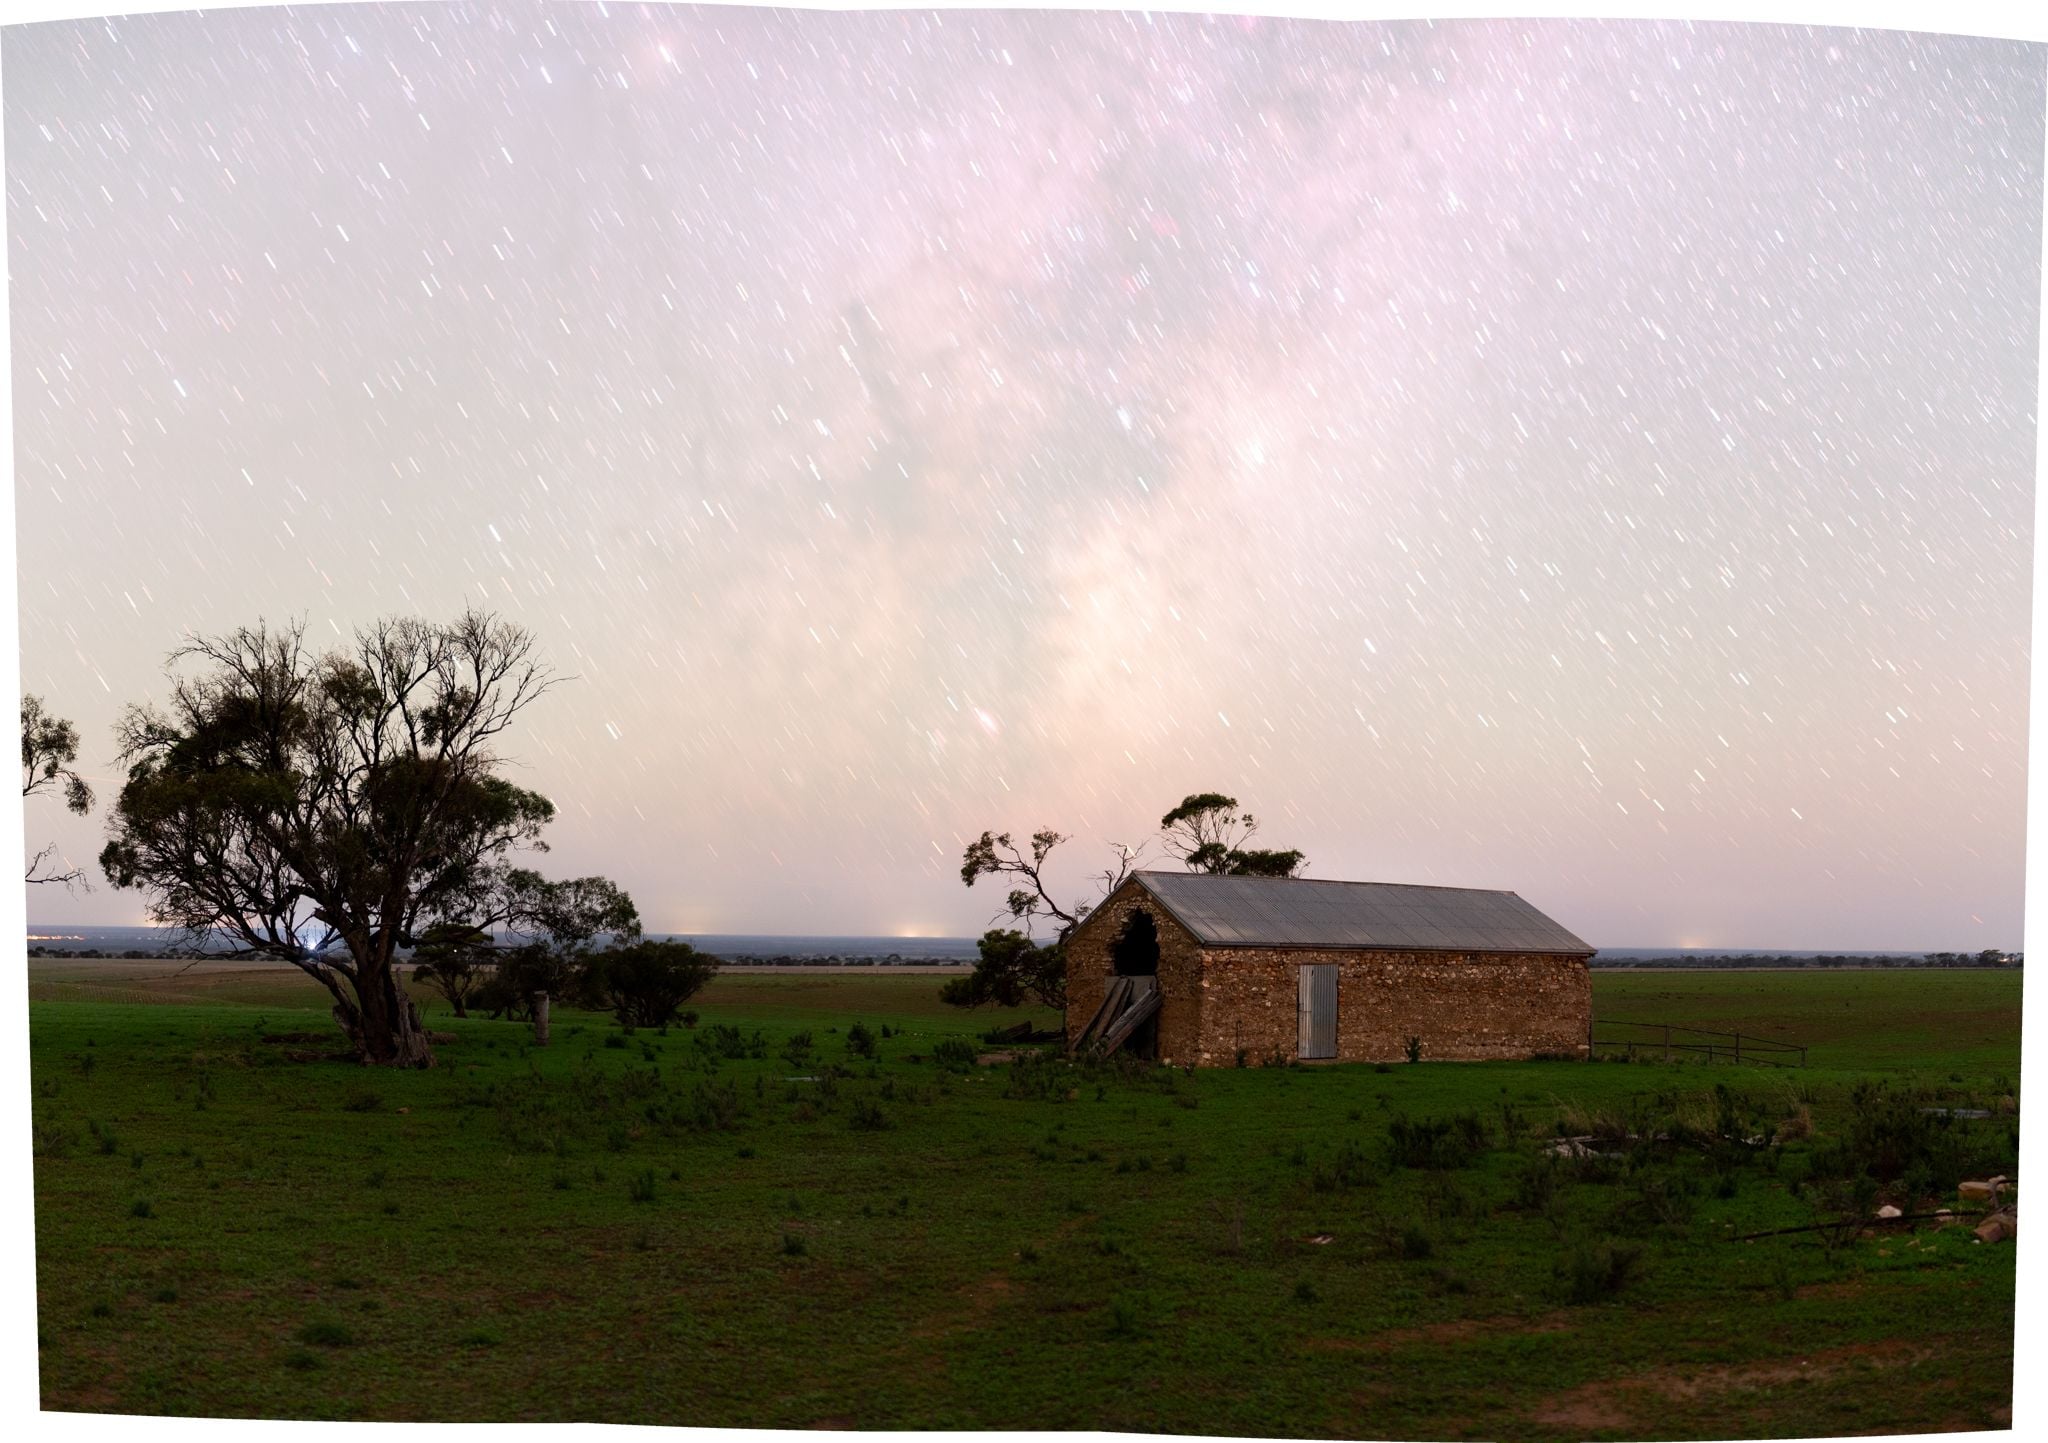
Foreground
The process was incredibly easy, first get my foreground as a 3 shot horizontal pano with the camera in portrait orientation.
ISO 1600 and a two-minute exposure at f/1.4 to suck in as much starlight as possible for a scene that was incredibly dark to the human eye.
It was too difficult a scene to light artificially. I was lucky that the buildings and trees were far enough from the camera that I could get away with F/1.4 and not need to focus stack any of the images.
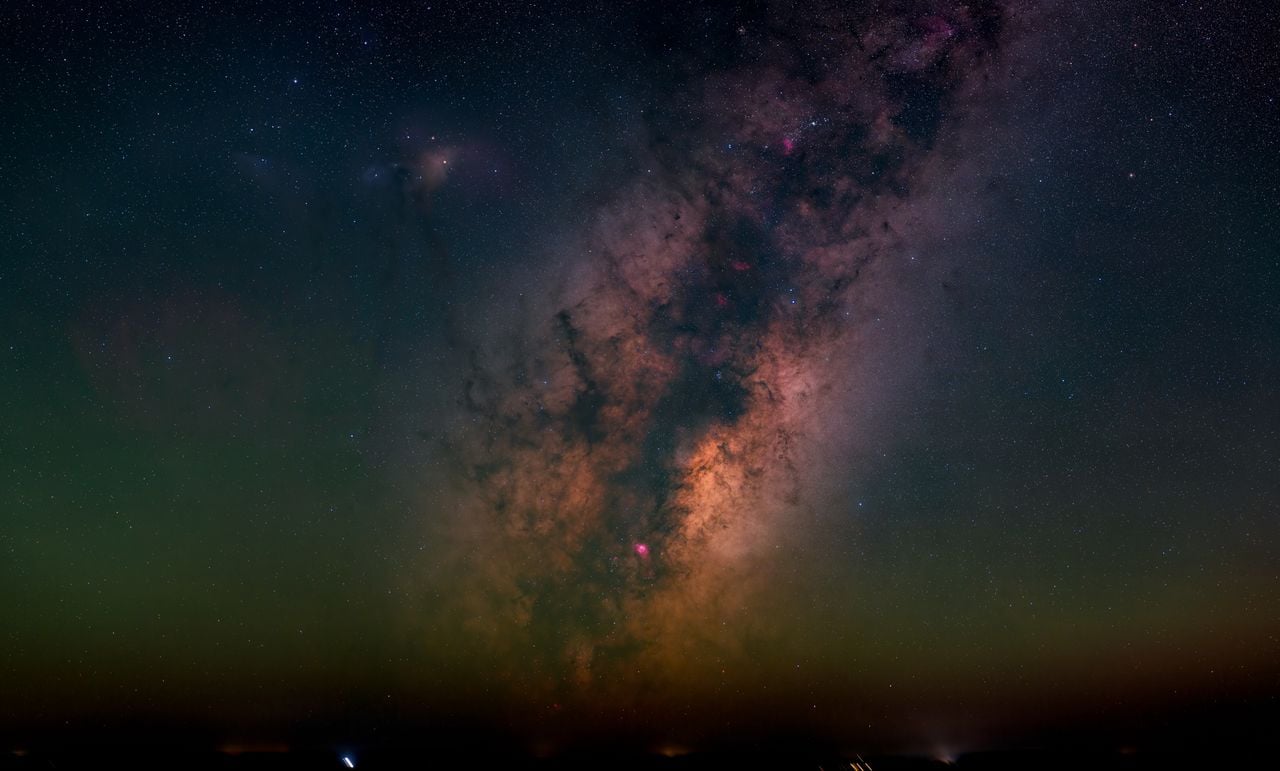
Sky
Once I had these, I moved the camera about 20m to the side so I no long had the trees and building in front of me (but was still looking exactly the same direction).
I polar-aligned my Nomad tracker using the SkySafari Pro app (it take all of a minute at most) and then set up the camera to capture the sky image again as a 3-shot horizontal pano, this time at my normal settings of ISO 400, f/2.0 and 2 minutes per image tracked. The sky image was all I hoped for even with a little bit of dark haze on the horizon. All up, it took less than 30 minutes to capture the images. Then it was back into the car for a long 2-hour drive home and bed.
Image processing
Image processing was easy with both pano stitches done in Lightroom and a little post processing in PhotoShop. The two images were combined using the sky replacement process in Photoshop, and then final processing was done in Lightroom. A wonderful, if late, night all in all and a great start to the Milky Way season.
Hints for success
- When doing panoramas, always start off with the pinhead on a level base above the tracker, stitching works much easier.
- If you have nice dark skies it is not always necessary to stack images, nice long 1-2 minute exposures will give great results.
- Polar aligning with a phone is more than good enough for these kind of images and is really quick.
- Scout your locations and plan your shots in daylight; it makes it all go much easier in the dark.
Gear List
| Camera | Canon RP (astronomy modified) |
| Lens | Canon RF50mm f1.4 VSM |
| Camera Release | Godox TR-RX wireless release |
| Tracker | MSM Nomad Tracker |
| Polar Alignment Tool | Eric Wilkes Phone track |
| Accessory | MSM Alyn Wallace V-Plate |
| Accessory | Bexin mini panorama head |
| Tripod Head | MSM Wedge |
| Tripod | Leofoto LO-324C tripod |
Leave a comment