


User Story Vol.10🌌A Lightweight Journey to Capture Rho Ophiuchi

< User Story · Vol.10 >
5 min read
Welcome to the tenth edition of our User Story series.
This time, we're heading to Brown County State Park, Indiana, where Blake Smith (IG @blakesmith.photography) captured the stunning Rho Ophiuchi cloud complex with a simple yet powerful setup featuring MSM NOMAD.
🎯 A Long-Awaited Target
Rho Ophiuchi is a target that has been at the top of my to-do list for a while, but I hadn't gotten around to spending a night on it until recently.
Living close to a big city means having to drive to a dark-sky location when I want to shoot astrophotography. Usually that means loading up the car with my heavy-duty tracking mount, telescope, and bins full of cables, power banks, and computer accessories.
But when I don't feel like hauling all the gear, I love being able to go lightweight with just a camera, lens, and MSM.
Getting Ready Under Dark Skies
On this particular night, I showed up at my go-to dark spot—Brown County State Park in Indiana—just after sunset, which gave me plenty of time to get everything set up before it got dark enough to start imaging.
For polar alignment, I typically use the MSM laser if I'm planning to shoot longer exposures.
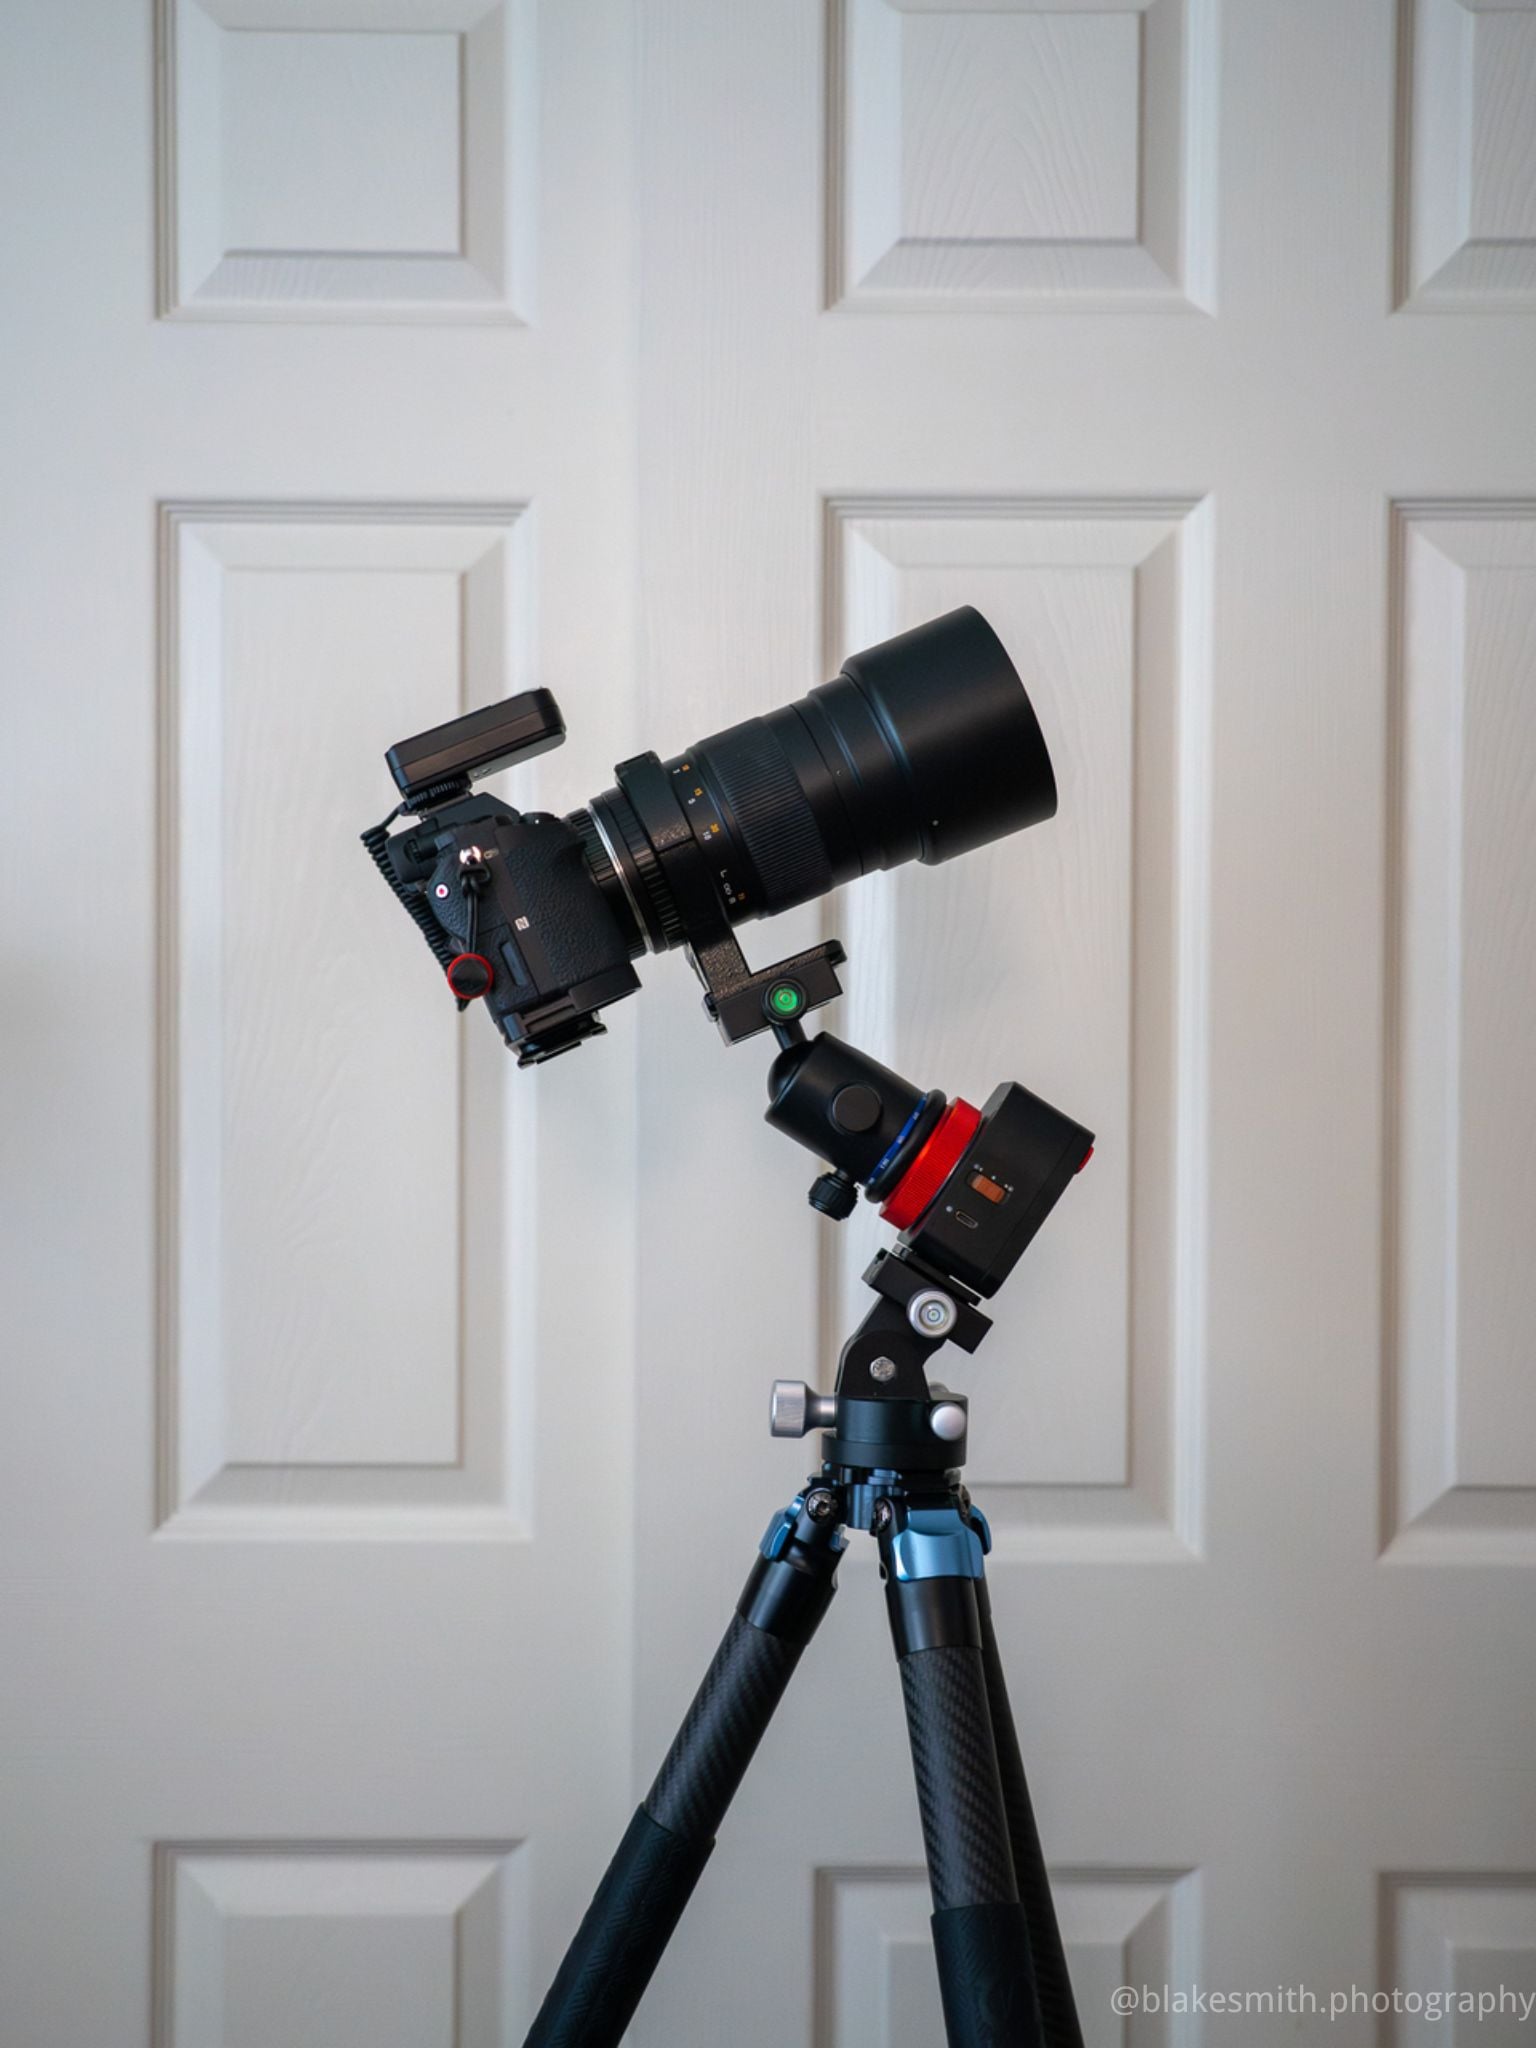
But if I'm shooting 30″ or less, I just use a compass to ensure I'm pointing North (adjusting for magnetic declination) and set the angle of my wedge to match my latitude.
From there, it's just a matter of taking a couple of test shots and making small tweaks until any star trails are gone.
Once I'm polar aligned and any lingering daylight has faded away, it's time to set the intervalometer to start shooting.
Image Acquisition & Processing Details
134 × 25″ lights & 24 darks
F2.0 · ISO 800
Stacked in Astro Pixel Processor and edited with PixInsight & Photoshop
Tips
- Even when you're in a dark location, be mindful of any distant light pollution in the direction you're shooting, as well as any traffic that may pass by.
- Arrive early enough to confirm plans and set up your gear before it gets too dark.
- Check your images periodically to ensure your focus and polar alignment haven't changed. It's never fun to finish a session only to discover that a ball head slipped a little and half your frames have star trails.
- Whenever possible, bring a second camera—even if it's just your phone—and a tripod. Some of the most creative shots I've ever taken happened when I was playing around with a second camera while my main setup was shooting away on autopilot.
- Don't forget to step away from the camera and look up at the sky every once in a while 😉
Gear List
| Camera | Sony A7ii (H-Alpha converted) |
| Lens | Samyang 135mm F2.0 |
| Tracker | MSM NOMAD Tracker |
| Ball Head | Neewer Ball Head |
| Tripod Head | MSM Wedge |
| Tripod | Sirui Carbon Fiber Tripod |
| Intervalometer | PixelPro Intervalometer |
Leave a comment