


First Deep-Sky Attempt, One Unforgettable Galaxy
 < User Story·Vol.18 >
9-10 min read
Welcome to the eighteenth edition of our User Story series.
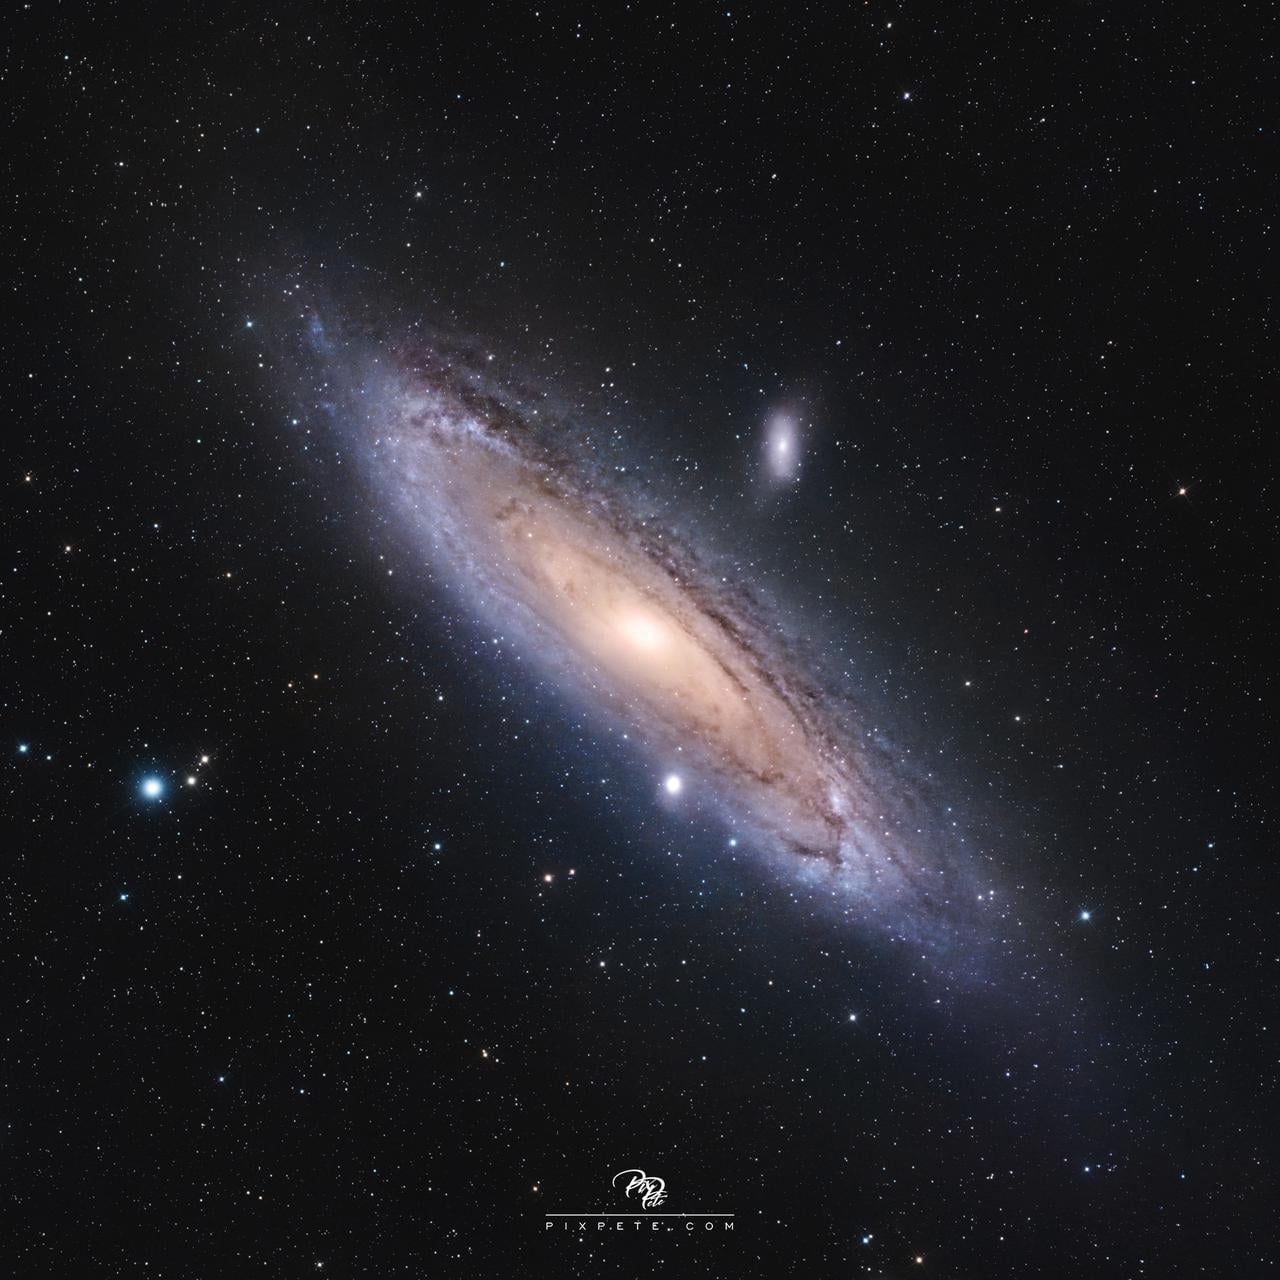
This time, we're traveling to England's North East coast, where Pete(@pixpetephoto) used NOMAD and a 200mm lens to capture the Andromeda Galaxy above Dunstanburgh Castle, bringing deep space and a historic landscape together in his first-ever deepscape.
✨ Shooting My First Deepscape with the NOMAD
My journey into astrophotography began in 2020, and for five years I shot fairly basic single-exposure images of the night sky, then worked my way towards wide-field nightscapes with the Milky Way.
It wasn't until 2025 that I bought my first star tracker – the Move Shoot Move NOMAD – and that's when I started to take things more seriously. My captures improved significantly.
Over winter this year, I was curious to see if the NOMAD could handle shooting deep-sky objects with longer lenses, and I had a 70–200mm f/2.8 in mind to try.
Up until this point, I hadn't seen anyone else using lenses longer than 85mm, but I had seen a small number of Deepscapes using much larger tracking devices, usually made for telescope rigs.
So, I had the idea to try M31 – the Andromeda Galaxy – a fairly easy target to locate given that it can be seen with the naked eye.
One of my favourite local subjects for landscapes is Dunstanburgh Castle –a ruin which sits high up on the cliffs of the North East coast here in England.
With Andromeda positioned low on the northern horizon during March–April, this seemed like the perfect combination for my first Deepscape, and that's when I started to put a plan together.
📝 All About the Plan
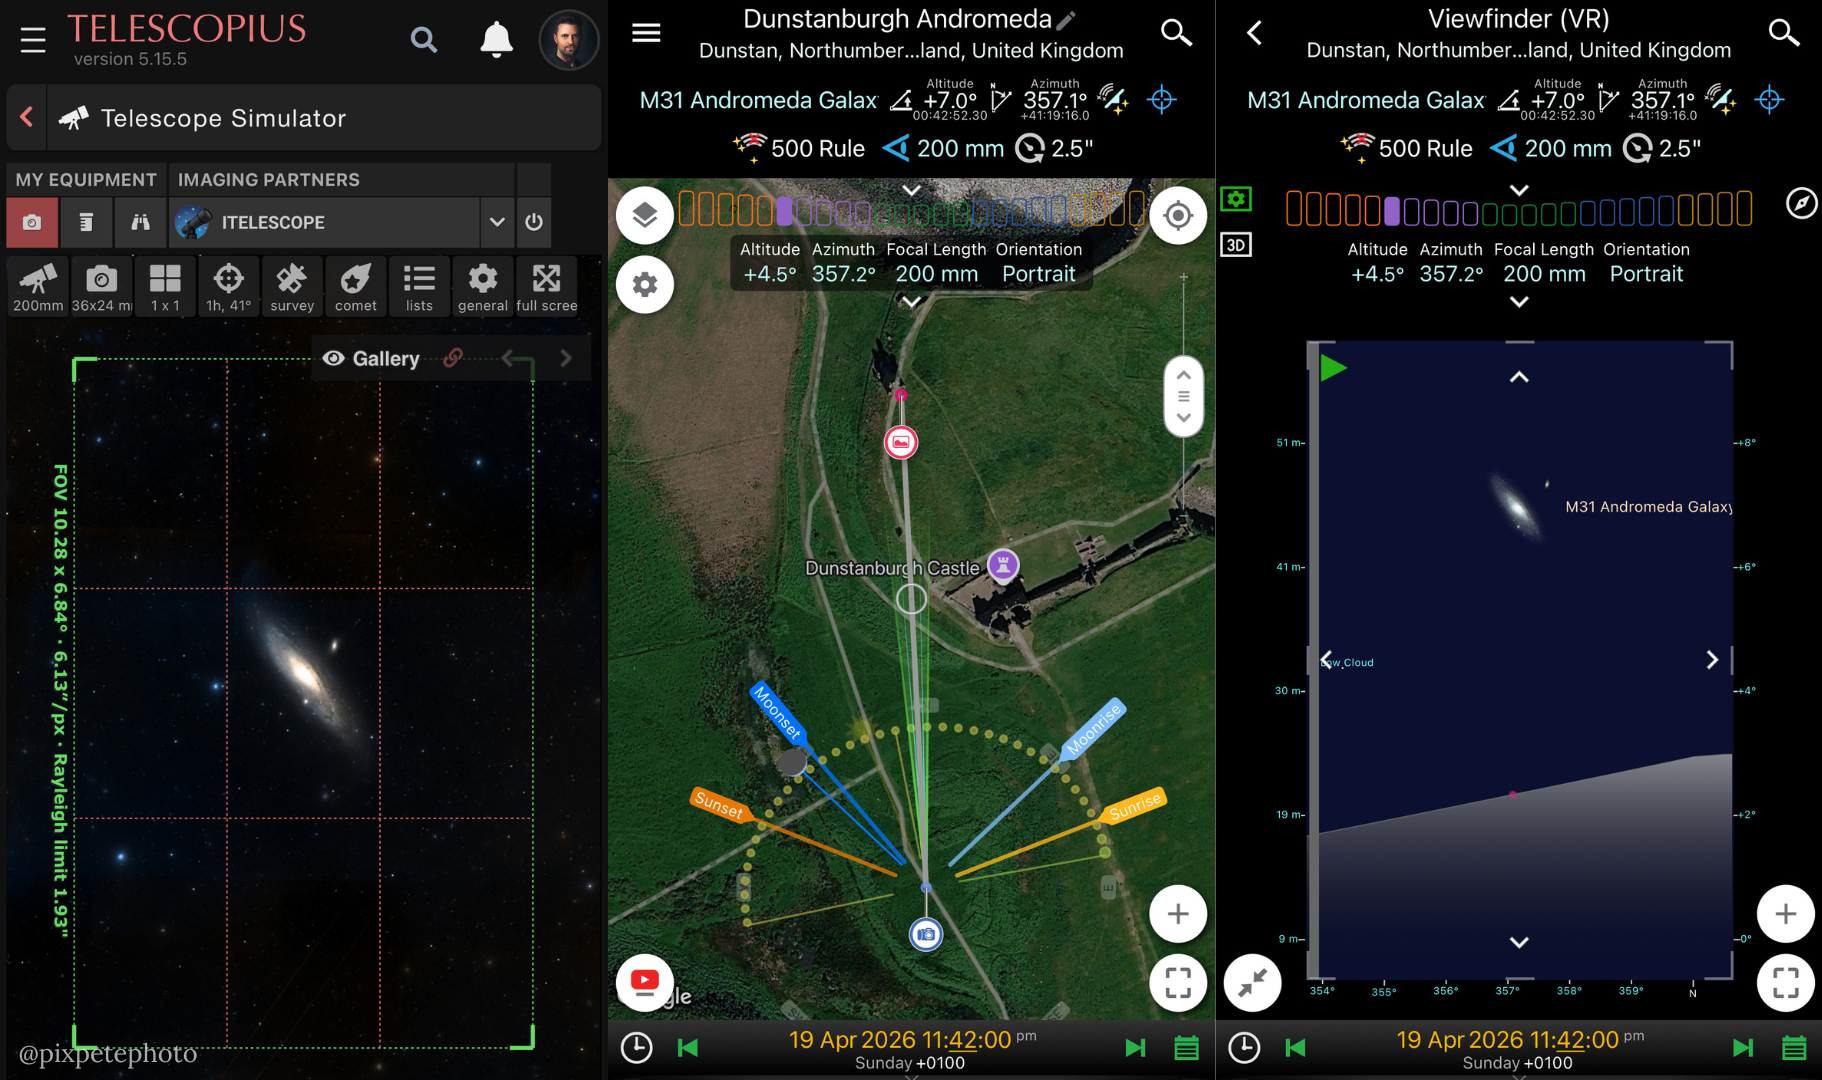
First, I used Telescopius – a web app which has a telescope simulator. You can input your camera and lens combination, and it will show you how any particular object will appear in the frame.
At 200mm, the Andromeda Galaxy looked good to me!
Next, I turned to PlanItPro to start planning the foreground and where I would need to be to capture Andromeda above the castle.
This app has a nice VR feature, allowing you to see the landscape with the position of your sky objects at any particular focal length.
🛠️ When the Plan Doesn’t Work
One small problem I encountered was that, despite knowing Dunstanburgh Castle well, I had never shot from the footpath I had planned in PlanItPro and quickly discovered that the foreground was not only way too messy for my liking, but the castle tower appeared smaller in the frame than anticipated.
Fortunately, I was able to switch to another location that I knew well and make the image work with some small adjustments during the editing process.
For this reason, I now always check the composition during daylight hours before shooting at night.
⚙️ The Setup
My Nikon Z6 II and the Nikkor 70–200mm f/2.8G came to just under 2.6kg total load, which fits nicely under the NOMAD's maximum payload of 3.5kg, but I knew that even with this amount of weight, I would need my biggest,strongest tripod to get stable exposures.
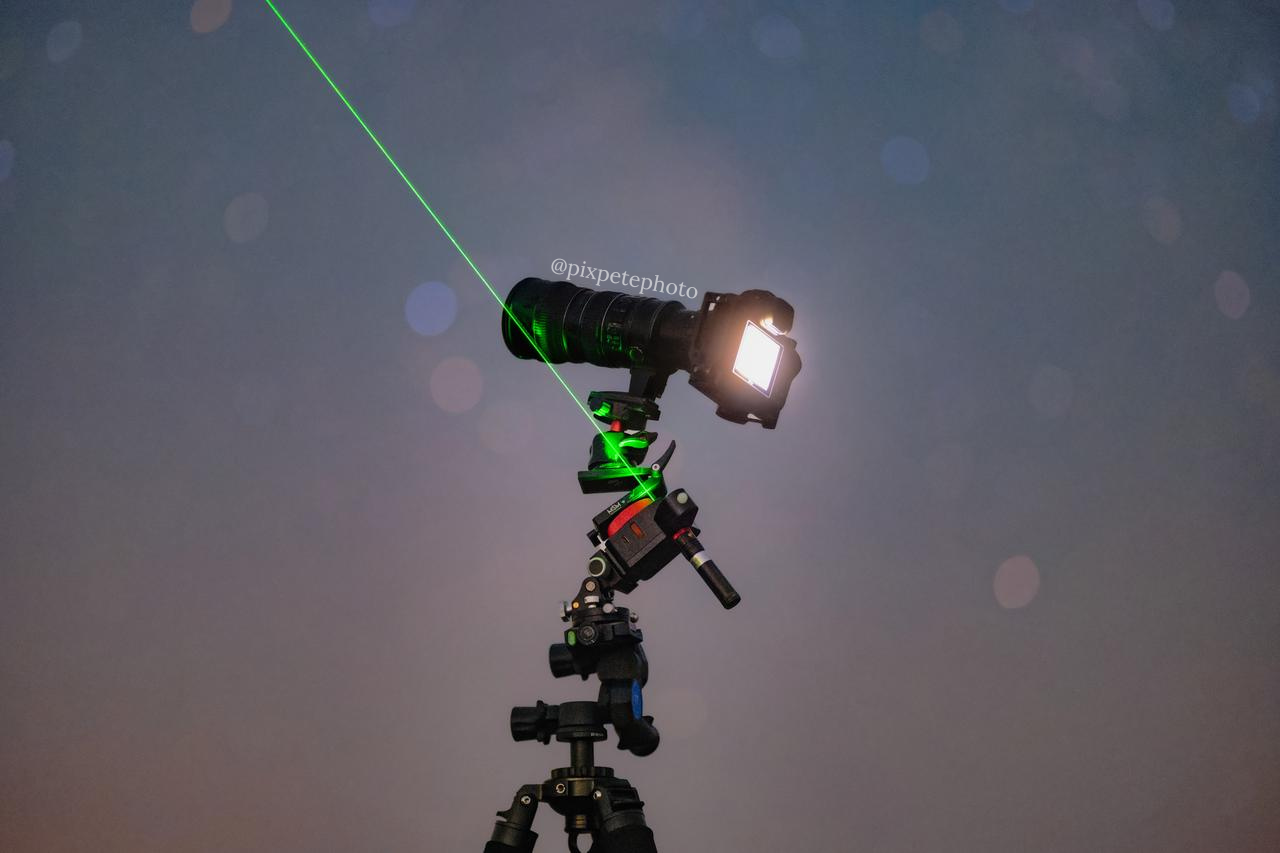
For polar alignment, I used the MSM Laser Pointer but took care to get it absolutely precise, and every time I made an adjustment to my camera's framing, I would recheck the alignment. I found this worked perfectly.
Although I could expose for four minutes or more, the Andromeda Galaxy is better exposed at 60 seconds (ISO 800 and f/2.8) to protect the highlights in the core.
Using my camera's built-in intervalometer, I set it to 32 x 60-second exposures and then let it run without touching it.
For my untracked foreground image, I simply stopped the NOMAD from tracking and took a single exposure of 180 seconds at ISO 800 and f/2.8.
Before packing up, I decided to try an alternative foreground shot by placing a small LED cube at the base of the tower to light it up.
To date,I've not been able to decide which version I like the most!
🖥️ Processing Workflow
As I needed to process both the foreground and sky images separately and later recombine them, I used two different programs for the edit.
I like PixInsight for my astrophotography image processing before adding the finalpolish in Photoshop.
I also used Photoshop for my foreground edit and then for recombining it with the sky image.
Stacking all of my light frames (Andromeda M31) with calibration frames that I had prepared earlier ensured I could get the most out of the imagesI captured.I used 256 bias frames, 64 dark frames and 64 flat frames in total.
After stacking, it was a case of using a fairly standard workflow with tools involving plate solving, background extraction, colour calibration,denoising, sharpening and stretching with Generalised Hyperbolic Stretch.
I was very happy with how my first attempt at capturing the Andromeda Galaxy turned out.
💡 Tips
1.Aim Higher
Shooting Andromeda at a higher altitude would have resulted in better signal capture, so consider a foreground subject where you can aim upwards.
2.Check Framing in Daylight
Check the framing of your foreground subject during daylight hours first, if possible. It’s easier to plan your composition and make changesas necessary.
3.Double-Check Polar Alignment
At longer focal lengths, it's crucial that you are precise with polar alignment, and you should use the celestial pole rather than the Polarisstar.
Check and double-check every time you make adjustments to your camerasetup and framing!
4.Use a Sturdy Tripod
Use the heaviest and sturdiest tripod at your disposal when shooting deep-sky objects. This is as important as setting up the tracker correctly.
5.Shoot Extra Frames
Overshoot. Some of your exposures may be unusable. Wind, clouds and other problems should be considered, so plan to shoot more than you thinkyou need.
🙌 Final Thoughts
Overall, I was completely amazed that such a small, light weight star tracker like the NOMAD could capture deep-sky objects so easily.
It handles the payload of bigger lenses with ease and has now given me so many moreoptions for shooting on clear nights.
I'd encourage anyone interested in astrophotography to give Deepscapes a try, and if this story has inspired you, you can find me on Instagram to see more of my work: @pixpetephoto
Wishing you clear skies!
Gear list |
|
|---|---|
|
Camera |
Nikon Z6 II (astro-modified IR/UV cut) |
|
Lens |
Nikkor 70–200mm f/2.8G VR |
|
Tracker |
|
|
Plate |
|
|
Alignment |
|
|
Tripod Head |
|
|
Tripod |
GeeHope B560C |
|
Shutter Release |
In-camera intervalometer |
Leave a comment